
Private: Creating and Sharing OER
11 Importing and Exporting Content for Pressbooks
Importing Content into Your Pressbook
Pressbooks can import text directly from a Word file. The importer will bring in all your chapters, and basic styling (italic, bold, numbered and unnumbered lists, Heading2, Heading3, paragraph breaks, etc). Note that the importer will import only BASIC styling. It should not import font choices, colors, etc.
The cleaner your Word file is to begin with, the less cleanup you’ll need to do to your book in Pressbooks.
Steps for preparing your document for import:
- Select all your text in Word and make sure the Normal style is applied to all basic text
- If your file contains all or most of the text for your book, chapter headings MUST be tagged as Heading1.
- Subsections within each chapter can be tagged as Heading2, Heading3, and Heading4, as needed.
- Abbey can import your text for you, or teach you how the process is done.
Multimedia
“Embedded media is media that is hosted outside of Pressbooks and linked to through your webbook. You will have encountered this kind of content all over the web – YouTube videos in blog posts, for example, or social media posts in news articles. This same kind of media can be dropped into the editor of your webbook on Pressbooks. Your readers can watch videos, view interactive maps, and more without ever leaving the book.”
There are a few different methods to embed media in Pressbooks:
- Copy/paste the URL
- Use the iframe embed code supplied by the content provider
More info on embedding media can be found here: https://guide.pressbooks.com/chapter/embedded-media-interactive-content/
Uploading Multimedia
In addition to embedding content from the source, you can upload images or other media to be housed in the Pressbook itself. All uploaded media must be under 10 MB. You can upload files from your computer or from a URL, or you can add them first to the Pressbooks media library.
For videos, we recommend uploading videos to Vimeo or YouTube first, and then linking to those videos in the Pressbooks interface.
Images
Do not insert images into your document for upload. Instead, leave a placeholder in your text to park where the image should be placed. For example:
[Figure 2.5 goes here]
That way, we can place the image files directly into the book and ensure that the highest quality version of the image is used for printing.
Preparing Images for Upload
Name them in a clear consistent pattern. For example:
Make sure images are saved under a lossless file type (e.g. PNG. You can save a JPEG as a PNG by opening it in Paint in selecting Save As).
To Import Images
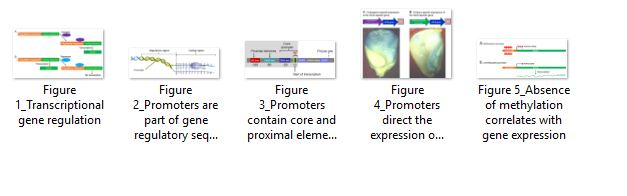
If you plan on adding media to your book, an easy way to make sure you can include media into chapters as you write is to upload them to the media Library in advance. You can access the Library and upload attachments by clicking Media in the left sidebar menu, or by clicking Add Media in any chapter’s editing interface:
To upload attachments to your Media Library, click Add New, found either in the left-hand side bar below Media or with the red button within the Media Library. You can either click to select specific files or drag and drop to upload them to your Library.
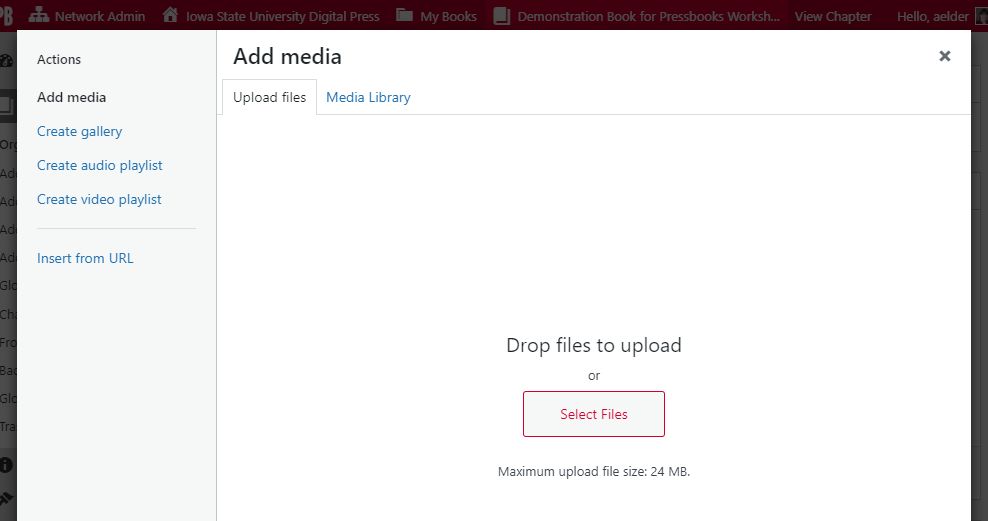
Selecting any media in your Library allows you to add important details as well as editing them. Clicking on an image will bring up the Details menu. The right side of the Attachment details menu includes fillable fields to include more information about the media. This includes a title, caption, and description field.
When you’re ready to add an image to your book, put your mouse cursor where you want the image to go in the editing interface, hit the “Add Media” button, and select the image you want from the Media Library tab. To add the image to your chapter, click the “Insert into chapter” button:
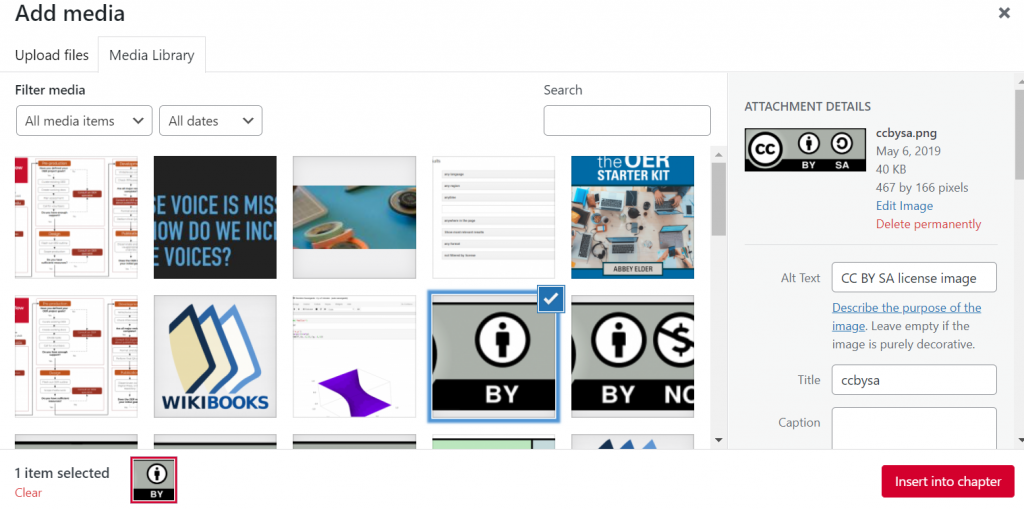
By default, media added to your book will appear in a smaller, medium-sized format. To resize your image, click on it and select the pencil icon, and then select the image size you want from the Display settings dropdown:
From this menu you can edit the caption, alt text, and image size. Select Large to make you image as large as possible. You can drag the image down to a smaller size later if necessary.
PowerPoints & Ancillary downloads
In addition to uploading images, you can also upload files (PowerPoints, documents, and more) with the Media Upload tool in Pressbooks. This feature may be useful if you want to share files that will not display directly in Pressbooks, like PDFs, Excel spreadsheets, or PowerPoint slides. To add a link to a file in a book in Pressbooks, follow the following steps:
- Click “Add Media” at the top of the Visual Editor in Pressbooks.
- Select the Upload Files tab and select the file you want to upload.
- Click “Insert into chapter.”
- You will be able to edit the link text as you would for a normal hyperlink.
Cited sources
When you cite materials in your Pressbook, you have a few options for doing this. You can create a References section at the end of each chapter, create a list of references in the Back Matter of your book, or you can use the built-in footnotes tool.
You can add a footnote or endnote as follows in either the TEXT editor OR the VISUAL editor:
Call me Ishmael.[ footnote ]This is one of the most famous opening lines in the English language.[/ footnote]
This will automatically create a footnote (or endnote) with the text inside the footnote shortcode.
One nice thing about footnotes is that they can be configured in PDF exports. You can select to have footnotes appear as:
- Footnotes (displayed at the bottom of the page) or
- Chapter endnotes (displayed at the end of the chapter).
More information about footnotes and endnotes can be found here: https://guide.pressbooks.com/chapter/footnotes-and-chapter-endnotes/
Exporting (Publishing) Your Book
Exporting your book is how you make it available in different formats, so that it can be accessed across different platforms on different types of devices. Besides the default webbook format, Pressbooks supports four different export file formats. Below, see each format and what purpose it serves:
- Print PDF: Export a print PDF file if you plan to publish your book in print format. This file meets the requirements of printers and print-on-demand services.
- Digital PDF: Export and download the digital PDF instead if you do not plan on printing the file. These can be used online and can contain hyperlinks for easier navigation.
- EPUB: Export EPUBs to submit to any popular ebook distributor except Amazon KDP. This is the file you’d use to submit your ebook to Kobo, Nook, iBooks, and others.
- MOBI: Export a MOBI file to submit your ebook to Amazon KDP.
This section of the guide provides step-by-step instructions for exporting your Pressbooks: https://guide.pressbooks.com/chapter/export/.
