
Part One. Image Search/ Diagramming/ Data Visualization
Chapter 2. Illustrator – Basic
Upon completing this session, students will be able to:
- (CO 1) Be introduced to illustrator and similar applications in the industry.
- (CO 2) Use basic tools and commends for an illustrated work.
 Lecture Contents
(CO1) Be introduced to illustrator and similar applications in the industry
About Adobe Illustrator
Adobe Illustrator is the industry-standard vector graphics app that lets you create logos, icons, drawings, typography, and complex illustrations for any medium. Adobe Illustrator is the industry-standard design app that lets you capture your creative vision with shapes, color, effects, and typography.
Adobe illustrator work examples, please watch the video linked in the texts below to understand the process of the illustrated drawings.
- Perspective drawing (Digital Art Creation, 2017)
- Isometric drawing (Satori Graphics, 2019)
Alternatives of Adobe Illustrator.
- Affinity Designer
- Corel Draw
- Inkscape
- Gravit designer
(CO2) Use basic tools and commends for an illustrated work
Note. The information below is from the Adobe illustrator user guide and selected tools, commands, and panels by the instructor.
Adobe illustrator interface
Open Adobe Illustrator 2020 by clicking the icon: ![]() .
.
You may be required to sign in to confirm your license.
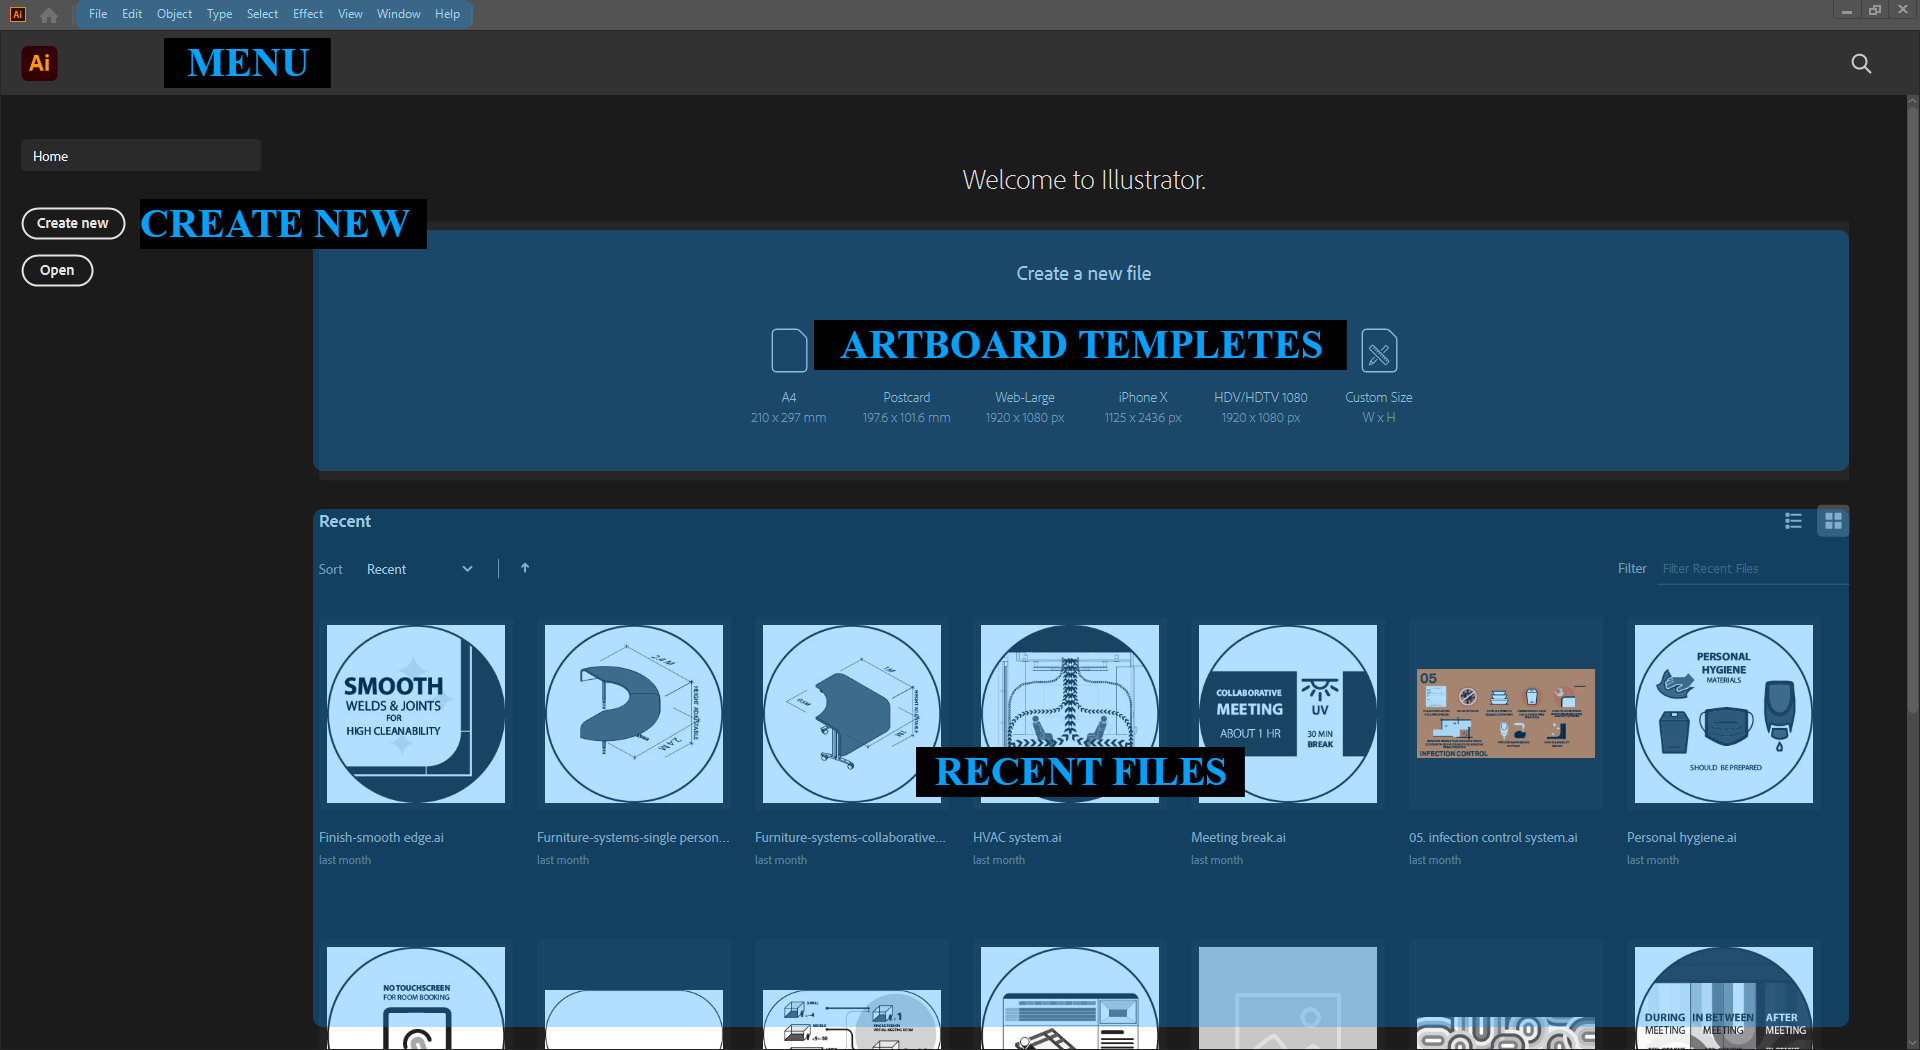
Once the application opens, you will see this start page. On the start page, you can create a new file using a template, browse to open a file, or open a recent file.
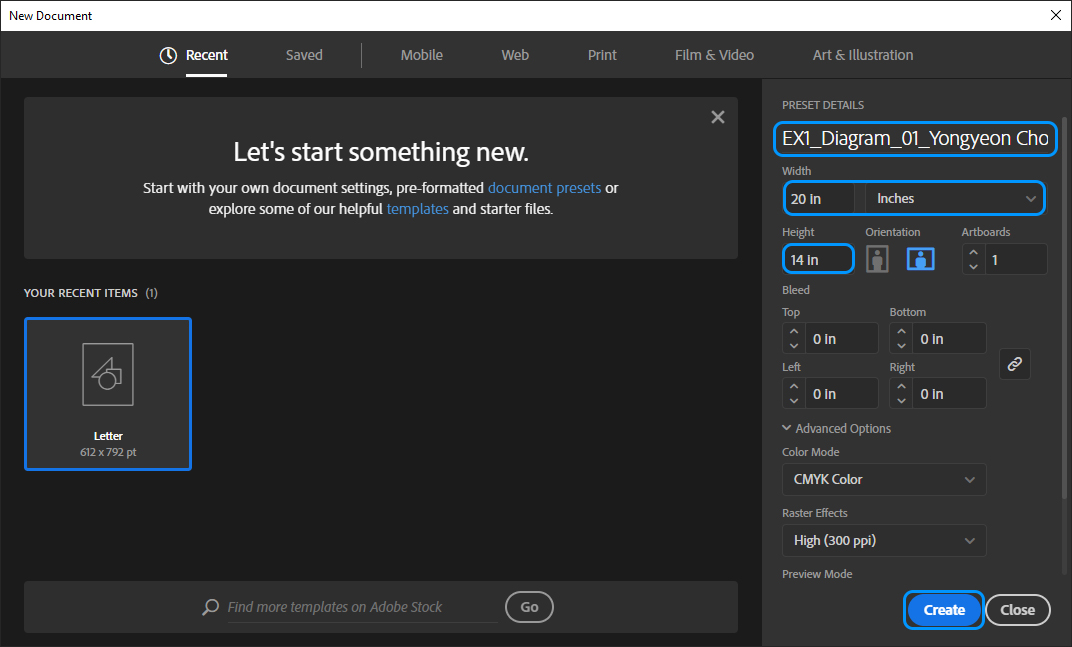
Once you click the [Create New] button, a new window will pop up.
- [STEP 01] Enter a file name to save. e.g. [First name_Last name_Exercise 1 Diagram].
- [STEP 02] Change the unit to [Inches].
- [STEP 03] Update the size of the artboard size [Width=20in, Height=14in] for the Exercise 1.
Note 1. Bleed sizes for printing documents. Often designers create a document a bit bigger (0.125”) than an artboard size for white space. However, documents for web or computer use do not need to have the bleed because there is no space to cut.
Note 2. Color Modes. [CMYK] = Printing color, [RGB] = Web color.
Note 3. Raster Effect. Height (300 ppi) = Printing (more memory use), Screen (72 ppi) = Web (less memory use).
- [STEP 04] Click [Create].
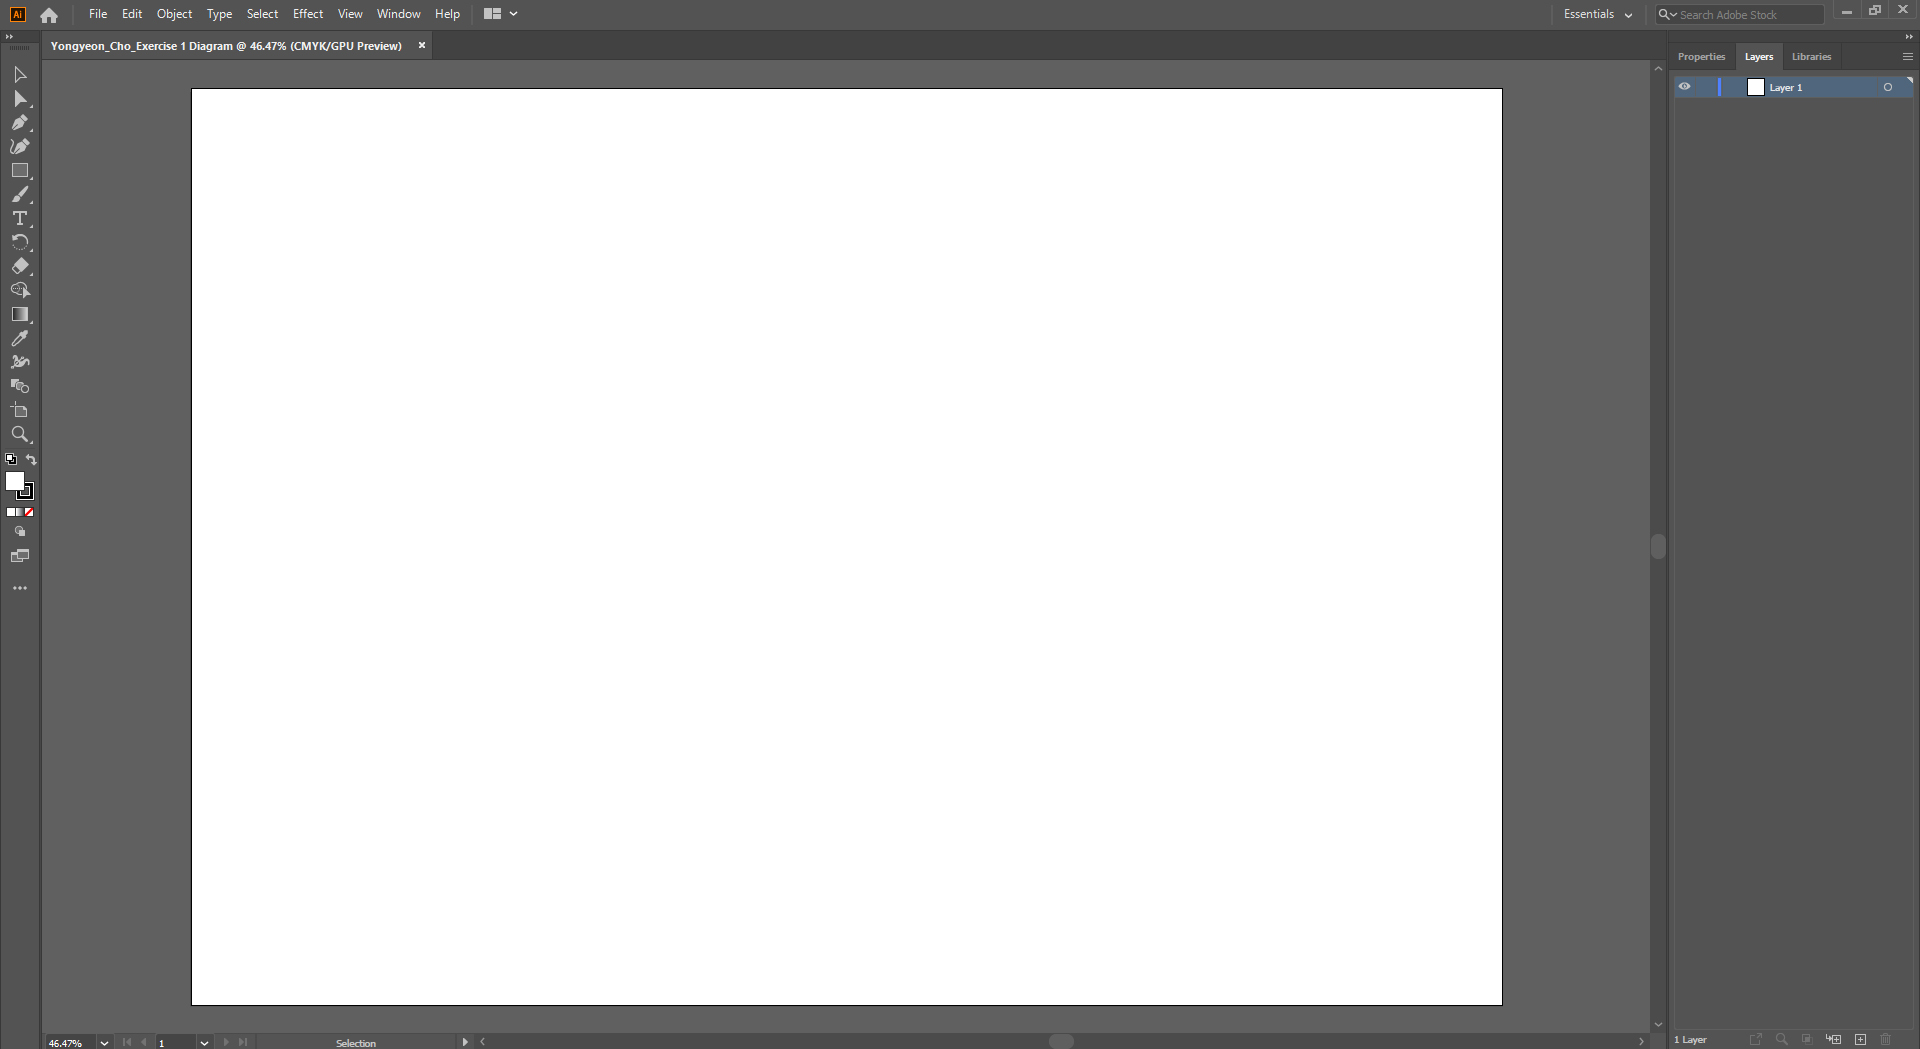
Save the file by pressing [ctrl+s] on the keyboard, before you start your work.
Once you create a new file, you will see a white artboard with the workspace [Essentials].
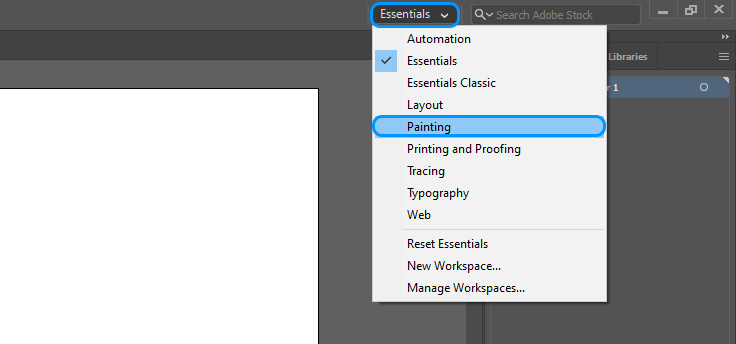
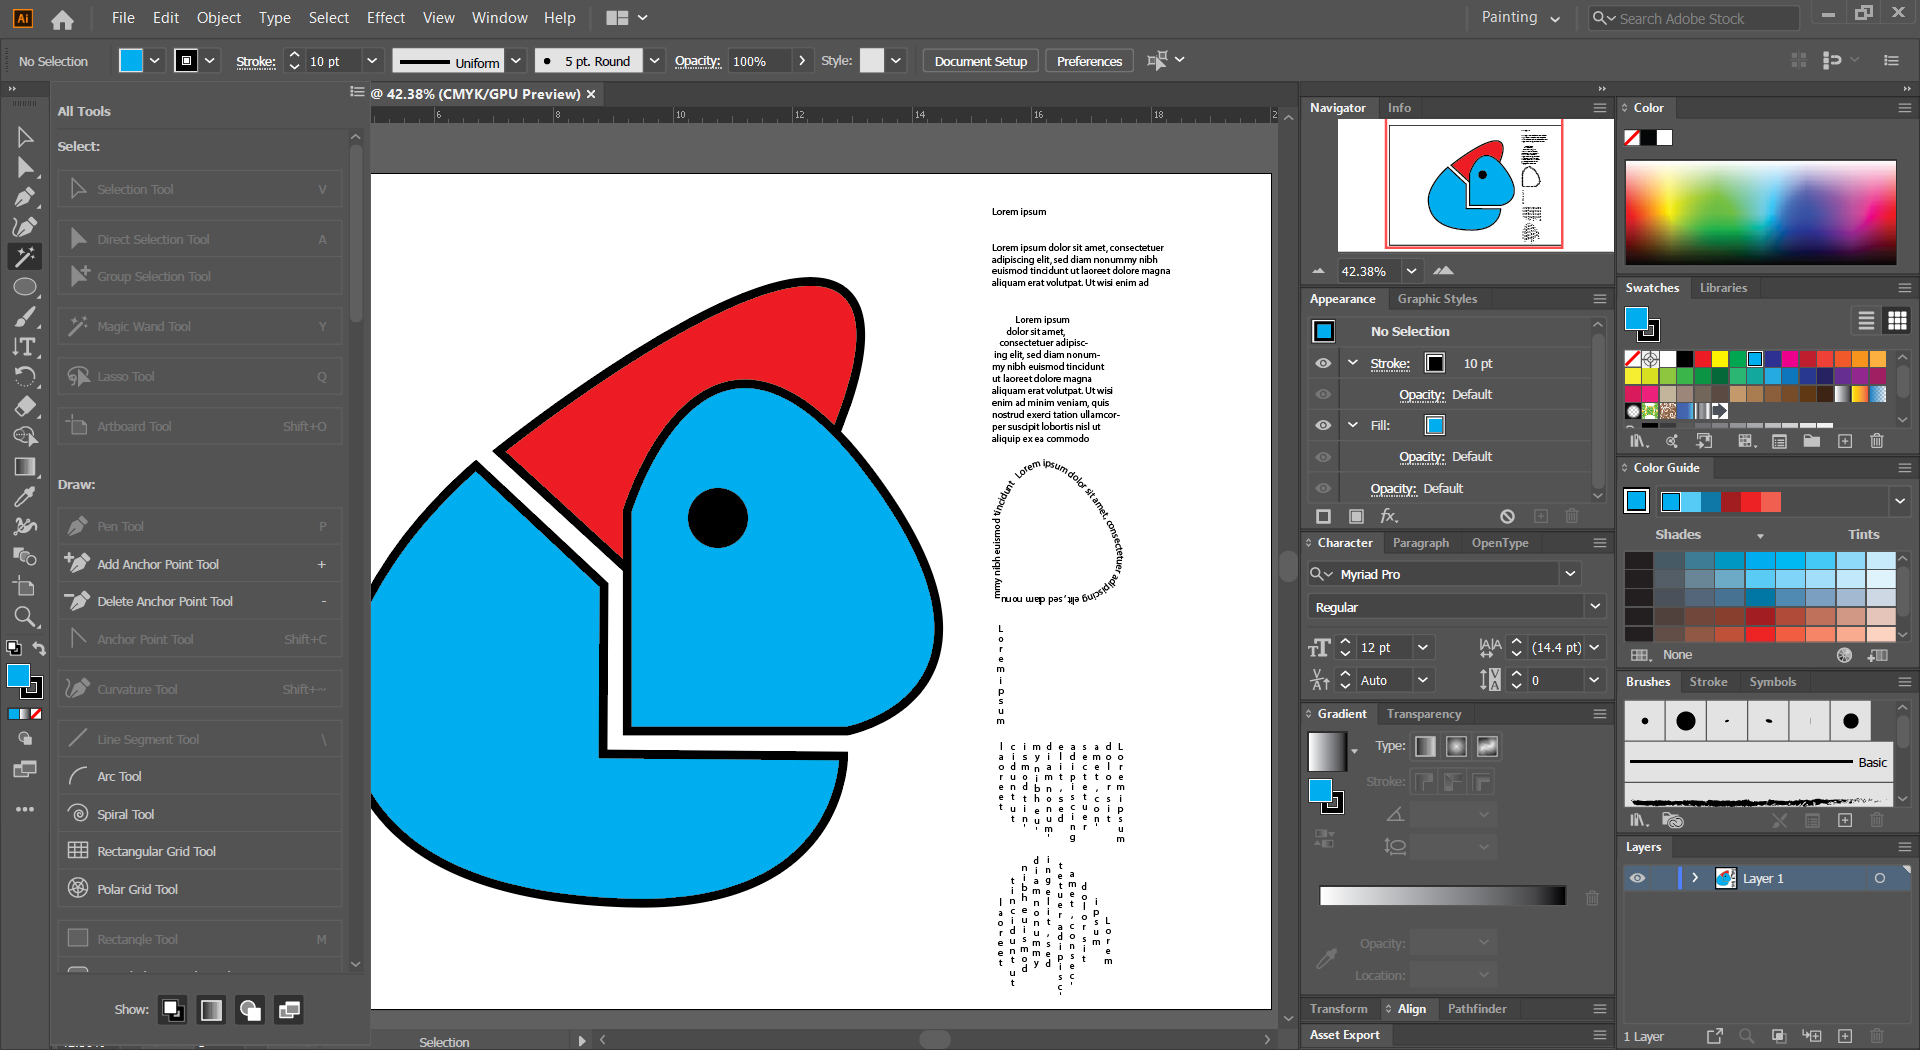
The workspace is modifiable, meaning you can change what you want. Adobe Illustrator offers some recommended workspaces for users. Once you click the workspace switcher, you can choose one of the settings. I recommend using the [PAINTING] preset.
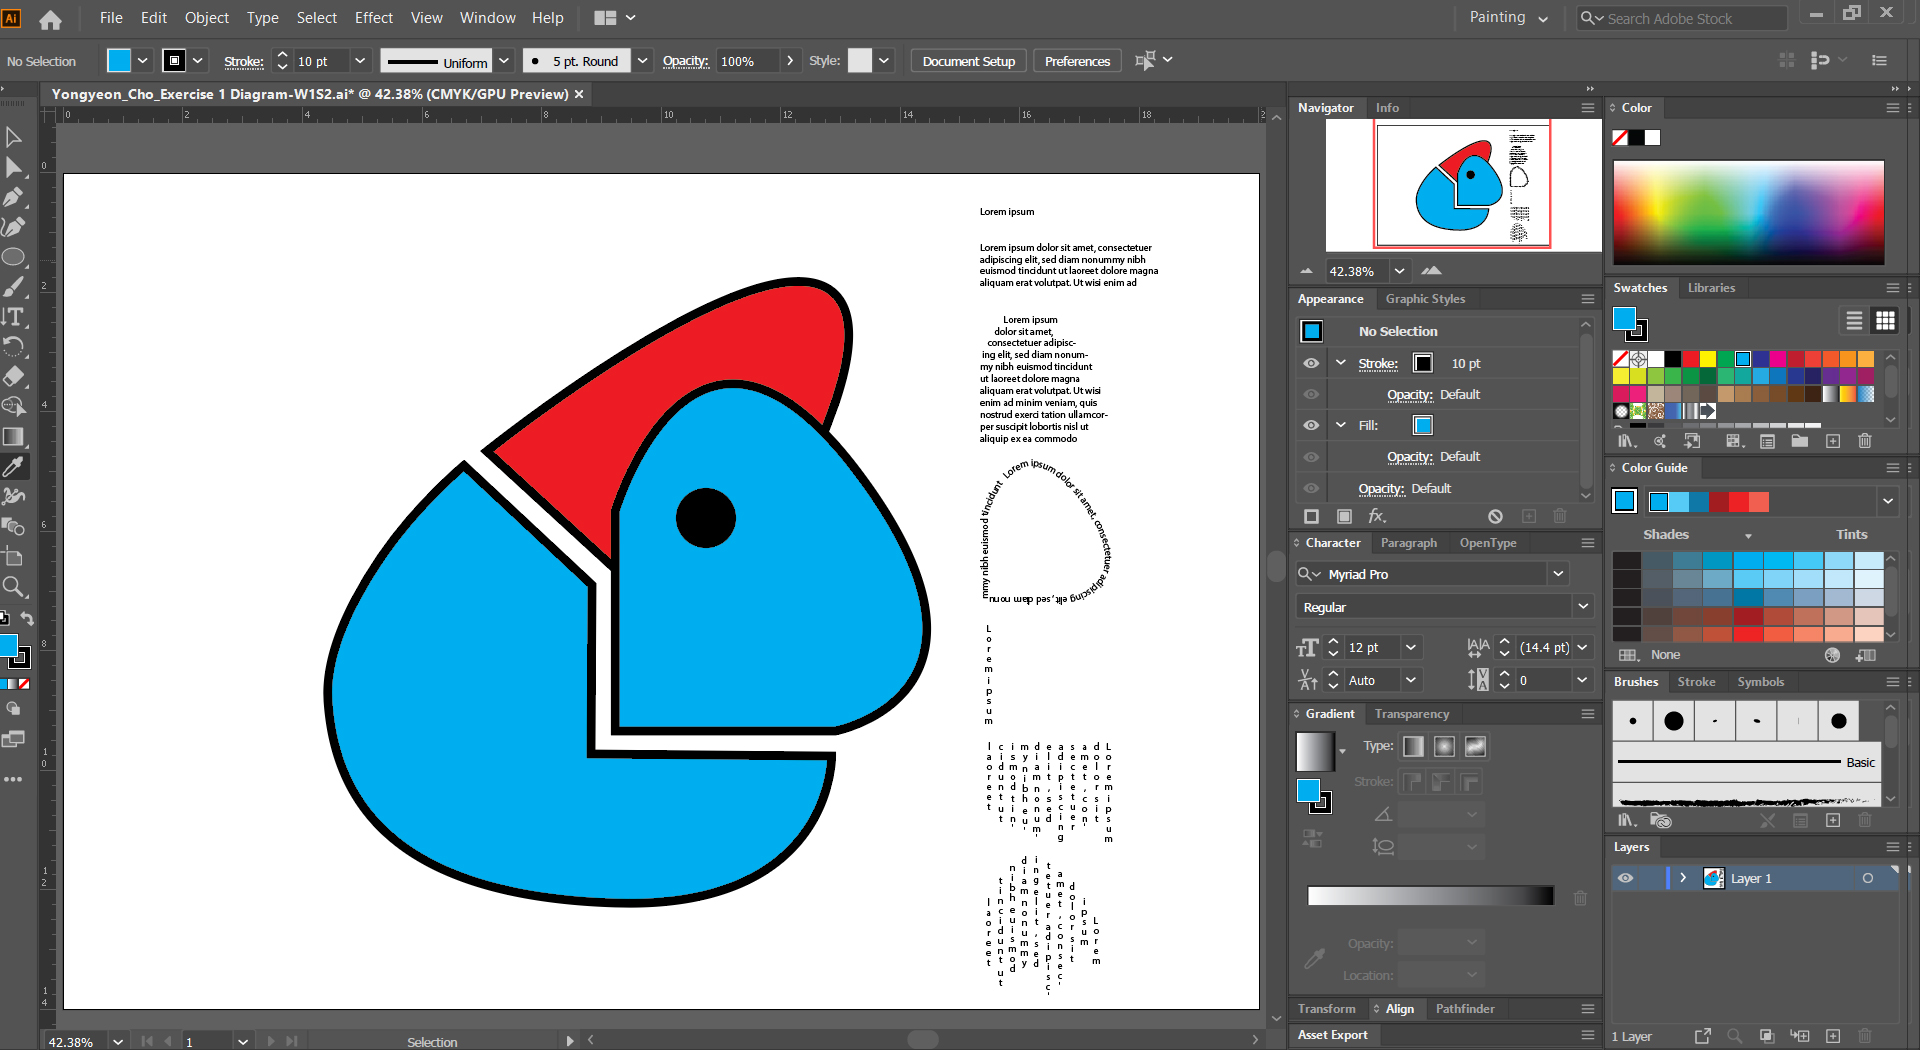
The image below is the [Painting] workspace and illustrates the name of the interface.
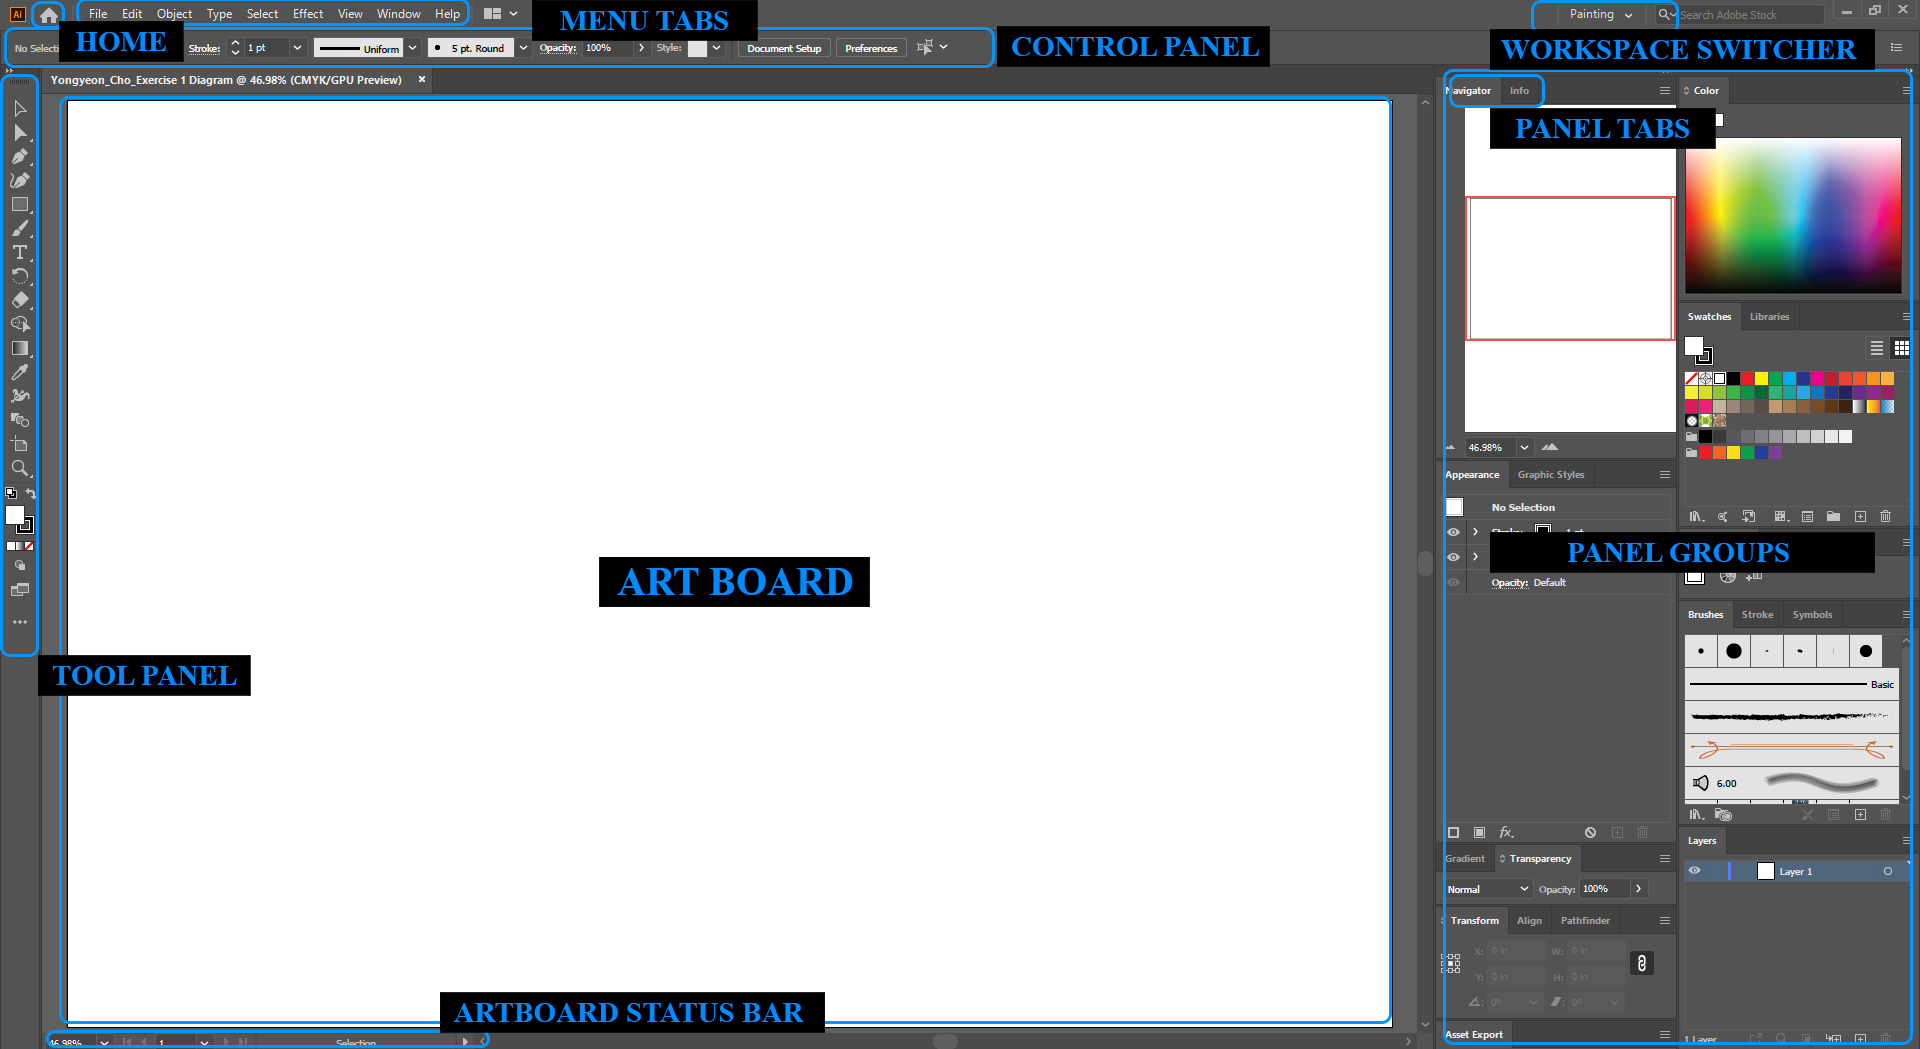
Note1. Once you press the [tab] key on the keyboard, you can hide all panels.
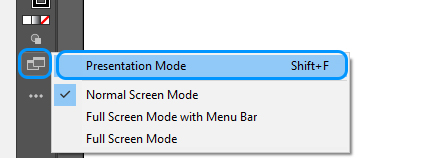
Note2. For a presentation mode, press [Shift+F] or click the presentation mode on the bottom of the tool panel.
Note3. Also, you can minimize and maximize the panel groups by clicking the arrow on the top-right corner of the panel groups  .
.
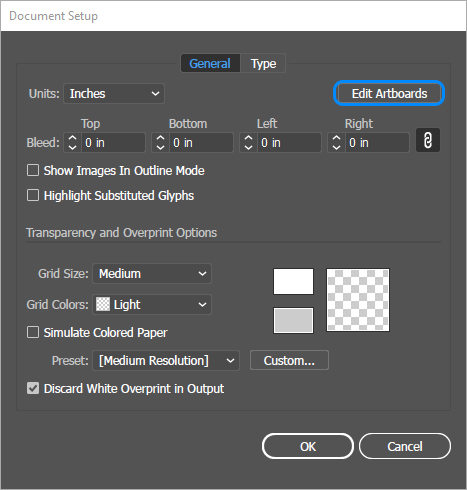
Document setup
On the document set, you can change the units, bleed size, and Artboards size.
To edit Artboards size:
- [STEP 01] Click [Document Setup] on the control panel.

- [STEP 02] Click [Edit Artboards].
- [STEP 03] To open the artboard, you can also click [Artboard tool]
 or press [shift+o] on the keyboard.
 - [STEP 04] You can change the current Artboard size by editing [W] and [H] of the document or you can drag the blue box on the artboard.

- [STEP 05] If you need it, you can also add new artboards. Once you print or make a PDF file, it will show on different pages.
Preferences
On Preferences, you can change many things when you operate the application. I usually use the preferences to change the units and user interface.
![]()
Tool panel & Control panel (Basic)
Selection tool  – [v]
– [v]
The selection tool is to select an object/objects.
- [STEP 01] To select an object, click or drag over an object/ objects/ a group/ groups.
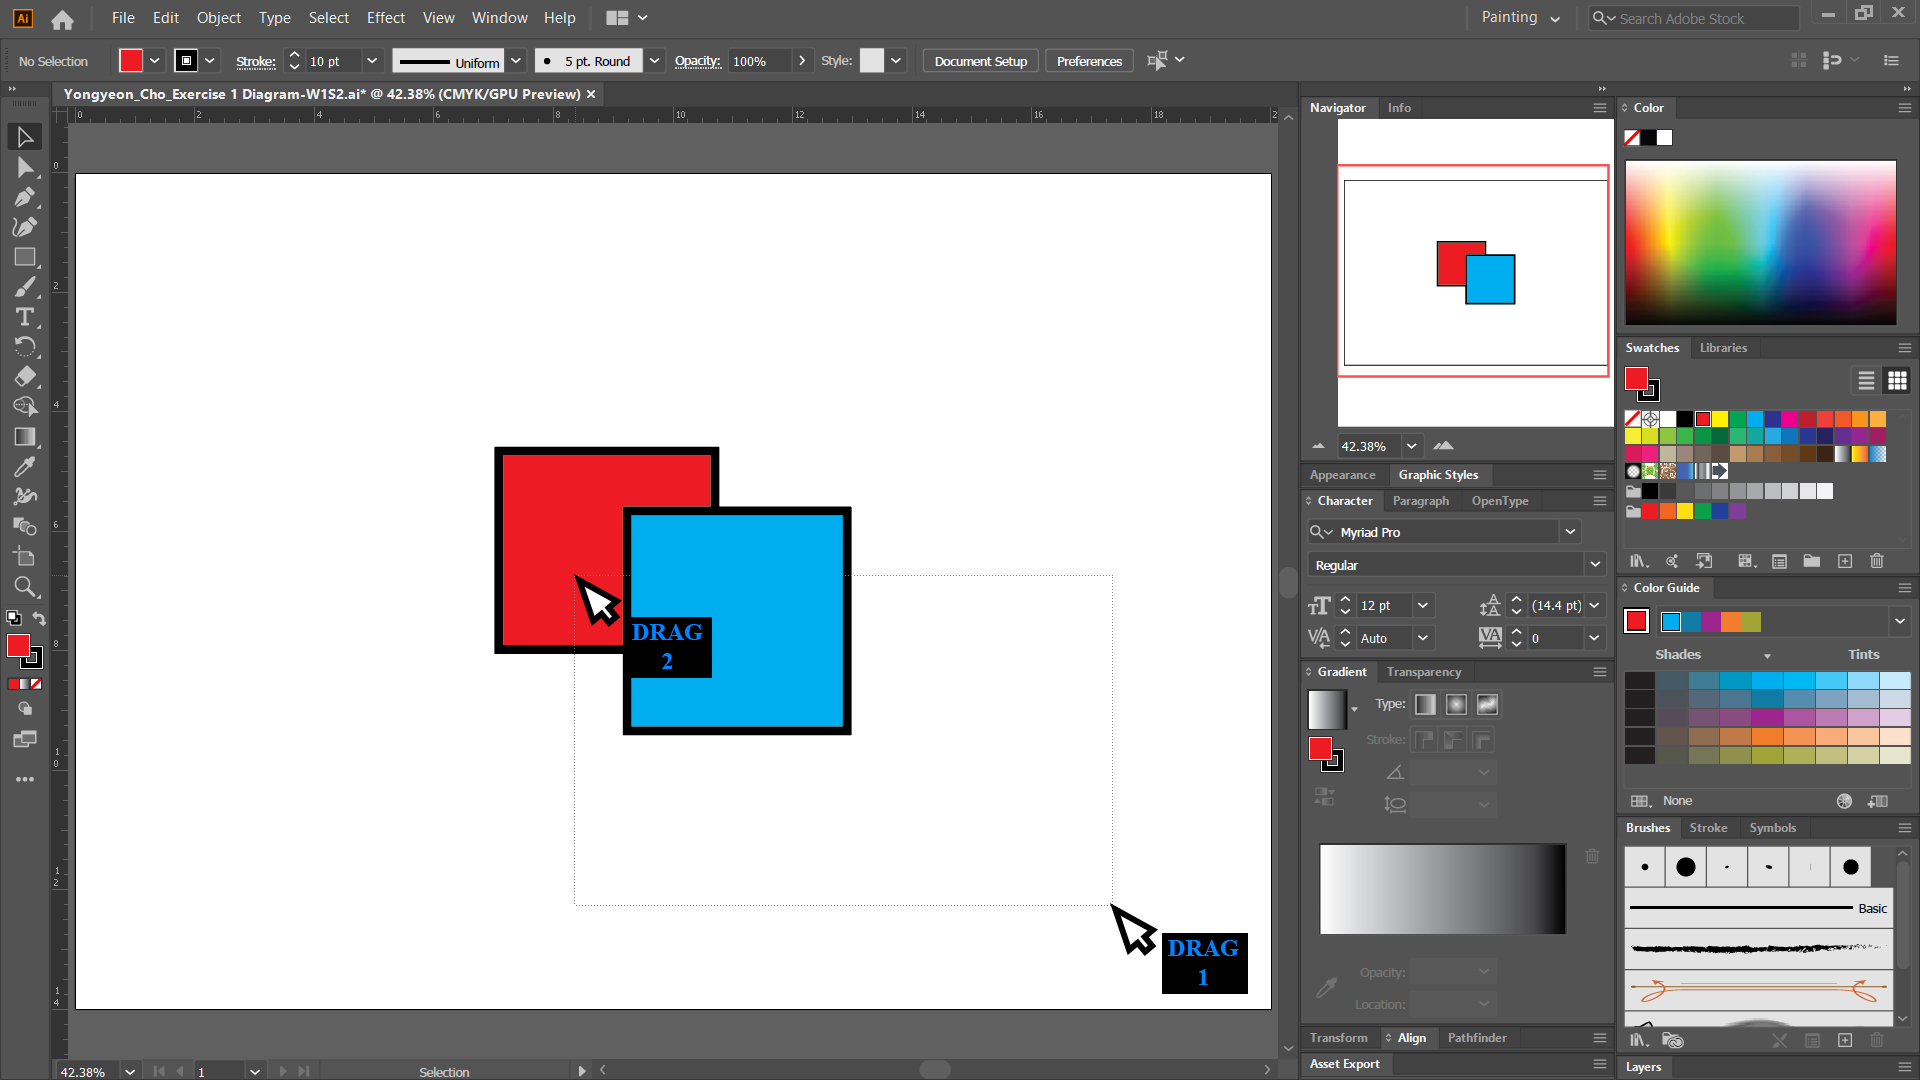
- [STEP 02] To select an object inside of a group, you must double click to open the group and then select an object/objects by clicking or dragging it over.
- [STEP 03] To select multiple objects, hold the [shift] key and select another object(s).
For more information about the selection tool, please read the Selecting Objects help page on the Adobe website.
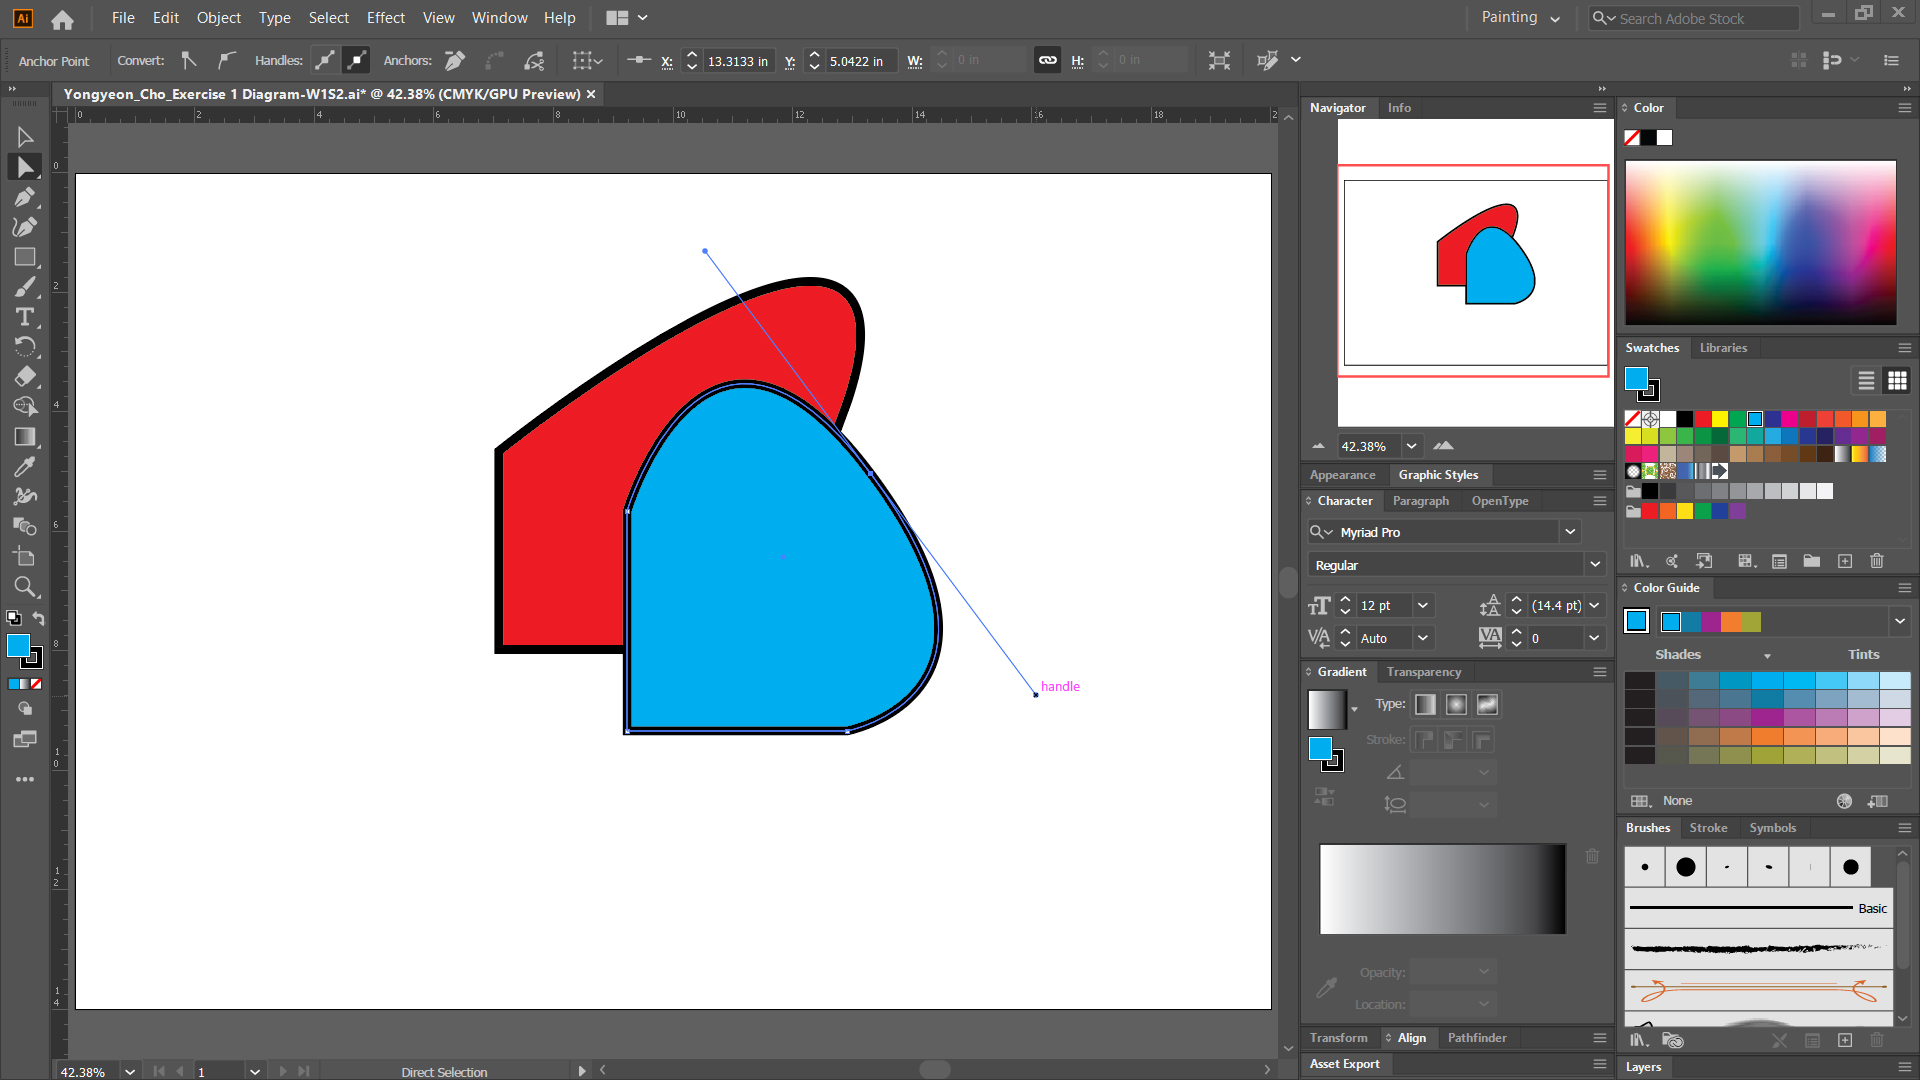
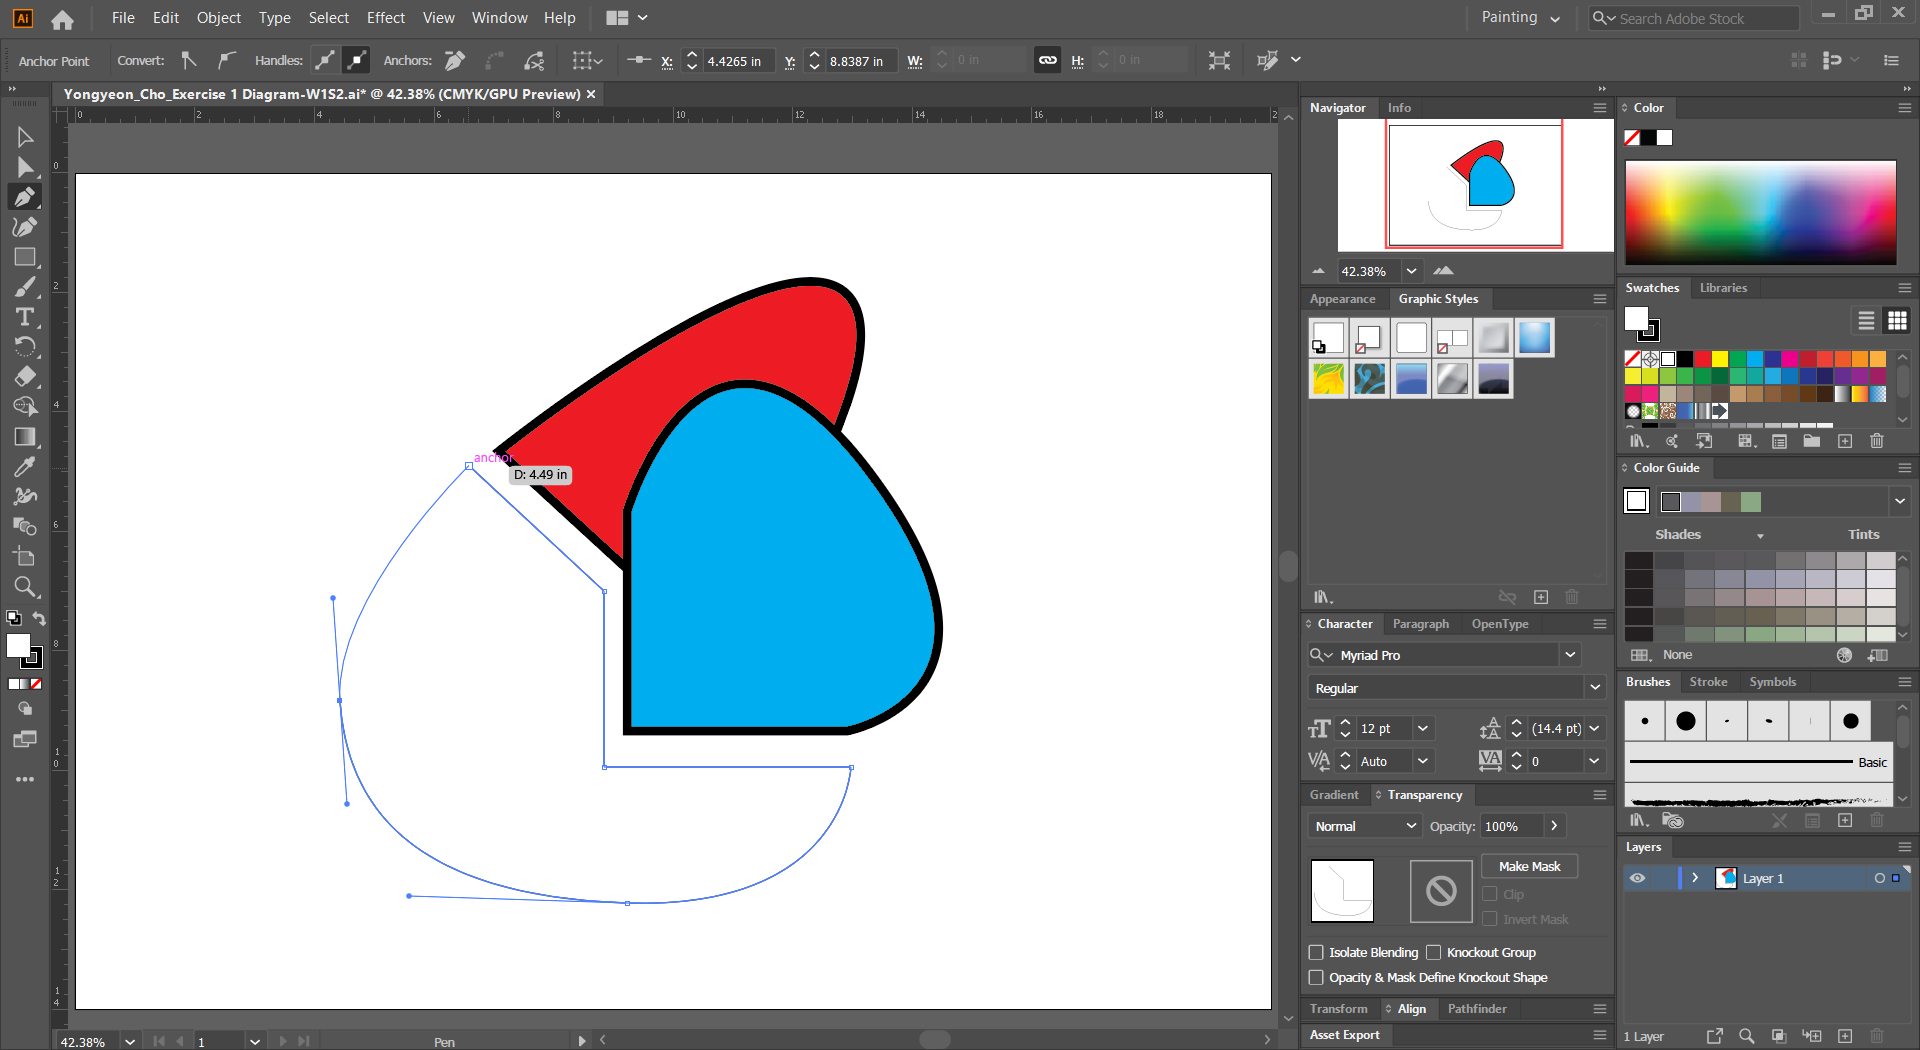
Direct selection tool  – [a]
– [a]
This direct selection tool is to select an anchor point/anchor points in an object/objects/a group/groups.
- [STEP 01] You can select anchor point(s) by clicking or dragging over it.
- [STEP 02] To select multiple anchor points, hold the [shift] key and select another anchor point(s).
- [STEP 03] To move the selected anchor point(s), you should drag and drop the anchor(s) or use keyboard direction keys.
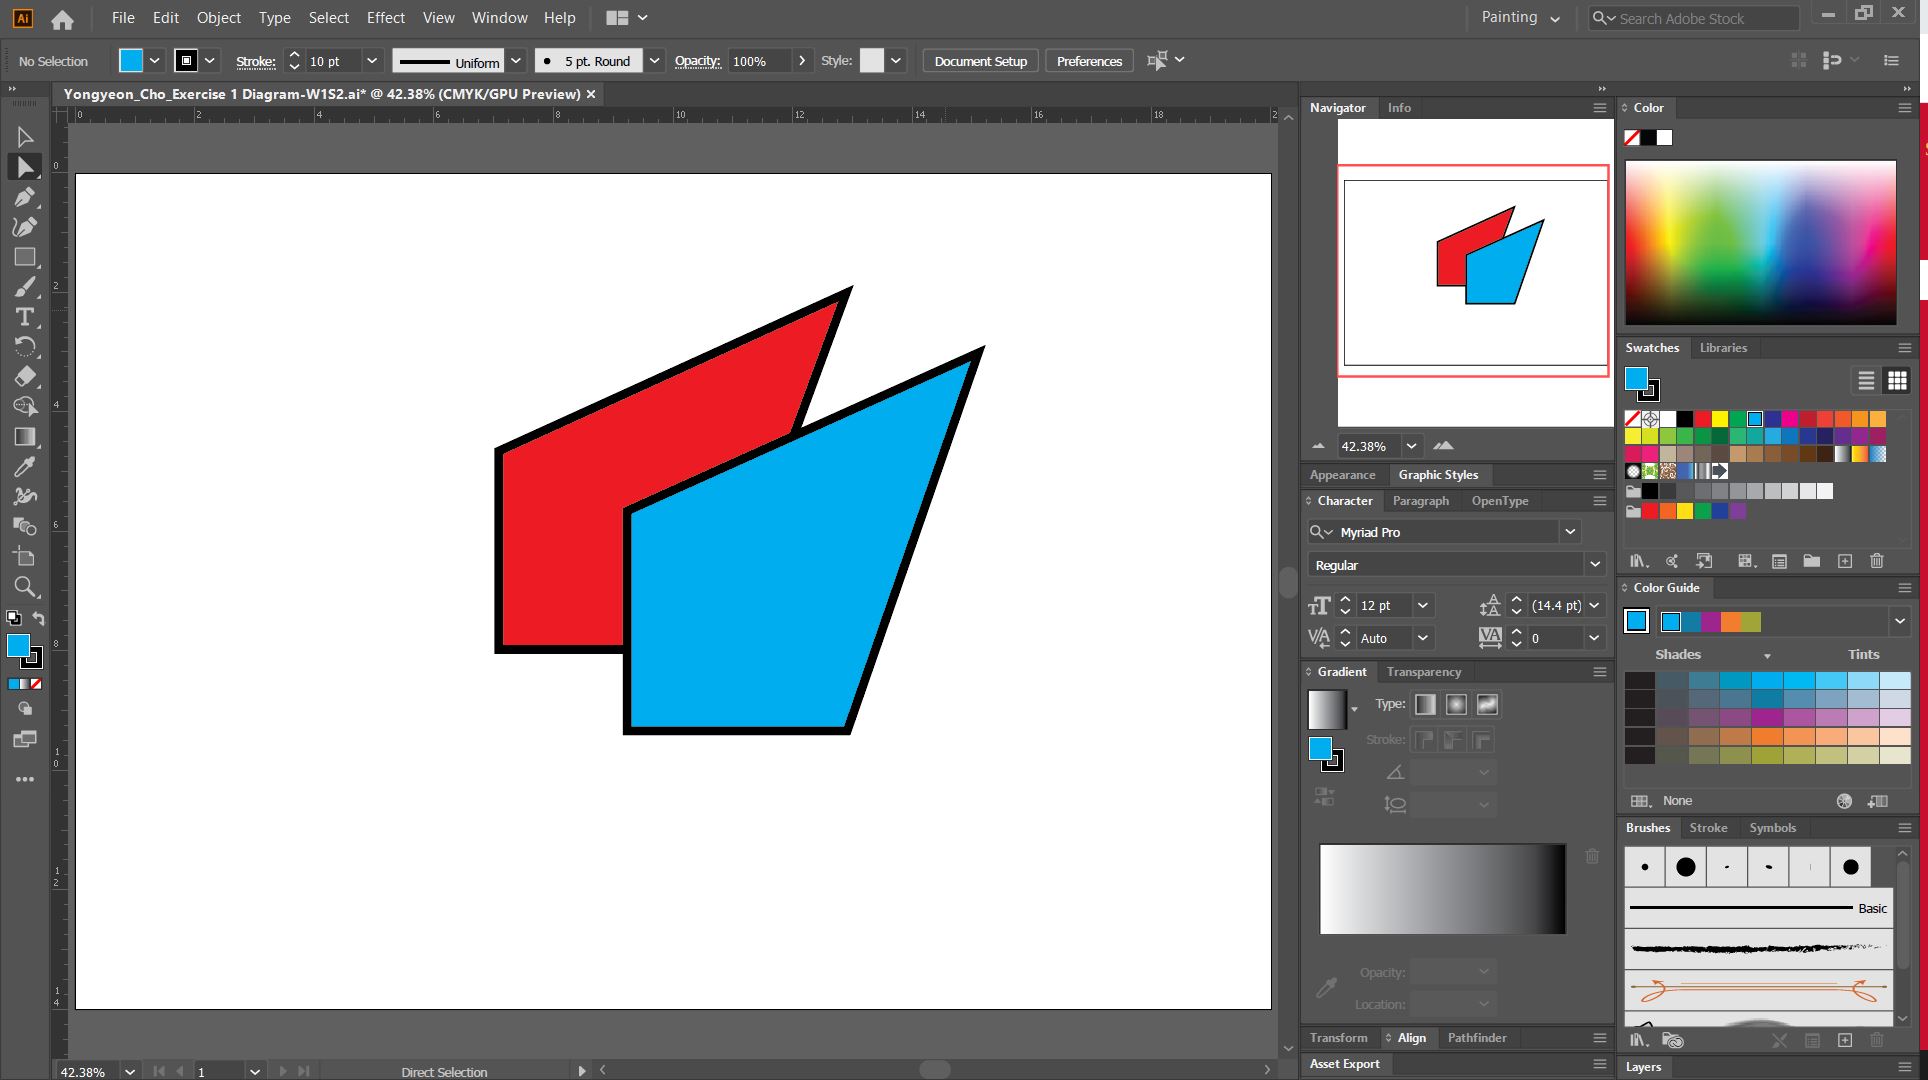
- [STEP 04] You can convert the anchors’ edge style by clicking convert icons
 on the control panel.
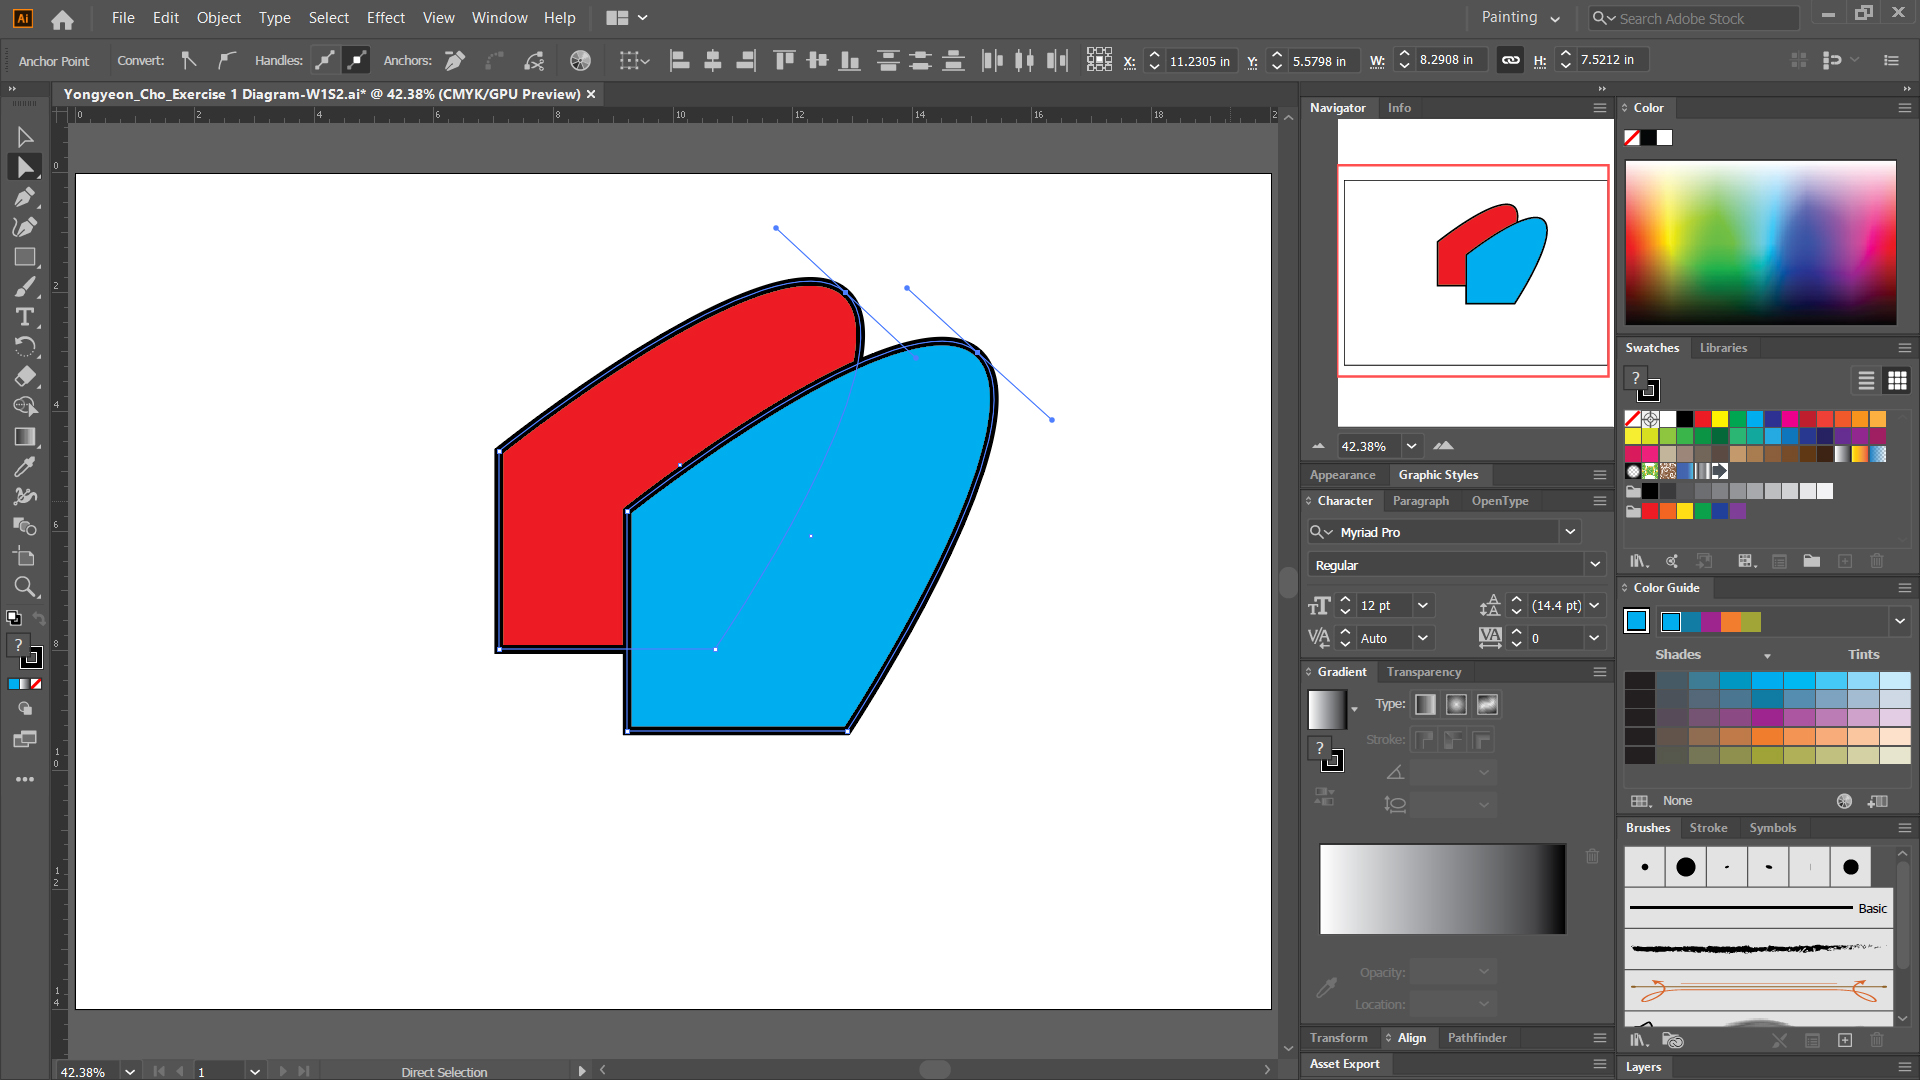
- [STEP 05] The curve shapes can be editable by controlling handles.
- [STEP 06] You can remove anchors by clicking [remove selected anchor point icon]
 .
.
Pen tool  – [p]
– [p]
The Pen tool is THE MOST IMPORTANT tool in this application.
This is a drawing tool that creates an object by mouse left click.
The Pen tool supports both straight lines (click) and curved lines (drag).
An object can be closed and open. This can be identified with this identifier![]() .
.
If you need to draw a 45-degree line or a 90-degree line, hold the [Shift] key.
If you want to add an anchor point, mouse over on edge of an object, the mouse icon changes to +, then you can click to add an anchor point.
For more information about the Pen tool, please read the Drawing Pen Curvature or Pencil help page.
Paintbrush tool  – [b]
– [b]
The Paintbrush tool is a free-form drawing tool.
Typically, designers/illustrators use this tool with a Wacom Tablet (pressure-sensitive).
For more information about the paintbrush tool, please read the Create and Edit Artwork with Paintbrush help page.
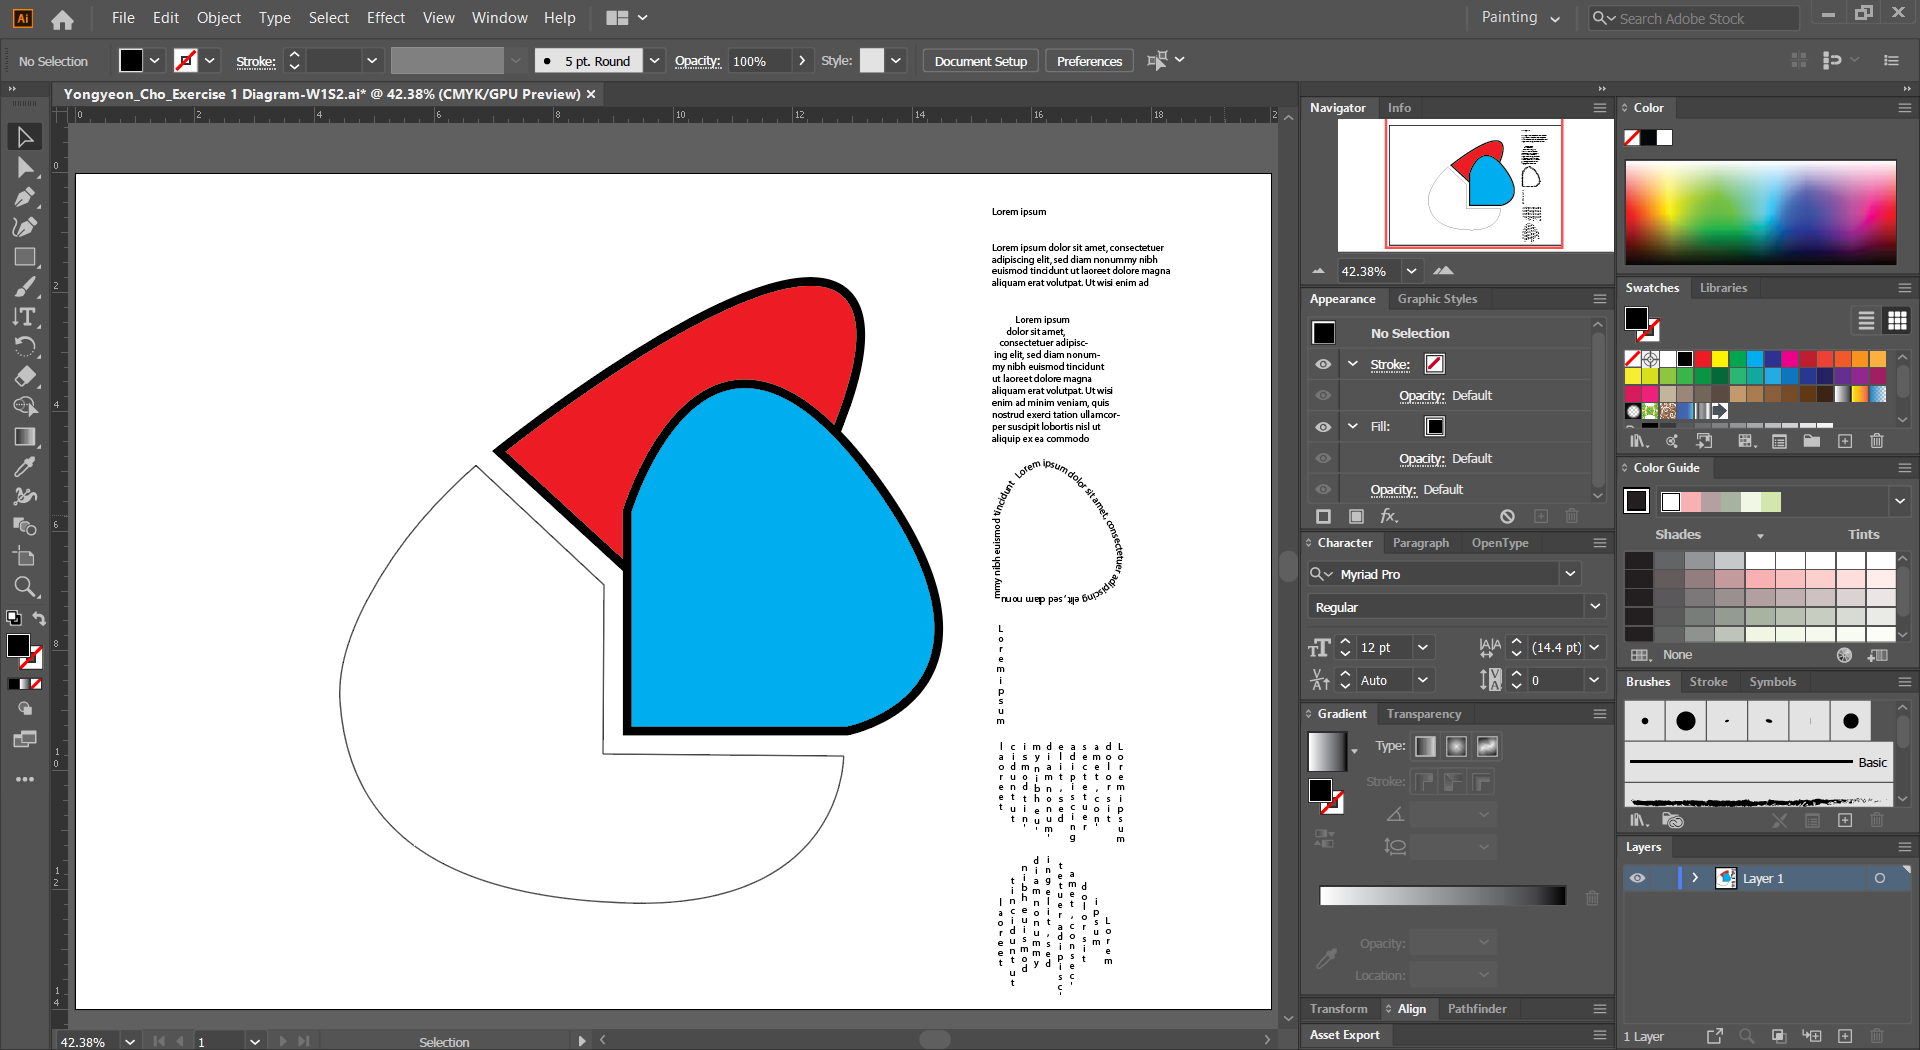
Type tool  – [t]
– [t]
The Type tool is used to add text to a design.
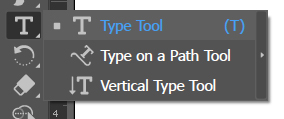
There are 7 ways to add text:
- Option 1. Add horizontal text by clicking on the artboard.
- Option 2. Add horizontal text block by drag and drop.
- Option 3. Add horizontal text to an object by clicking the object.
- Option 4. Add text on an edge of an object or a path by selecting [Type on a Path tool].
- Option 5. Add vertical text by clicking on the artboard.
- Option 6. Add vertical text block by drag and drop.
- Option 7. Add vertical text to an object by clicking the object.
For more information regarding the type tool, please read the Creating Text help page.
Shapes
There are 5 different basic shapes in this application.
- Rectangle tool – [m]
- Ellipse tool
- Polygon tool
- Star tool
- Line segment tool
There are two ways to create a shape. One is clicking to open the shape window to enter numbers, the other is dragging to manually draw a shape.
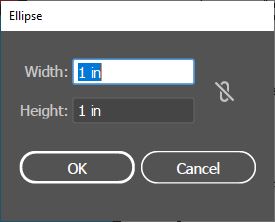
For more information regarding the shapes tool, please read the Draw Basic Shapes help page.
Eyedropper tool 
The eyedropper tool is to copy the attributes of an object by clicking the object.
To apply the attributes, hold the [Alt] key and click an object.
For more information about the eyedropper tool, please read the Appearance Attributes help page.
& more [Edit toolbars…] 
Once you click this [Edit toolbars…], more toolbars can use.
If you want to move a tool to the toolbar, drag and drop off the icon.
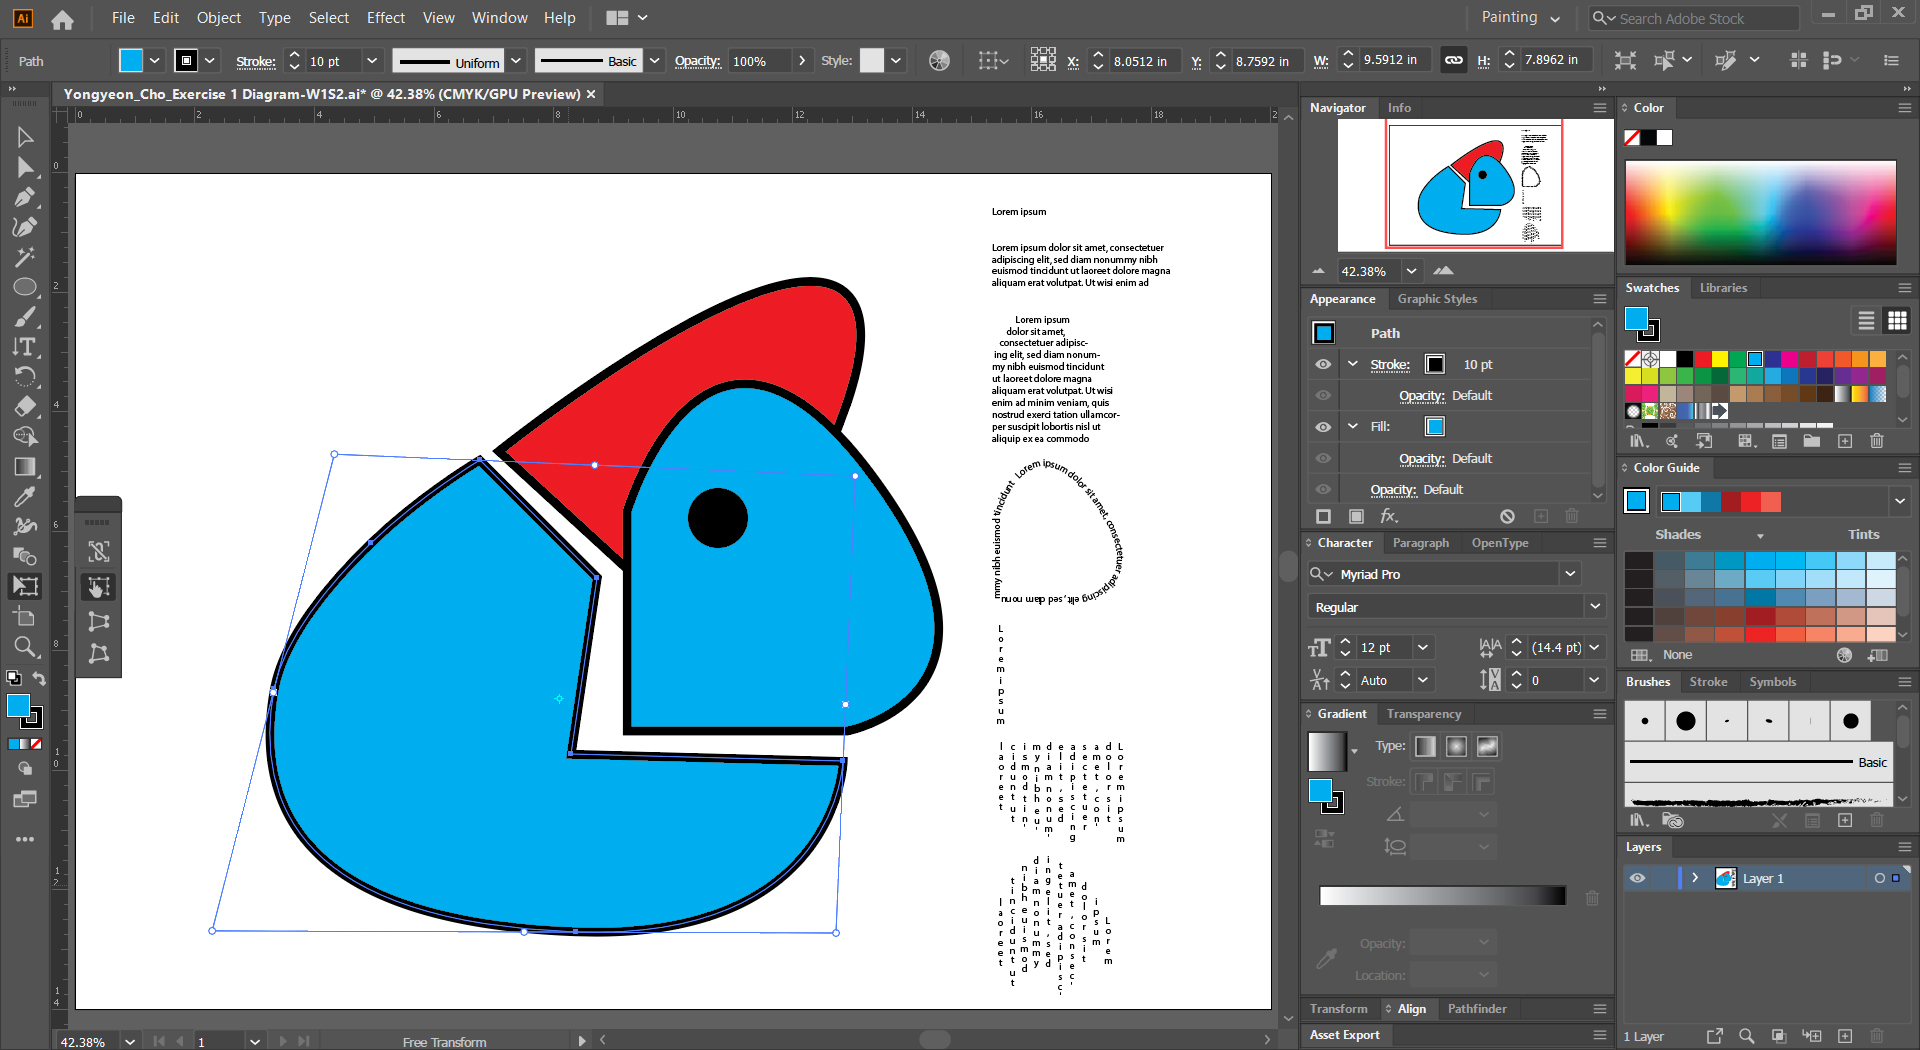
Free Transform  – [e]
– [e]
Free Transform is a different transform tool than just using a section tool.
Once you click an object, select [Free Transform Tool].
There are three options
- Free Transform
- Perspective distort
- Free distort
For more information about the free transform tool, please read the Scaling Shearing and Distorting Objects help page.
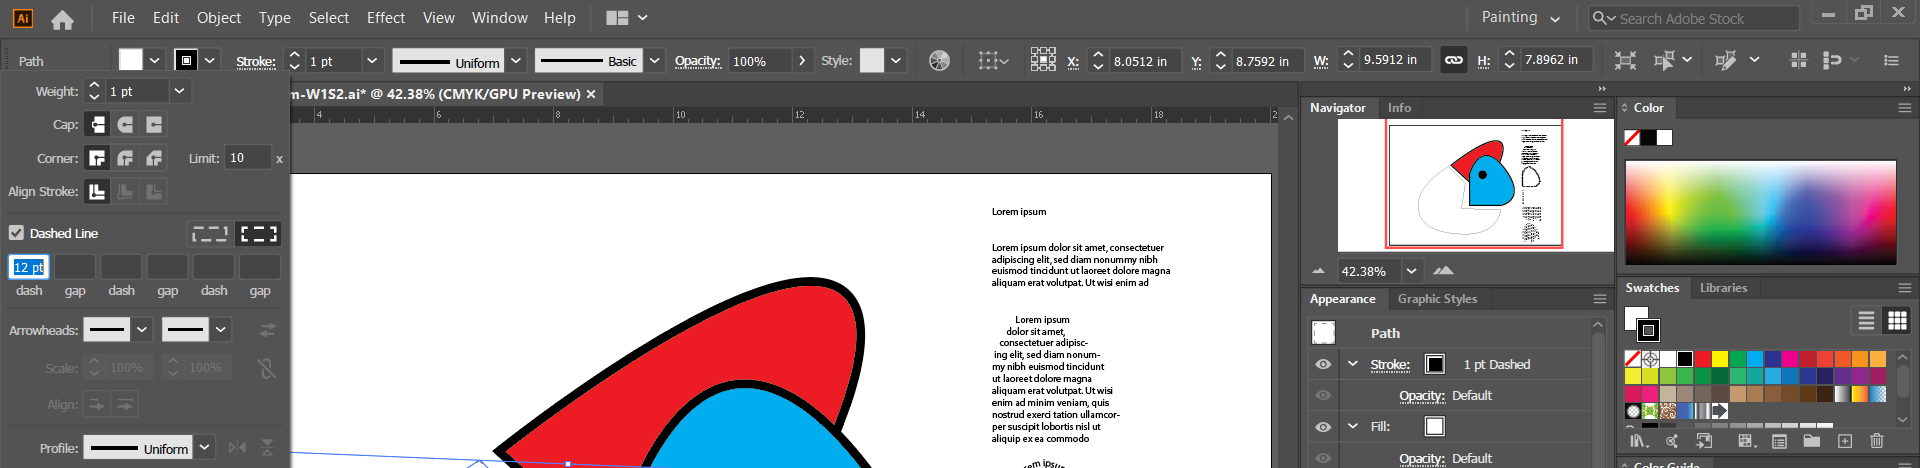
Fill & Stroke
Change to the Default setting (Fill-White, Stroke-Black) – [d].

Change Fill and Stroke selection – [x].

To change the Fill color & gradient, use the control panel.
![]()
To change Stroke color & types, click [Stroke] on the control panel.
Panel Groups
Swatches
A swatches panel is a way to save the color that you use in a drawing.
The image below shows the default swatch board.
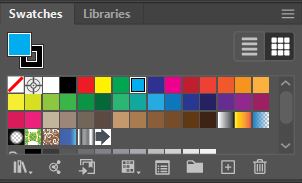
You can add new color from the library by clicking the stacked lines icon ![]() .
.
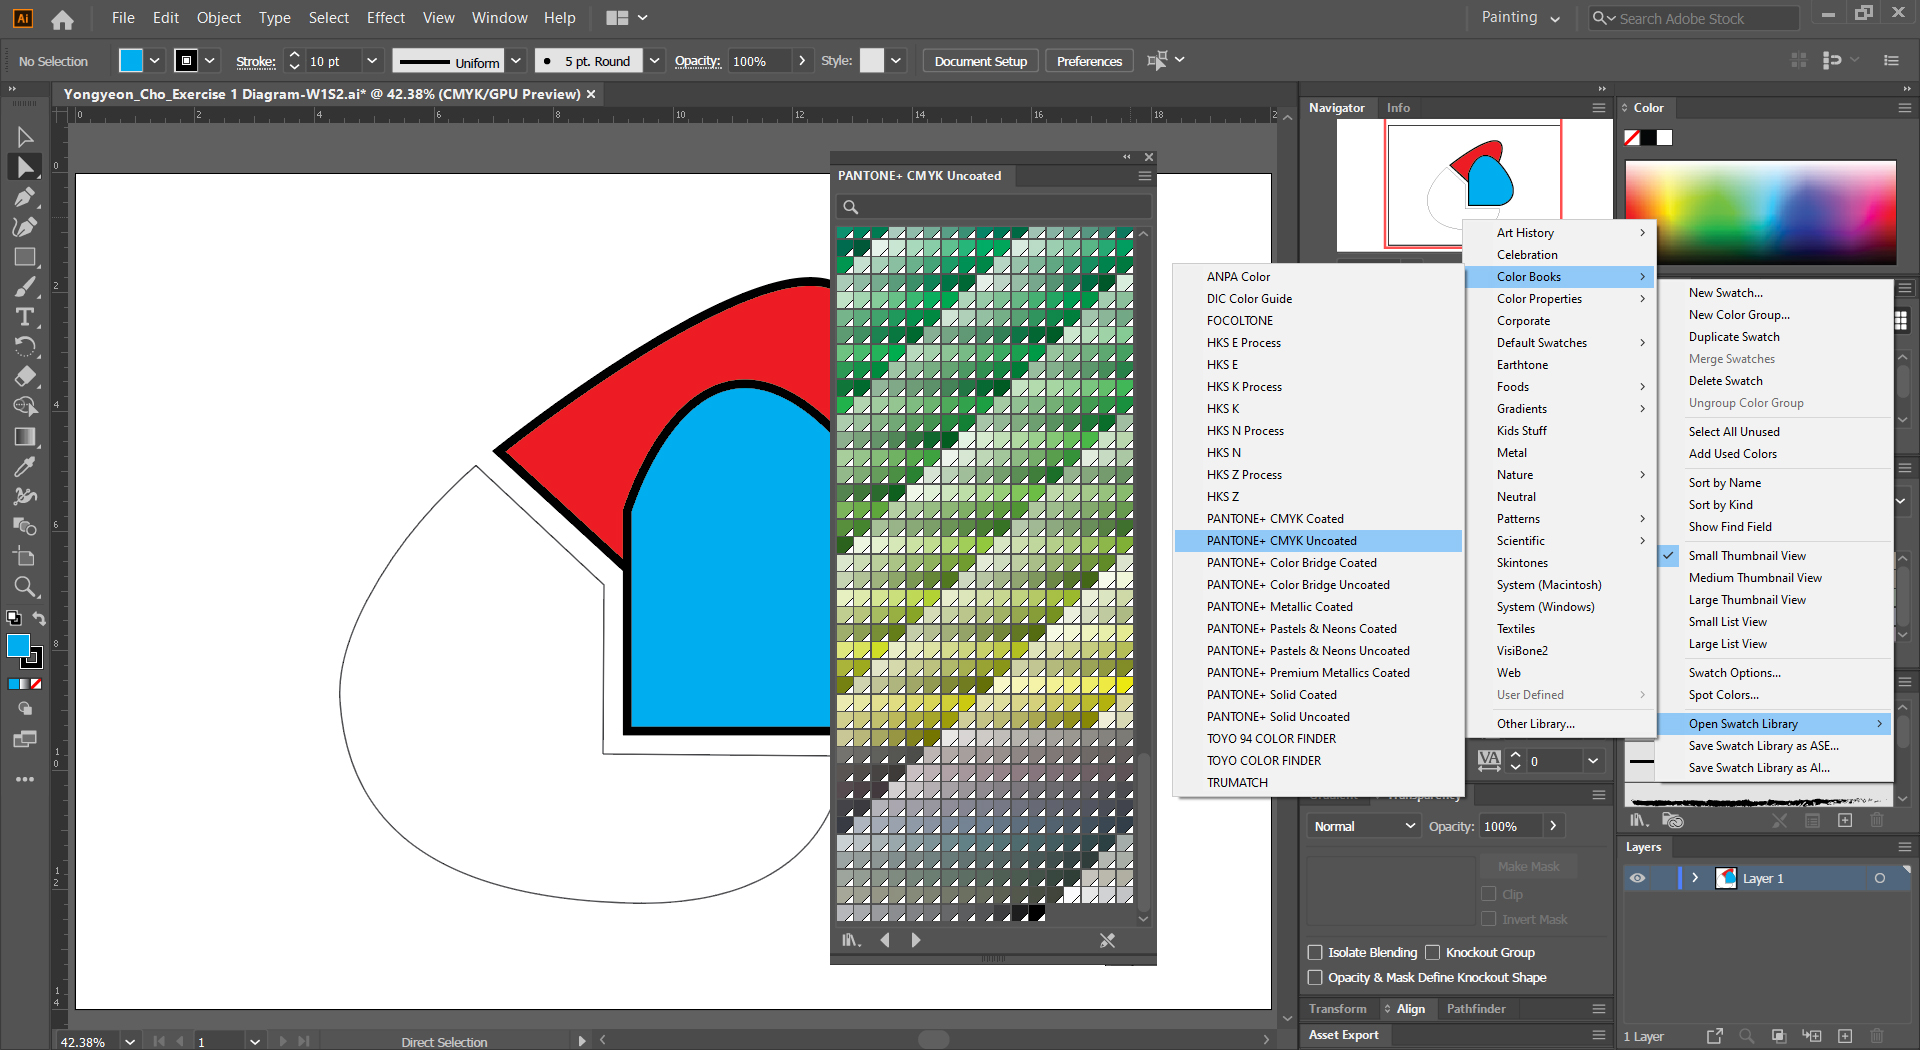
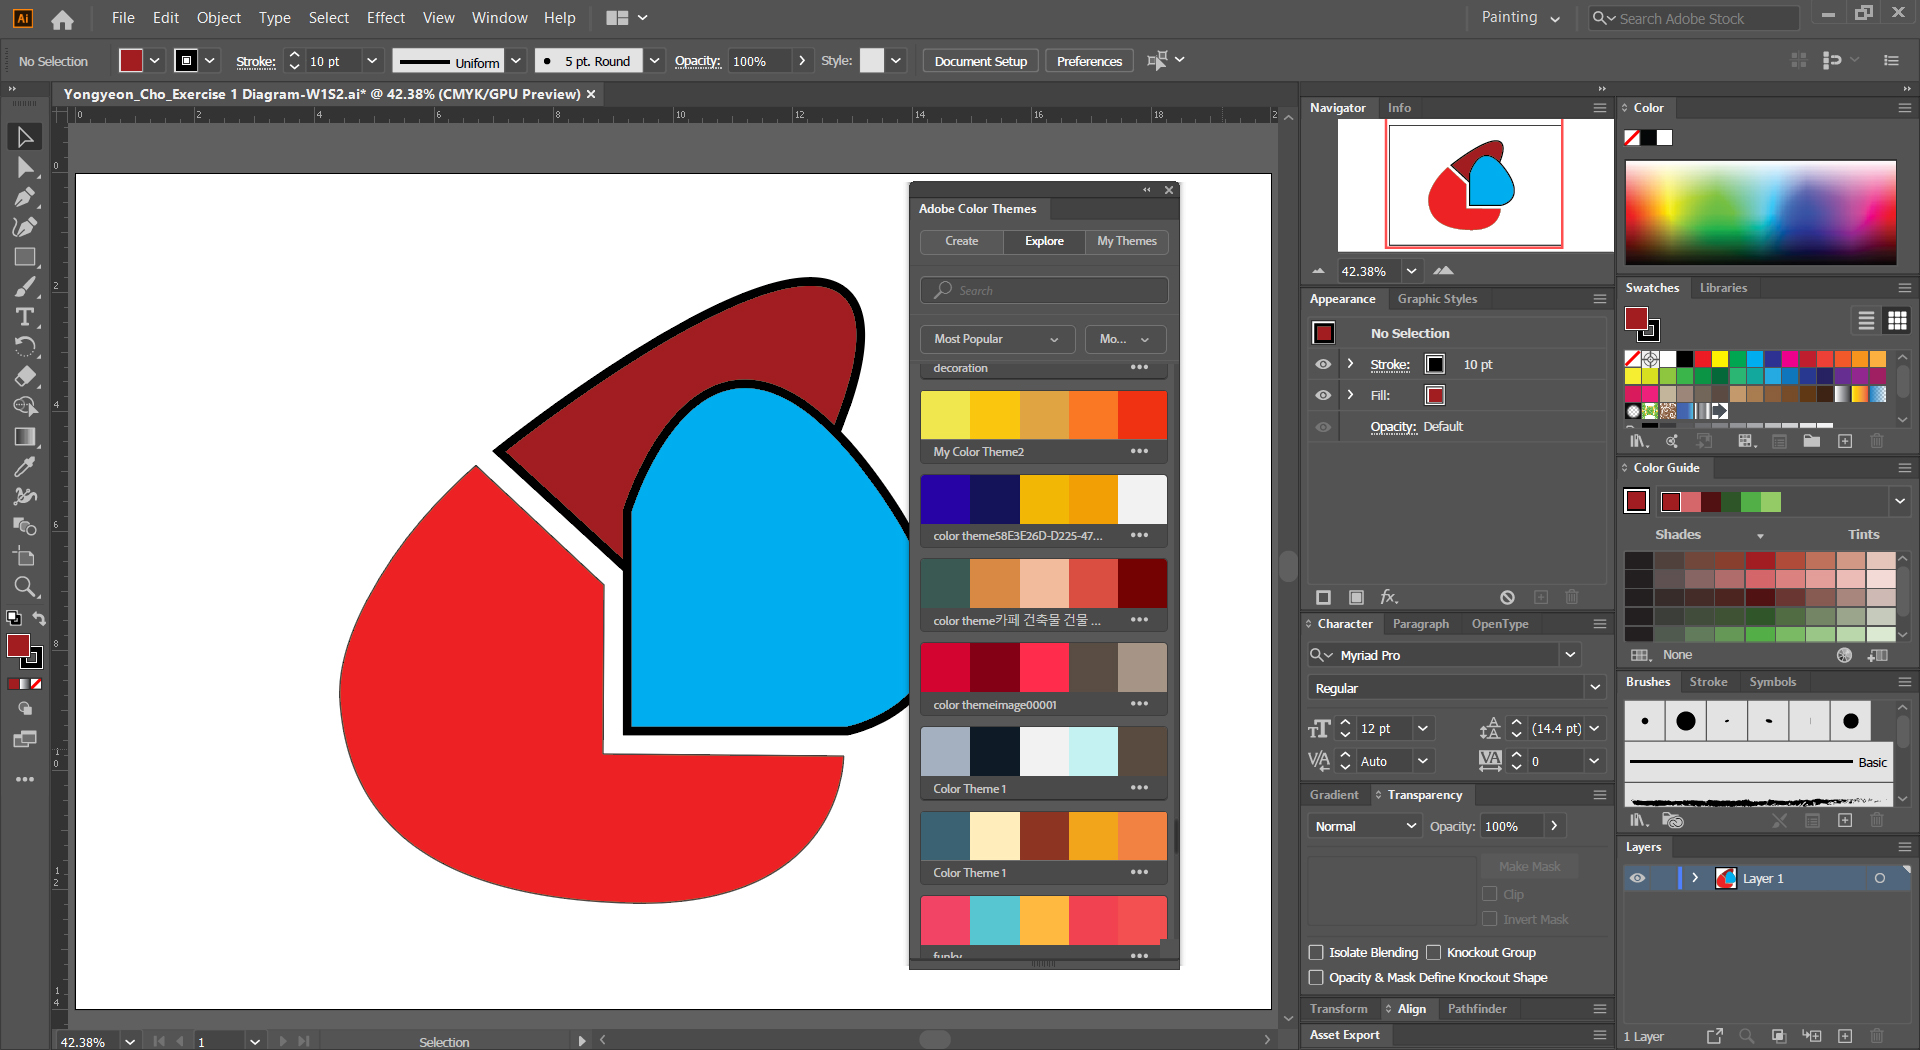
Also, you can try the Adobe color theme by clicking the linked lines icon ![]() .
.
Color Guide
The Color Guide panel is another tool to select a color. This panel proposes color harmony.
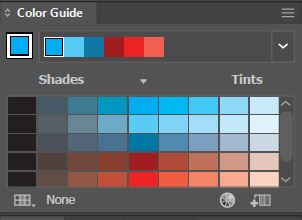
To apply the color, you can just click the color that you want to apply.
For more information about the Color Guide, please read the Color Group Harmonies help page.
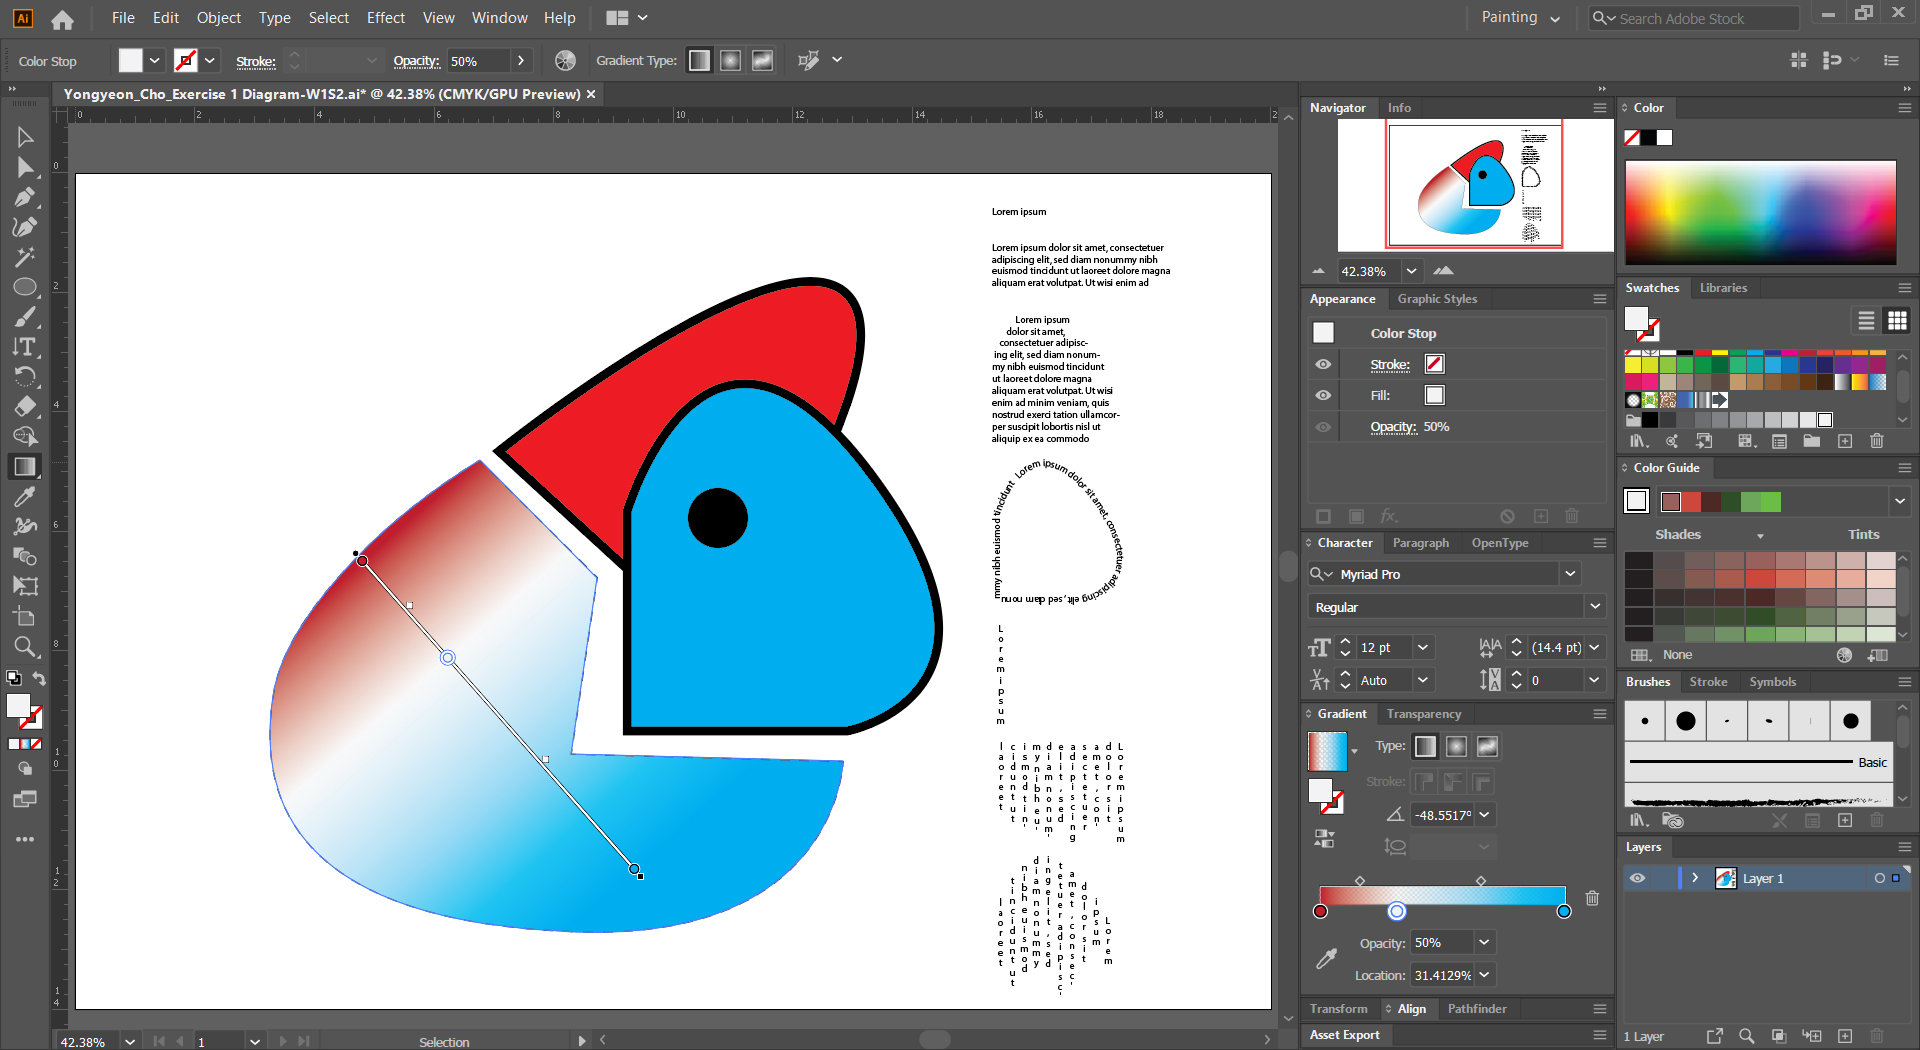
Gradient
Once you click the gradient on the gradient panel, the gradient will apply to the fill or the stroke.
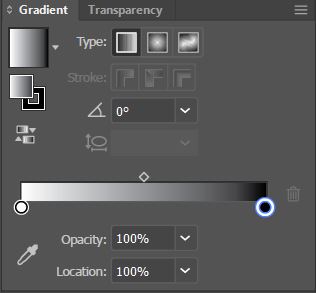
To change the gradient type, color, opacity, location, and degree.
And also, you can control the direction by using the gradient tool from the toolbar.
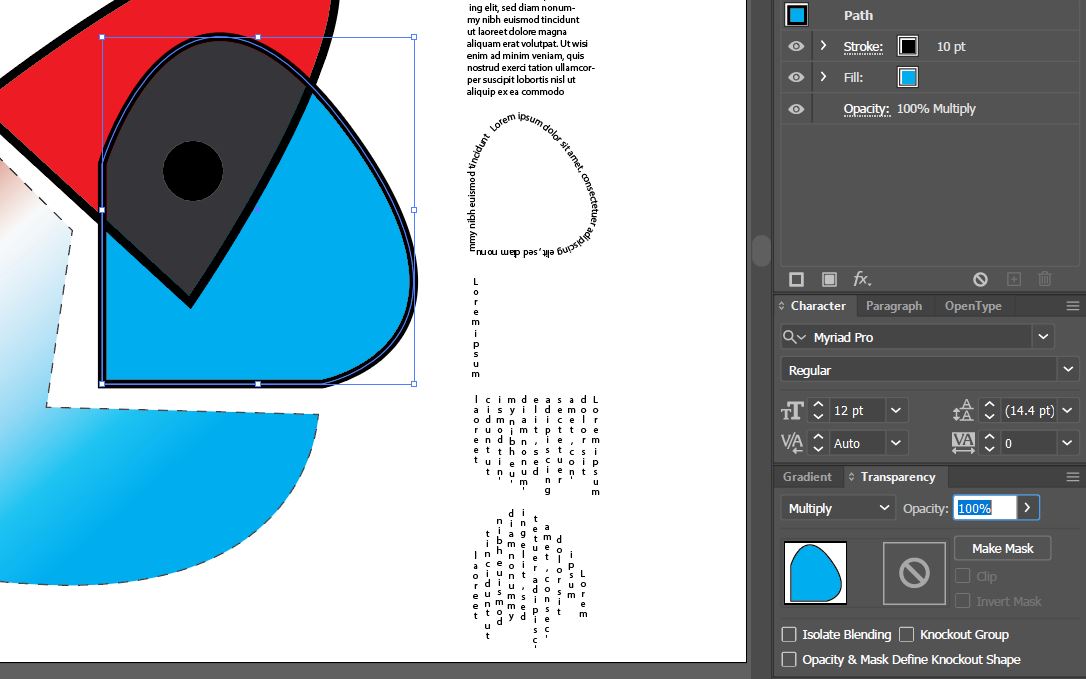
Transparency
The transparency tool is to adjust the object or group transparency and blending modes.
Click the Transparency tab on the panels.
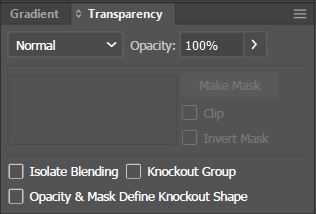
To edit the opacity or blending modes, click the arrow and change the values or the mode.
For more information about Transparency, please read the Transparency blending modes help page.
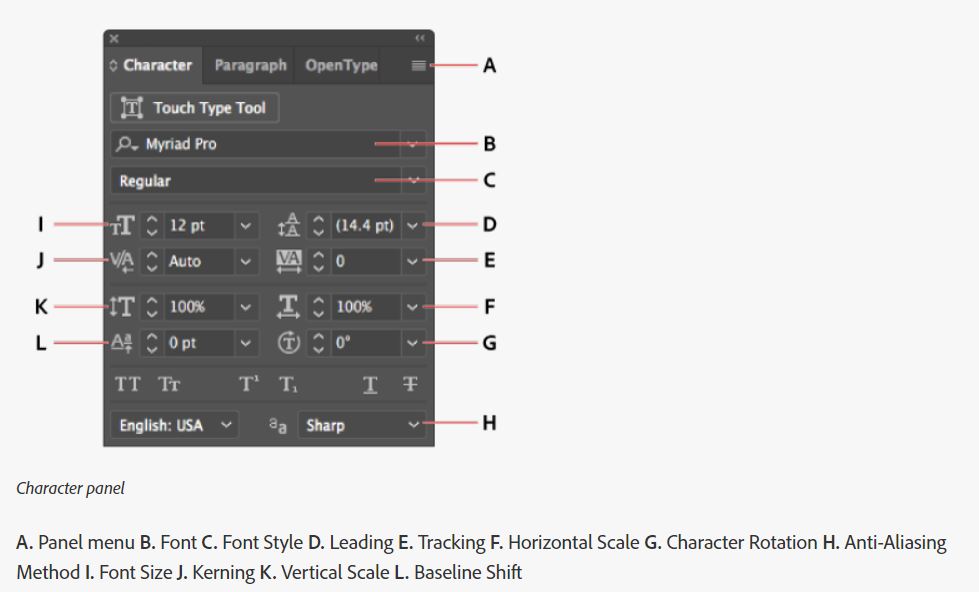
Character
The character panel is for editing texts in your illustrator file.
To open the full panel, you will need to double-click the tab.
From the character panel, you can edit font, font style, font size, leading, and more.
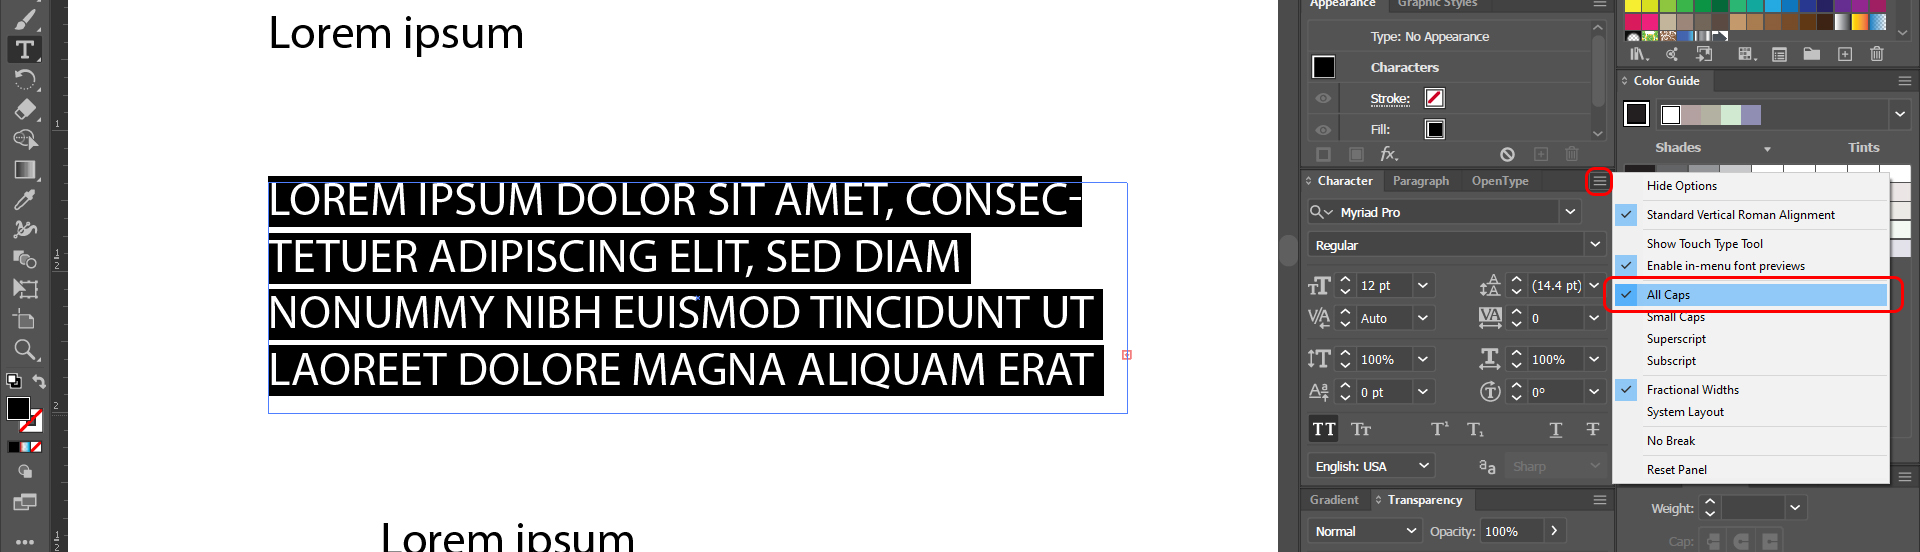
If you need to change your font to all capital letters, open the character panel menu and select All Caps.
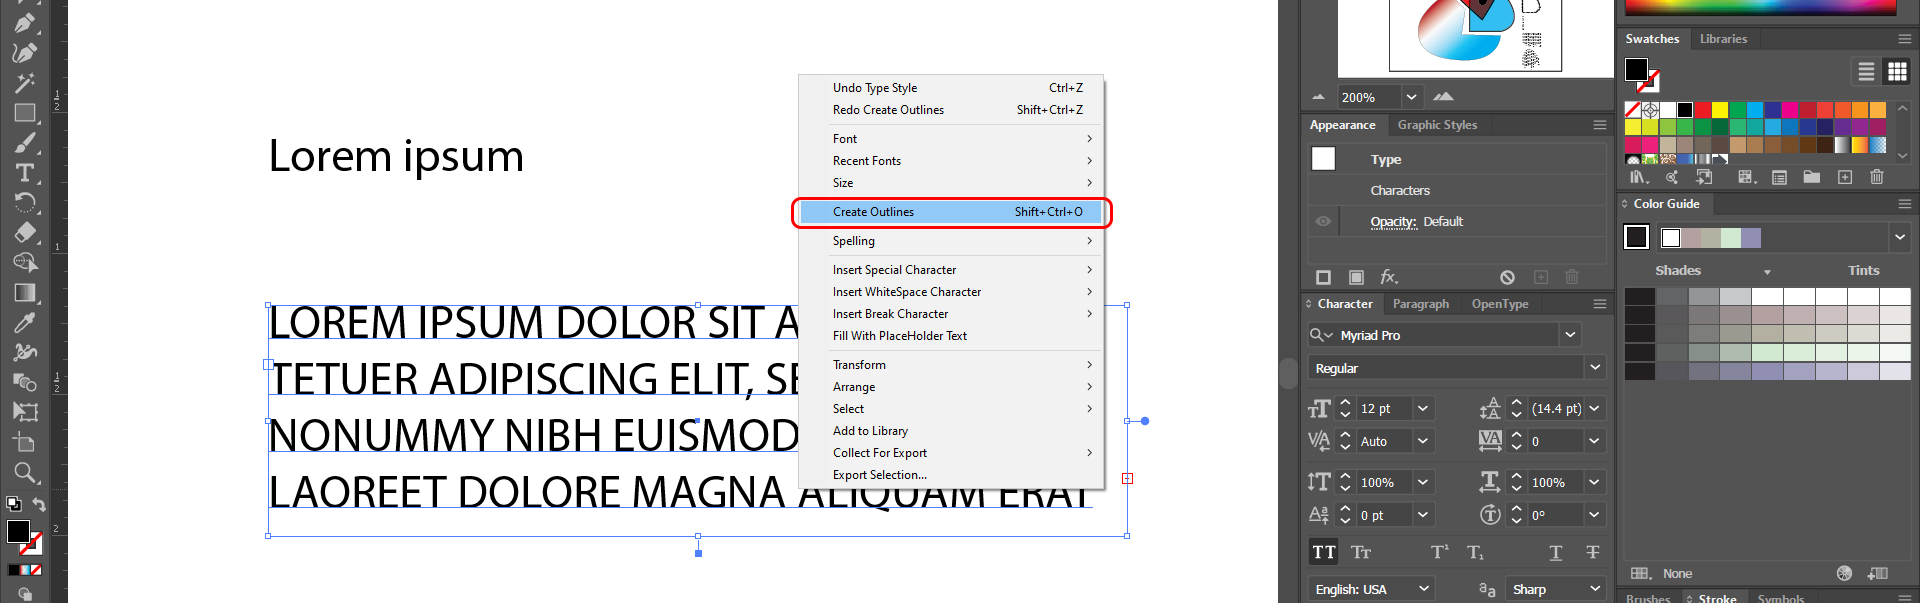
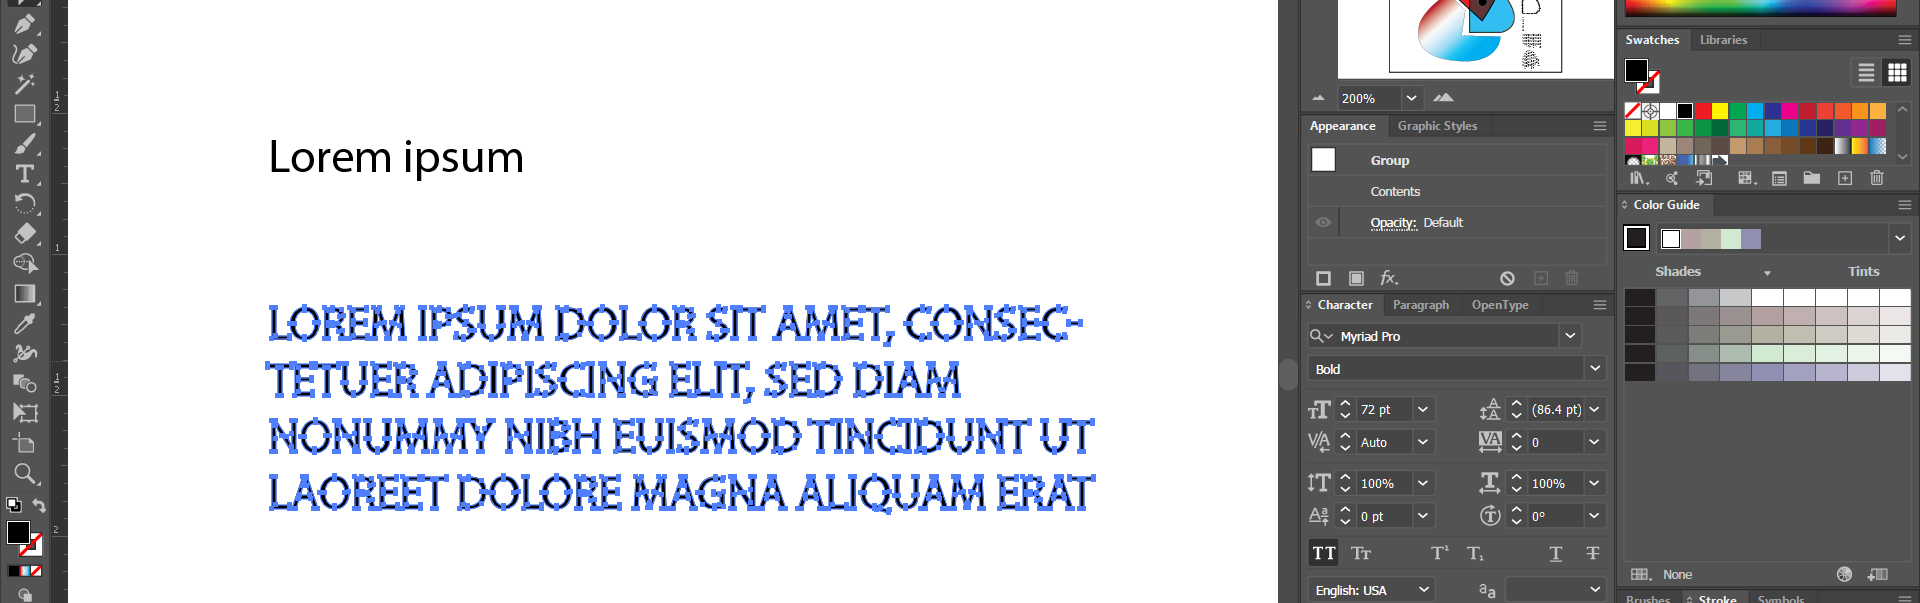
You may also need to break the fonts/texts for additional edits. You choose the types and mouse right-click, and select [Create Outlines].
For more information about formatting type, please read the Formatting type help page.
Paragraph
The paragraph panel is for editing paragraph alignment and indents and hyphenation.
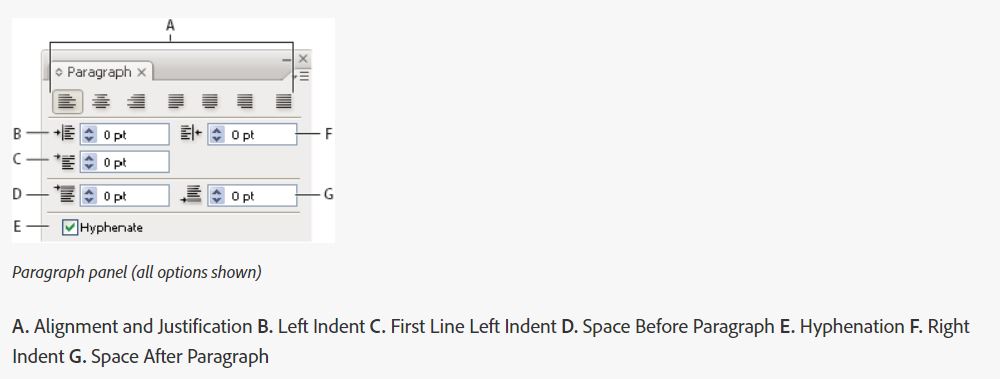
For more information about formatting paragraphs, please read the Formatting Paragraphs help page.
Align
Align panel is to controls the object or group by aligning/distributing with other selected objects or groups.
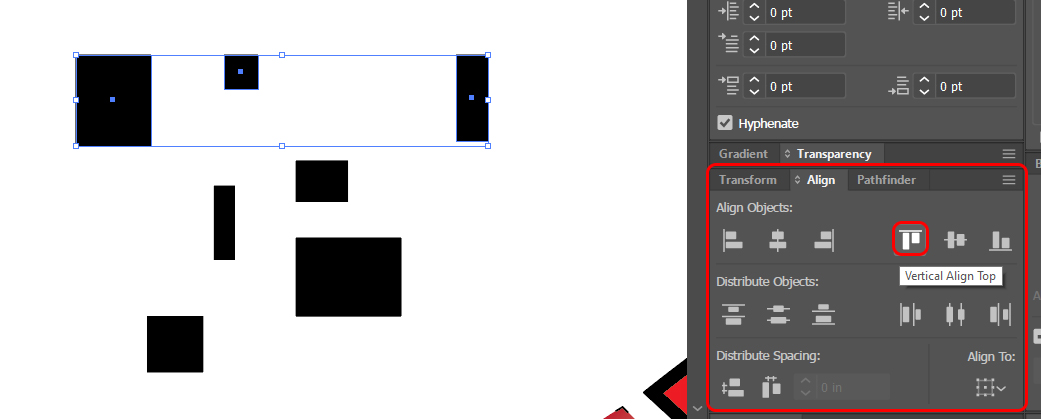
For more information about Align tool, please read the Moving, Aligning, and Distributing Objects help page.
Pathfinder
Pathfinder panel (Shape Modes and Pathfinders) is for combining objects

For more information about Pathfinder tools, please read the Combining Objects help page.
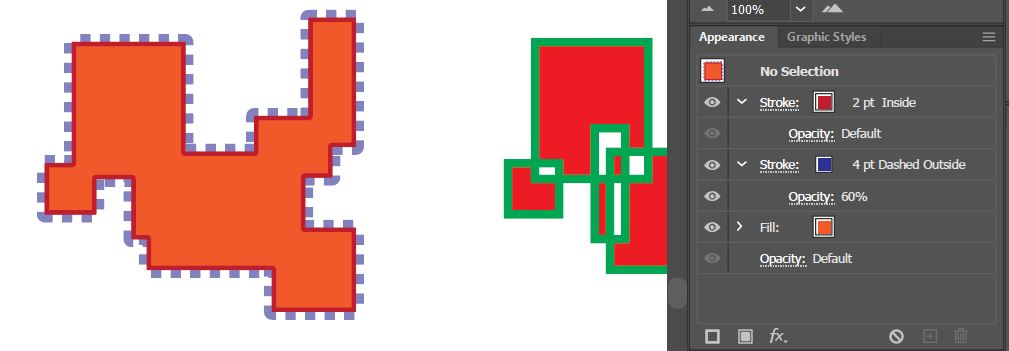
Appearance
The appearance panel is to view and adjust the appearance attributes for an object, group, or layer.
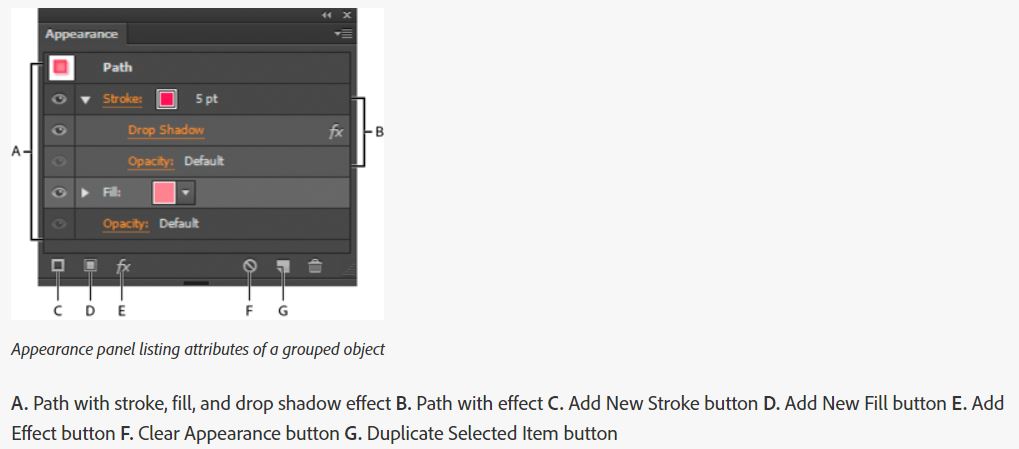
You can add/edit strokes and/or fill.
To add an effect, click the Add Effect button and select an effect.
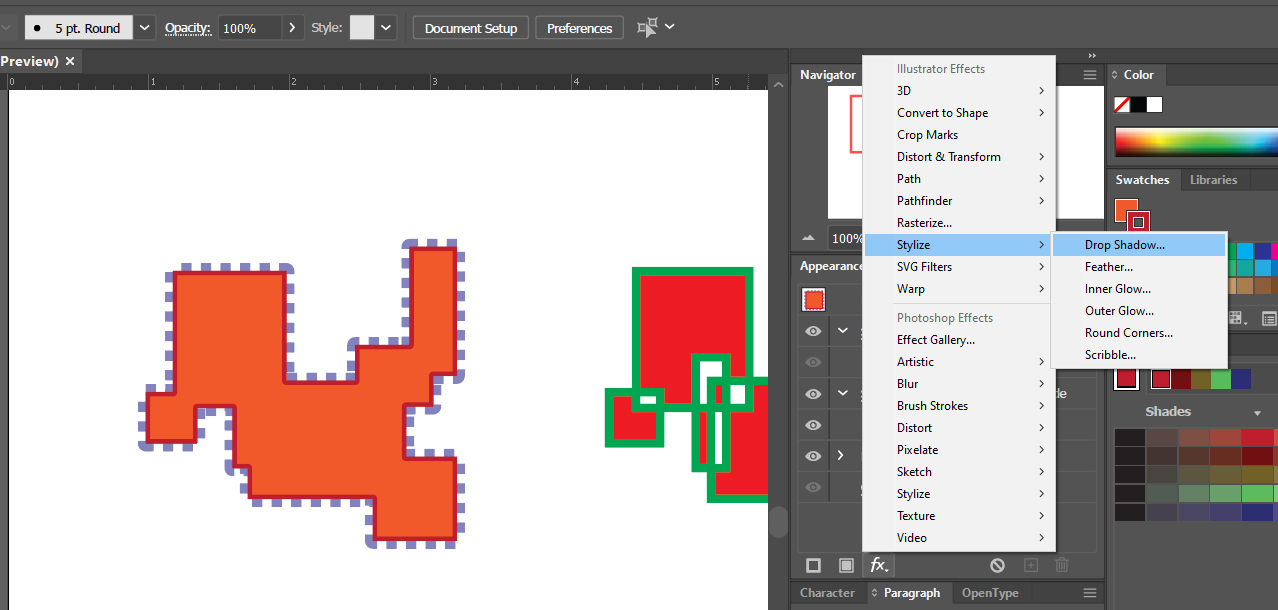
For more information about Appearance, please read the Appearance Attributes help page.
Place [shift+ctrl+p]
Use the Place command to load other bitmap images on your artboard.
- [STEP 01] Click [File] >[Place] and select an image that you want to add, and click [Place].
- [STEP 02] Drag and drop to place the linked image.
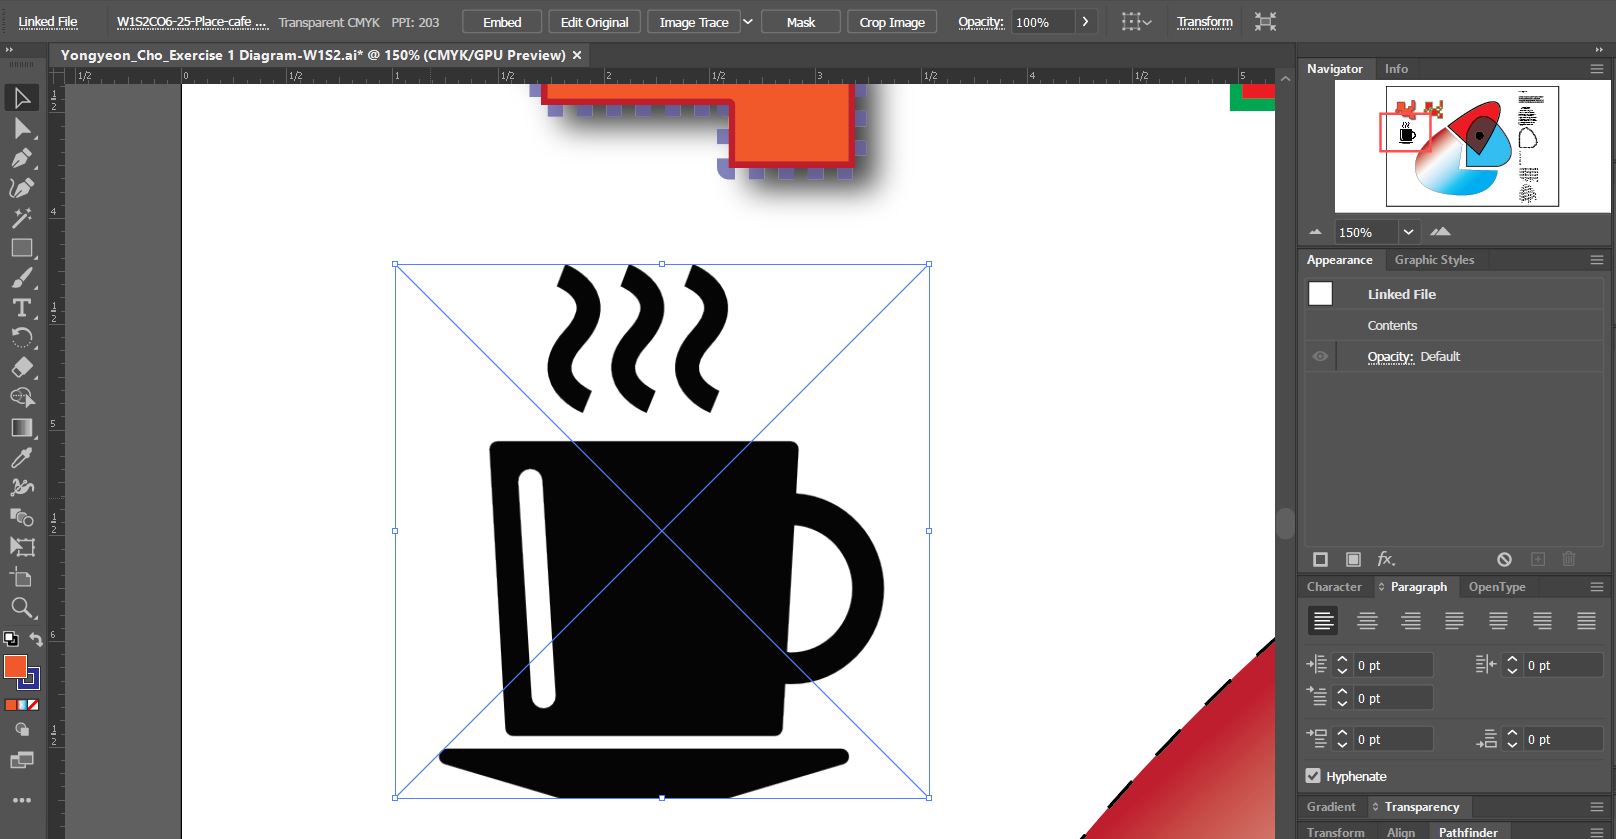
- [STEP 03] To replace the image with another image, you should click the name of the image on the control panel and click replace.
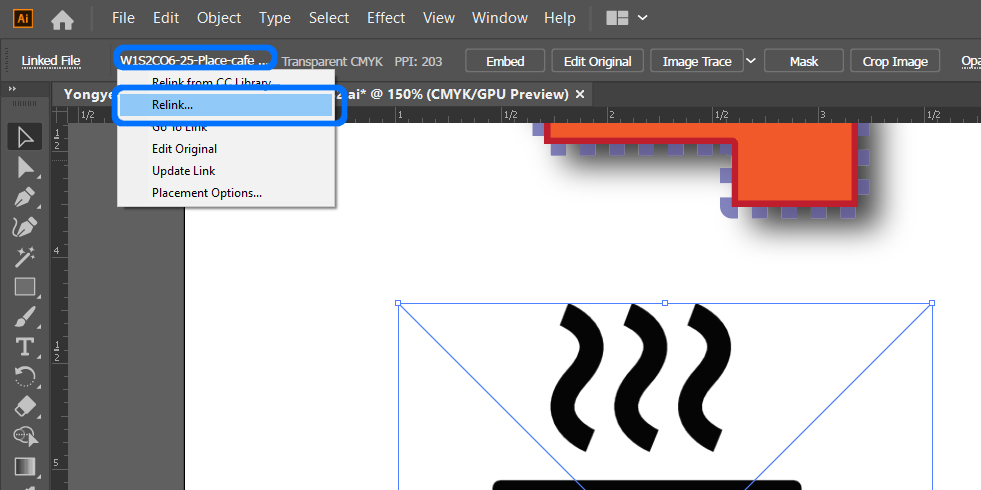
Also, you can embed the image into the file to avoid missing links in the future.
For more information about the Place function, please read the Importing Artwork Files help page.
Image trace
Image trace command is for converting a bitmap image to a vector object (editable in illustrator).
- [STEP 01] Before using the command, please embed the linked image.
- [STEP 02] Once you click an arrow next to the [image trace] button, you can see some preset to convert image to object. You can try the preset that is appropriate for your purpose.
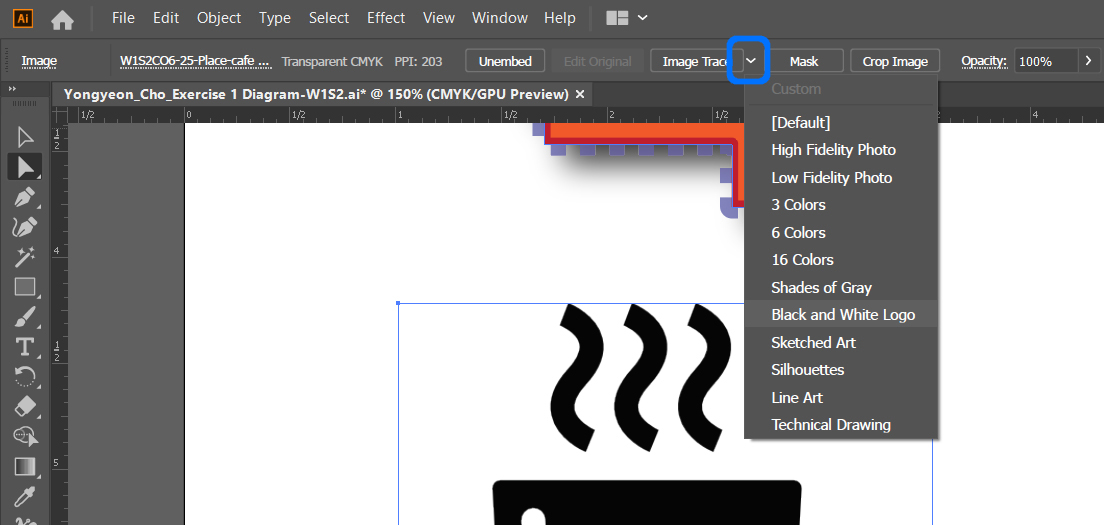
- [STEP 03] If you need any additional adjustment for the converted object other than the presets, please open the image trace panel.
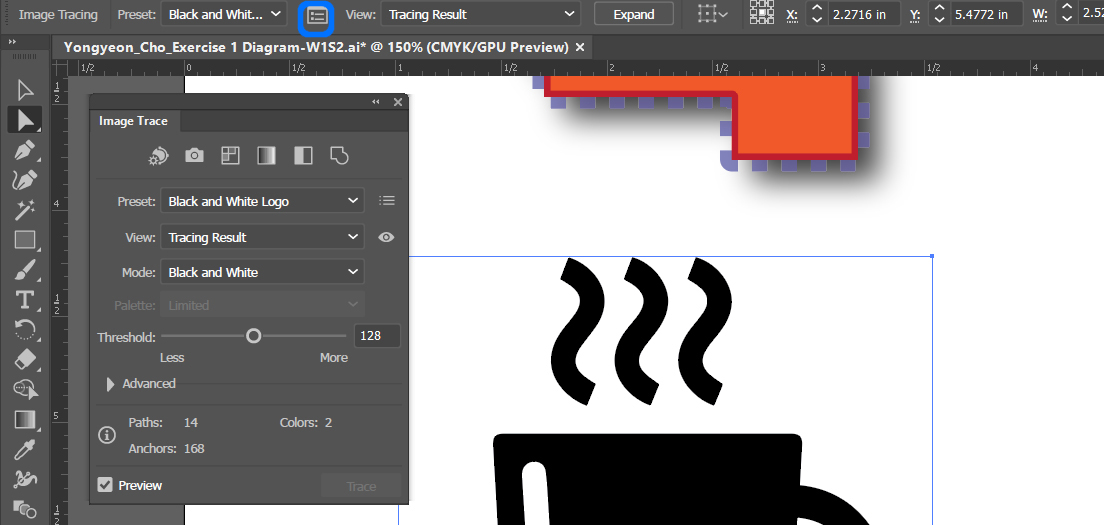
To convert the editable object, please click [Expand] on the control panel.
For more information about image trace functions, please read the Image Trace help page.
Group [ctrl+g], ungroup, and expand objects
For more information groups and expanding objects, please read the Grouping Expanding Objects help page.
Ruler [ctrl+r] and guides
For more information about rulers and guides, please read the Rulers, Guides, and Crop Marks help page.
Layers
For more information about layers, please read the Using Layers help page.
 References
Adobe Illustrator. (2021, December 20). Welcome to the illustrator User Guide. Retrieved December 21, 2021, from https://helpx.adobe.com/illustrator/user-guide.html
Adobe Illustrator. (2021, October 26). Select objects. Retrieved December 21, 2021, from https://helpx.adobe.com/illustrator/using/selecting-objects.html#selection_options_and_preferences
Adobe Illustrator. (2018, January 11). Drawing with the Pen, Curvature, or Pencil tool. Retrieved December 21, 2021, from https://helpx.adobe.com/illustrator/using/drawing-pen-curvature-or-pencil.html
Adobe Illustrator. (2019, January 30). Create artwork with the Paintbrush and Pencil tools. Retrieved December 21, 2021, from https://helpx.adobe.com/illustrator/how-to/create-edit-artwork-with-paintbrush-pencil-tools.html
Adobe Illustrator. (2021, December 13). Create text. Retrieved December 21, 2021, from https://helpx.adobe.com/illustrator/using/creating-text.html
Adobe Illustrator. (2019, July 10). Draw basic shapes. Retrieved December 21, 2021, from https://helpx.adobe.com/illustrator/how-to/draw-basic-shapes.html
Adobe Illustrator. (2021, August 3). Appearance attributes. Retrieved December 21, 2021, from https://helpx.adobe.com/illustrator/using/appearance-attributes.html
Adobe Illustrator. (2019, April 23). Scale, shear, and distort objects. Retrieved December 21, 2021, from https://helpx.adobe.com/illustrator/using/scaling-shearing-distorting-objects.html
Adobe Illustrator. (2020, April 24). Color groups. Retrieved December 21, 2021, from https://helpx.adobe.com/illustrator/using/color-groups-harmonies.html
Adobe Illustrator. (2021, April 16). Transparency and blending modes. Retrieved December 21, 2021, from https://helpx.adobe.com/illustrator/using/transparency-blending-modes.html
Adobe Illustrator. (2021, June 22). Format type. Retrieved December 21, 2021, from https://helpx.adobe.com/illustrator/using/formatting-type.html
Adobe Illustrator. (2021, April 16). Format paragraphs. Retrieved December 21, 2021, from https://helpx.adobe.com/illustrator/using/formatting-paragraphs.html
Adobe Illustrator. (2017, February 15). Move, align, and distribute objects. Retrieved December 21, 2021, from https://helpx.adobe.com/illustrator/using/moving-aligning-distributing-objects.html
Adobe Illustrator. (2021, April 16). Combine objects. Retrieved December 21, 2021, from https://helpx.adobe.com/illustrator/using/combining-objects.html
Adobe Illustrator. (2021, August 3). Appearance attributes. Retrieved December 21, 2021, from https://helpx.adobe.com/illustrator/using/appearance-attributes.html#appearance_panel_overview
Adobe Illustrator. (2021, November 12). Import artwork files. Retrieved December 21, 2021, from https://helpx.adobe.com/illustrator/using/importing-artwork-files.html
Adobe Illustrator. (2021, May 14). Image trace. Retrieved December 21, 2021, from https://helpx.adobe.com/illustrator/using/image-trace.html
Adobe Illustrator. (2020, June 4). Group or ungroup objects. Retrieved December 21, 2021, from https://helpx.adobe.com/illustrator/using/grouping-expanding-objects.html
Adobe Illustrator. (2021, December 13). Rulers, grids, and guides. Retrieved December 21, 2021, from https://helpx.adobe.com/illustrator/using/rulers-grids-guides-crop-marks.html
Adobe Illustrator. (2021, August 17). Layers. Retrieved December 21, 2021, from https://helpx.adobe.com/illustrator/using/layers.html
Digital Art Creation. (2017). Drawing Perspective Vector Art in Adobe illustrator. YouTube. Retrieved December 21, 2021, from https://www.youtube.com/watch?v=niKUMz0wpUQ.
Satori Graphics. (2019). Learn Skills For QUALITY ISOMETRIC DESIGN – Illustrator Isometric House Tutorial. YouTube. Retrieved December 21, 2021, from https://www.youtube.com/watch?v=eFHxknDs4Mk.
