Part Three. Advanced Modeling
Chapter 12. Revit – Organic shaped ceiling and column
Upon completing this session, students will be able to:
- (CO 1) Create an organic wooden pattern ceiling/wall/bench
- (CO 2) Create a geometric pattern ceiling
- (CO 3) Create an organic column vs. a geometric pattern column
 Session Highlights
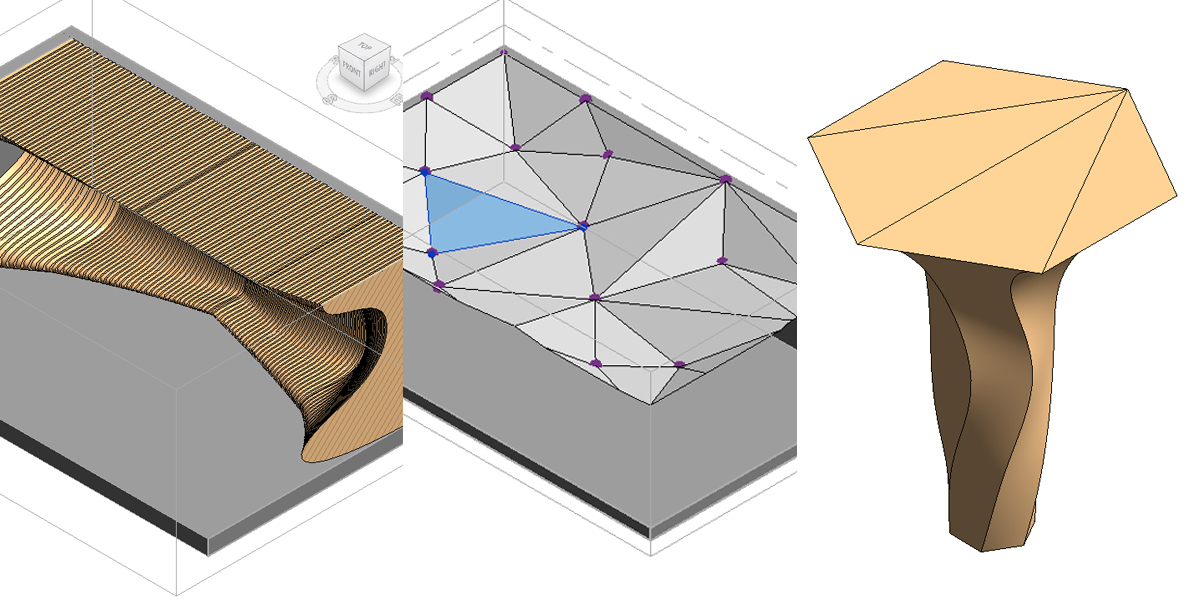
At the end of the session, students can create the graphics below.
 Lecture Contents
(CO1) Create an organic wooden pattern ceiling/wall/bench
In this tutorial, you will use massing to create an organic pattern form for the ceiling, wall, and bench. You will use create solid form and void form to create wooden panels.
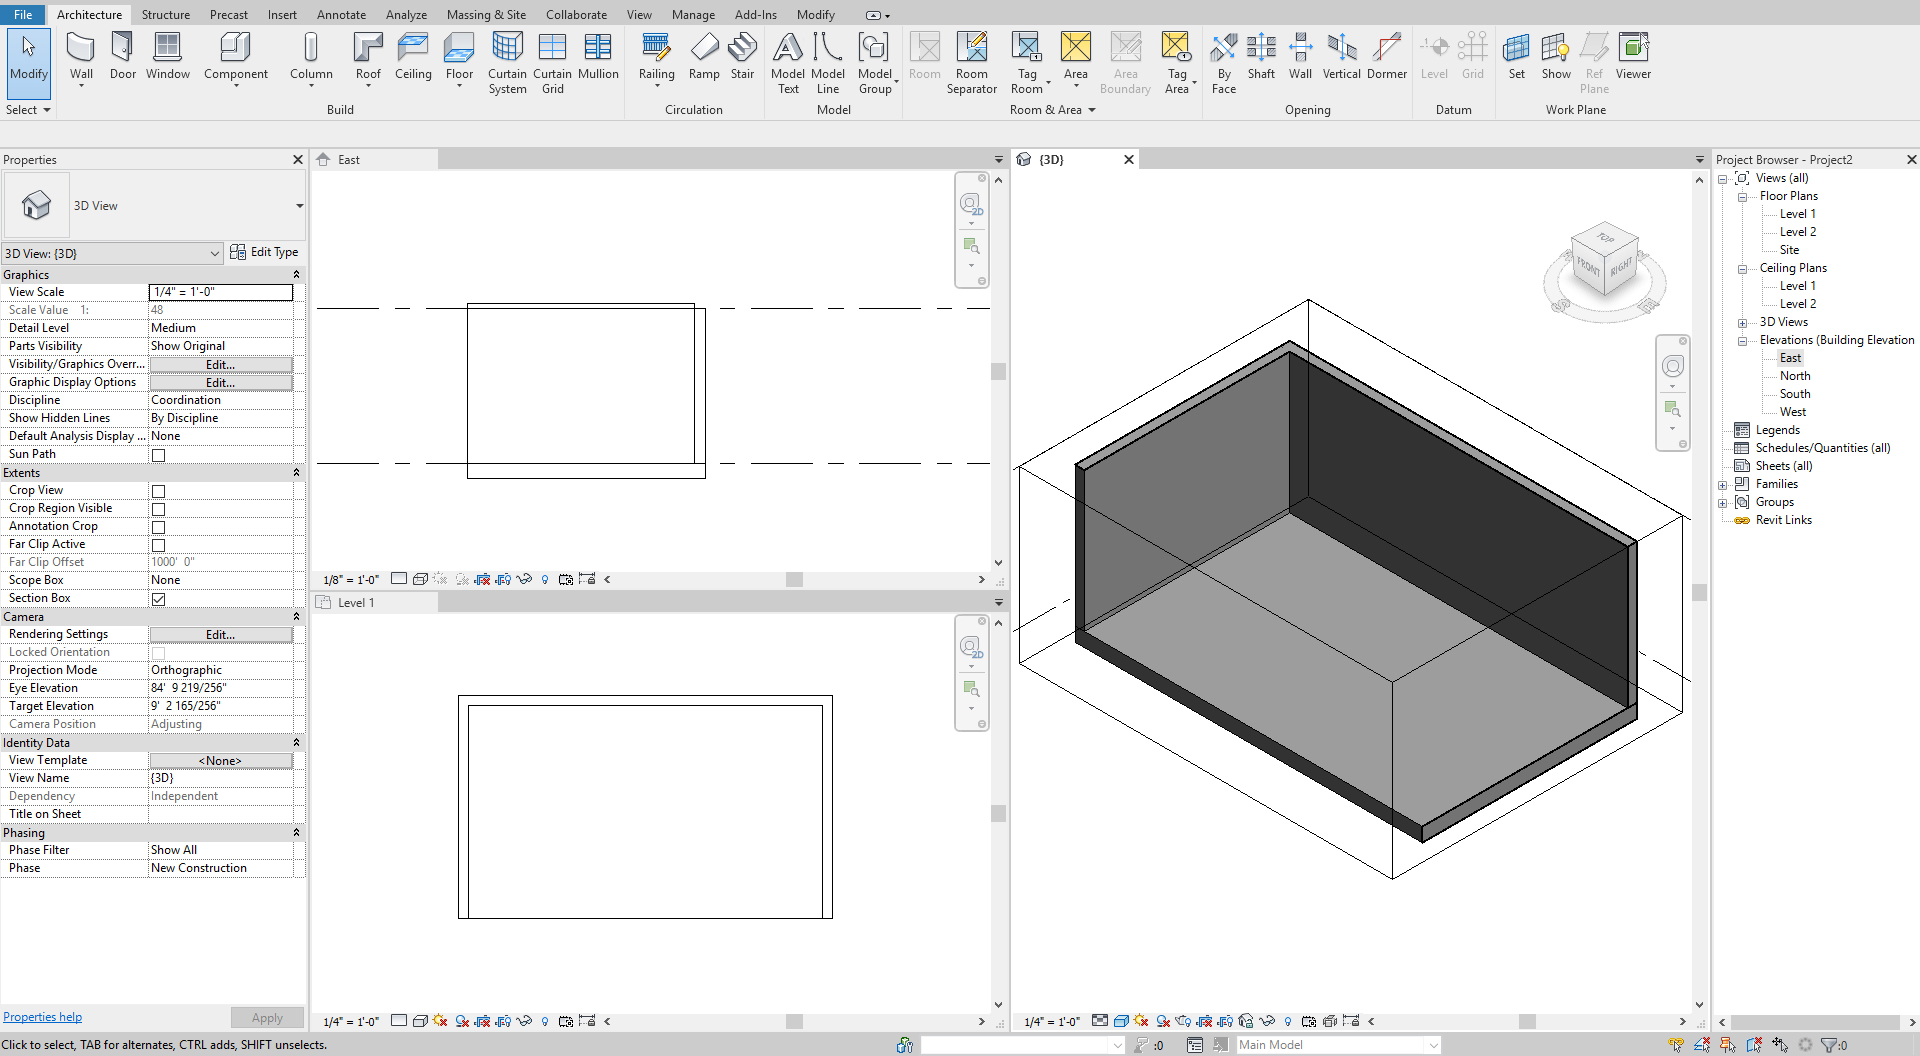
- [STEP 1] Create Floor, wall, and ceiling to define the boundary of the space > Open a floor plan, a side view, and 3D view with section box to see the wall view > make a tile view > change visual style to [floor plan – hidden line], [side view – wireframe], [3D view – shaded with edge].
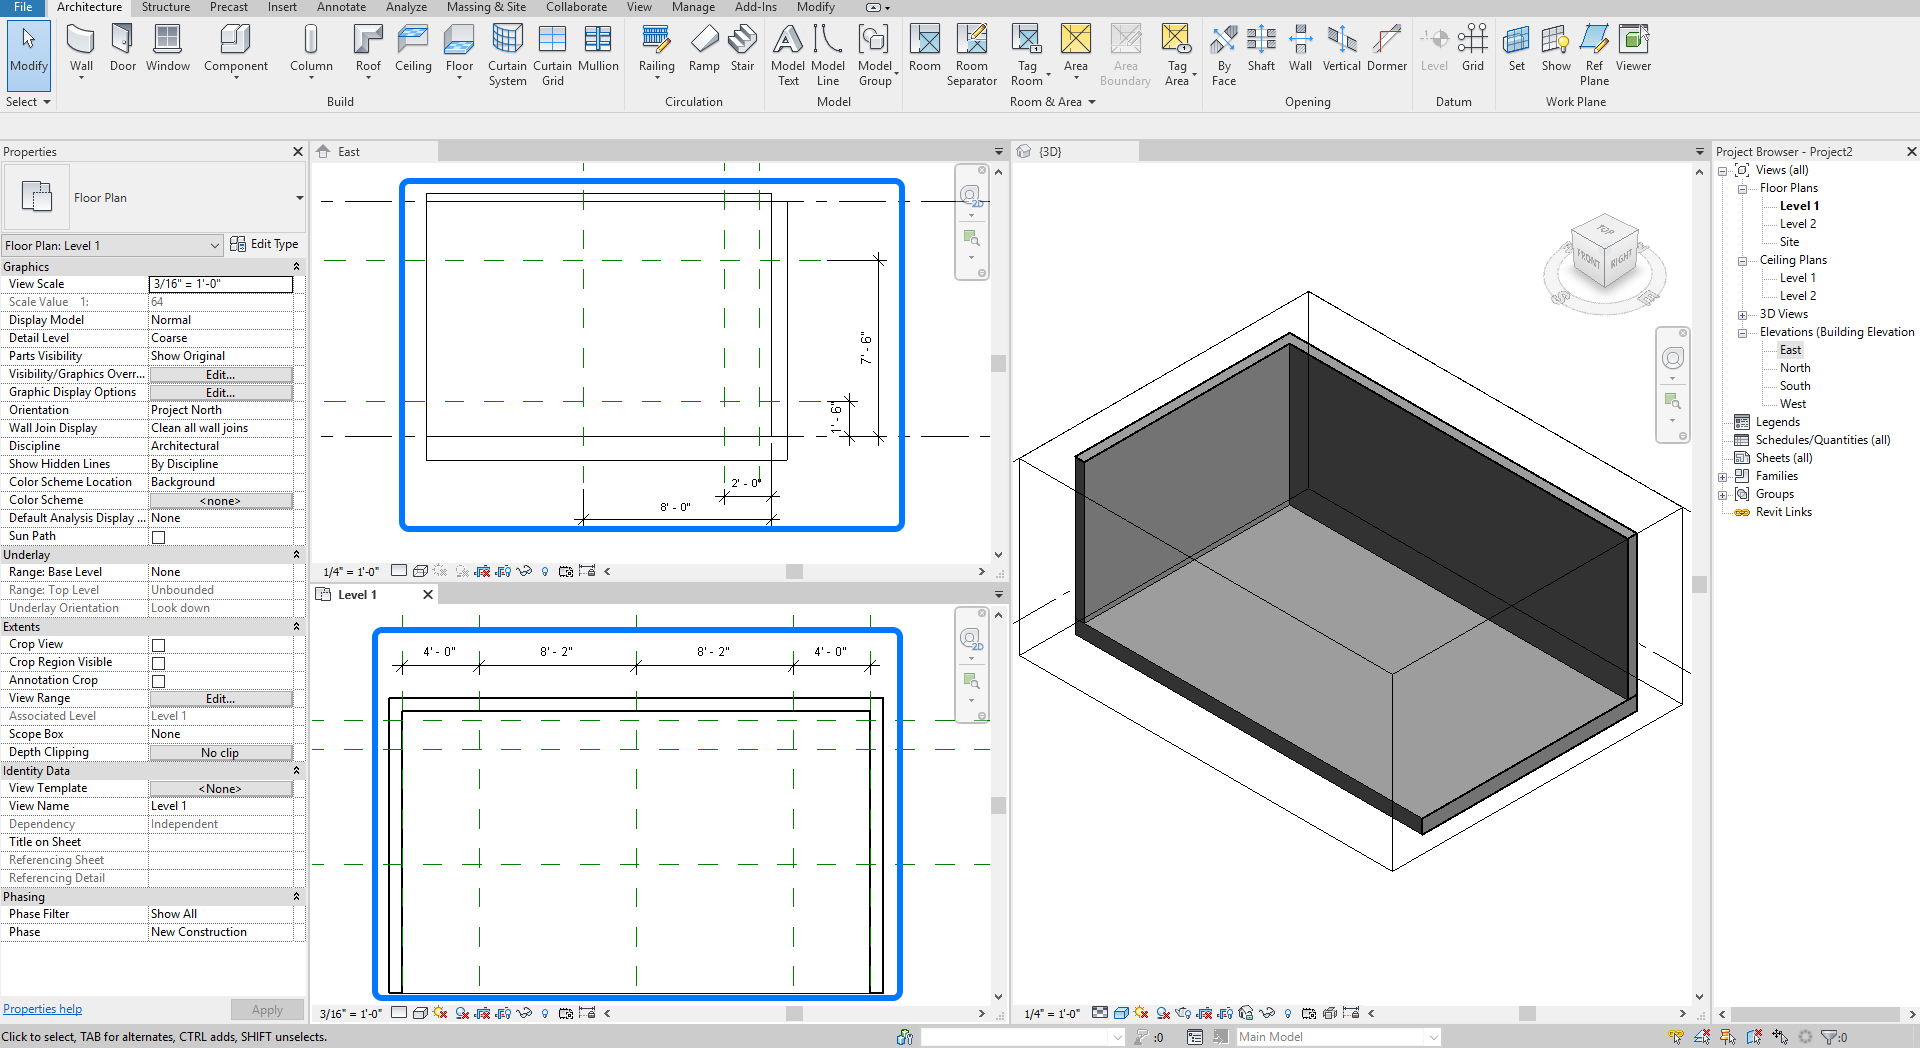
- [STEP 2] Set reference planes with dimensions and names.
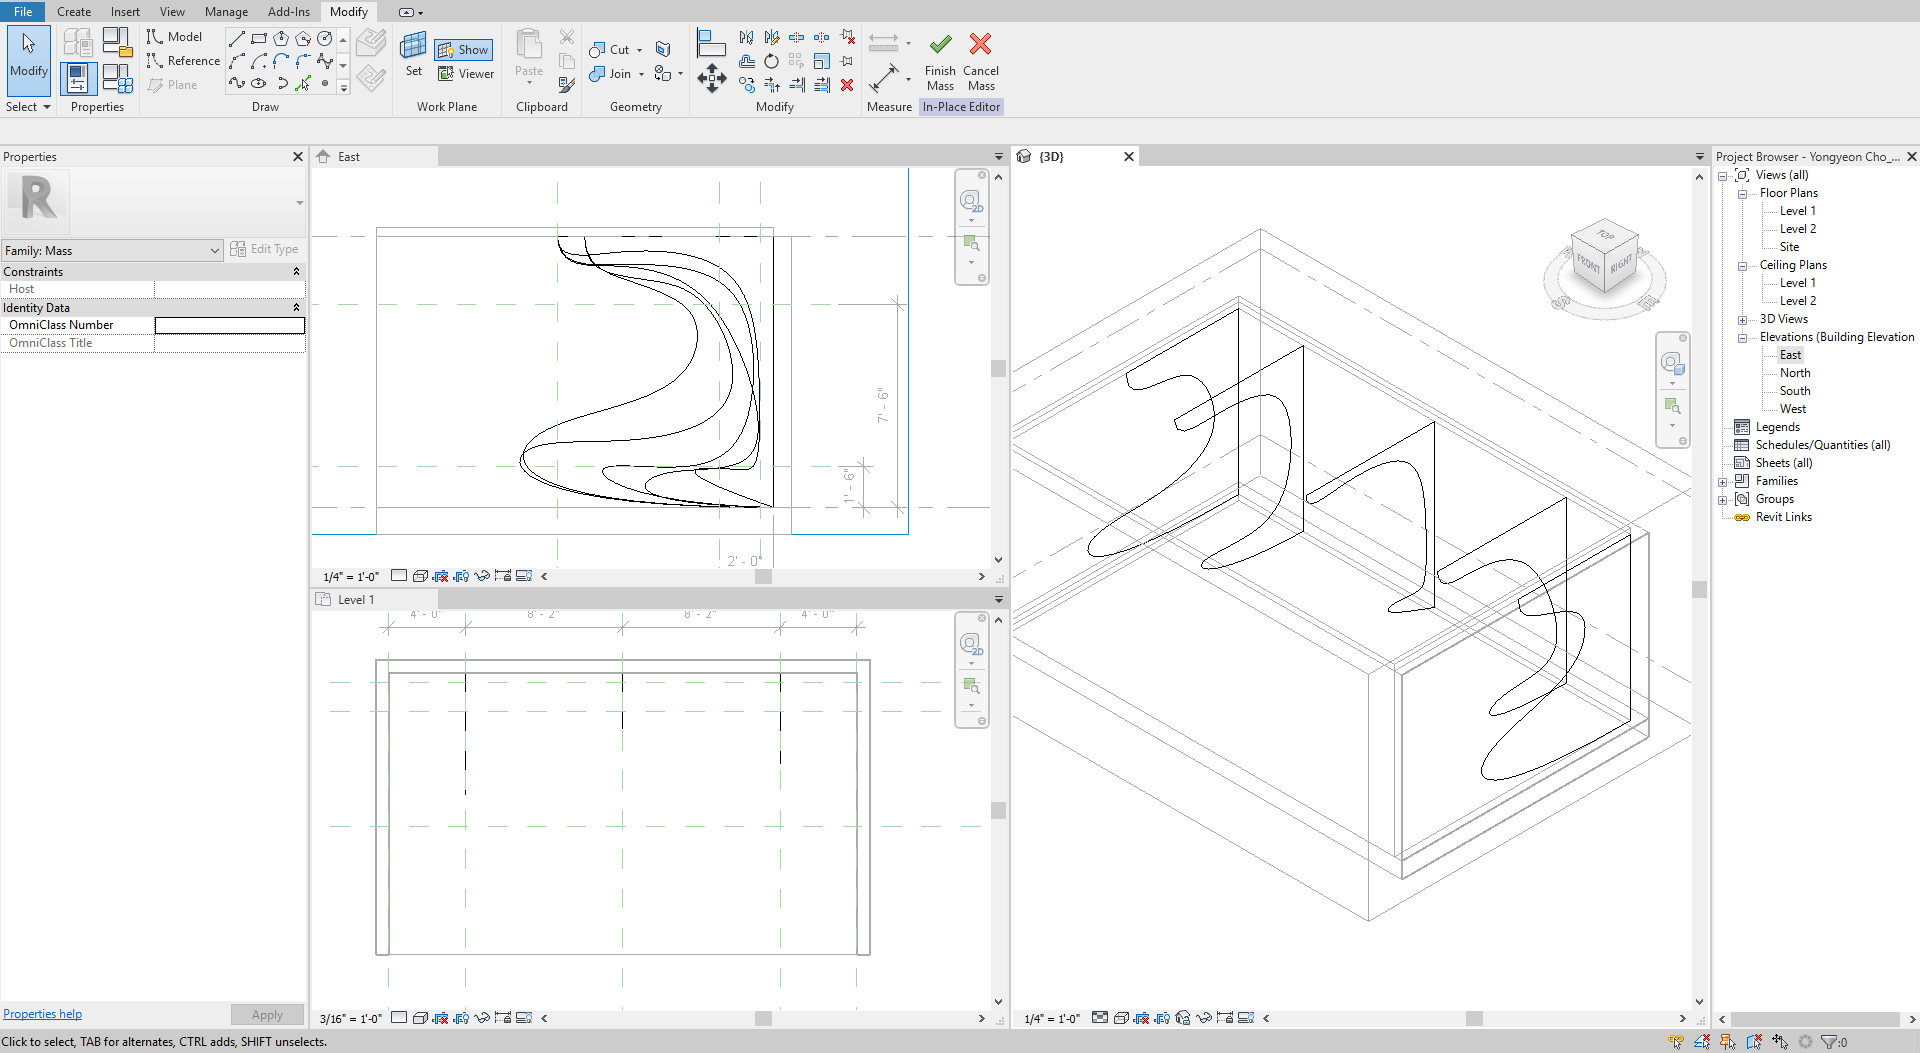
- [STEP 3] Create a mass with [In-Place mass] by drawing 5 model lines (use spline and lines).
Tips. Create a closed-loop with splines and lines and create a form to confirm the loop can be created the mass. Copy the loop on the same reference plane and change the host so others and edit the line shape.
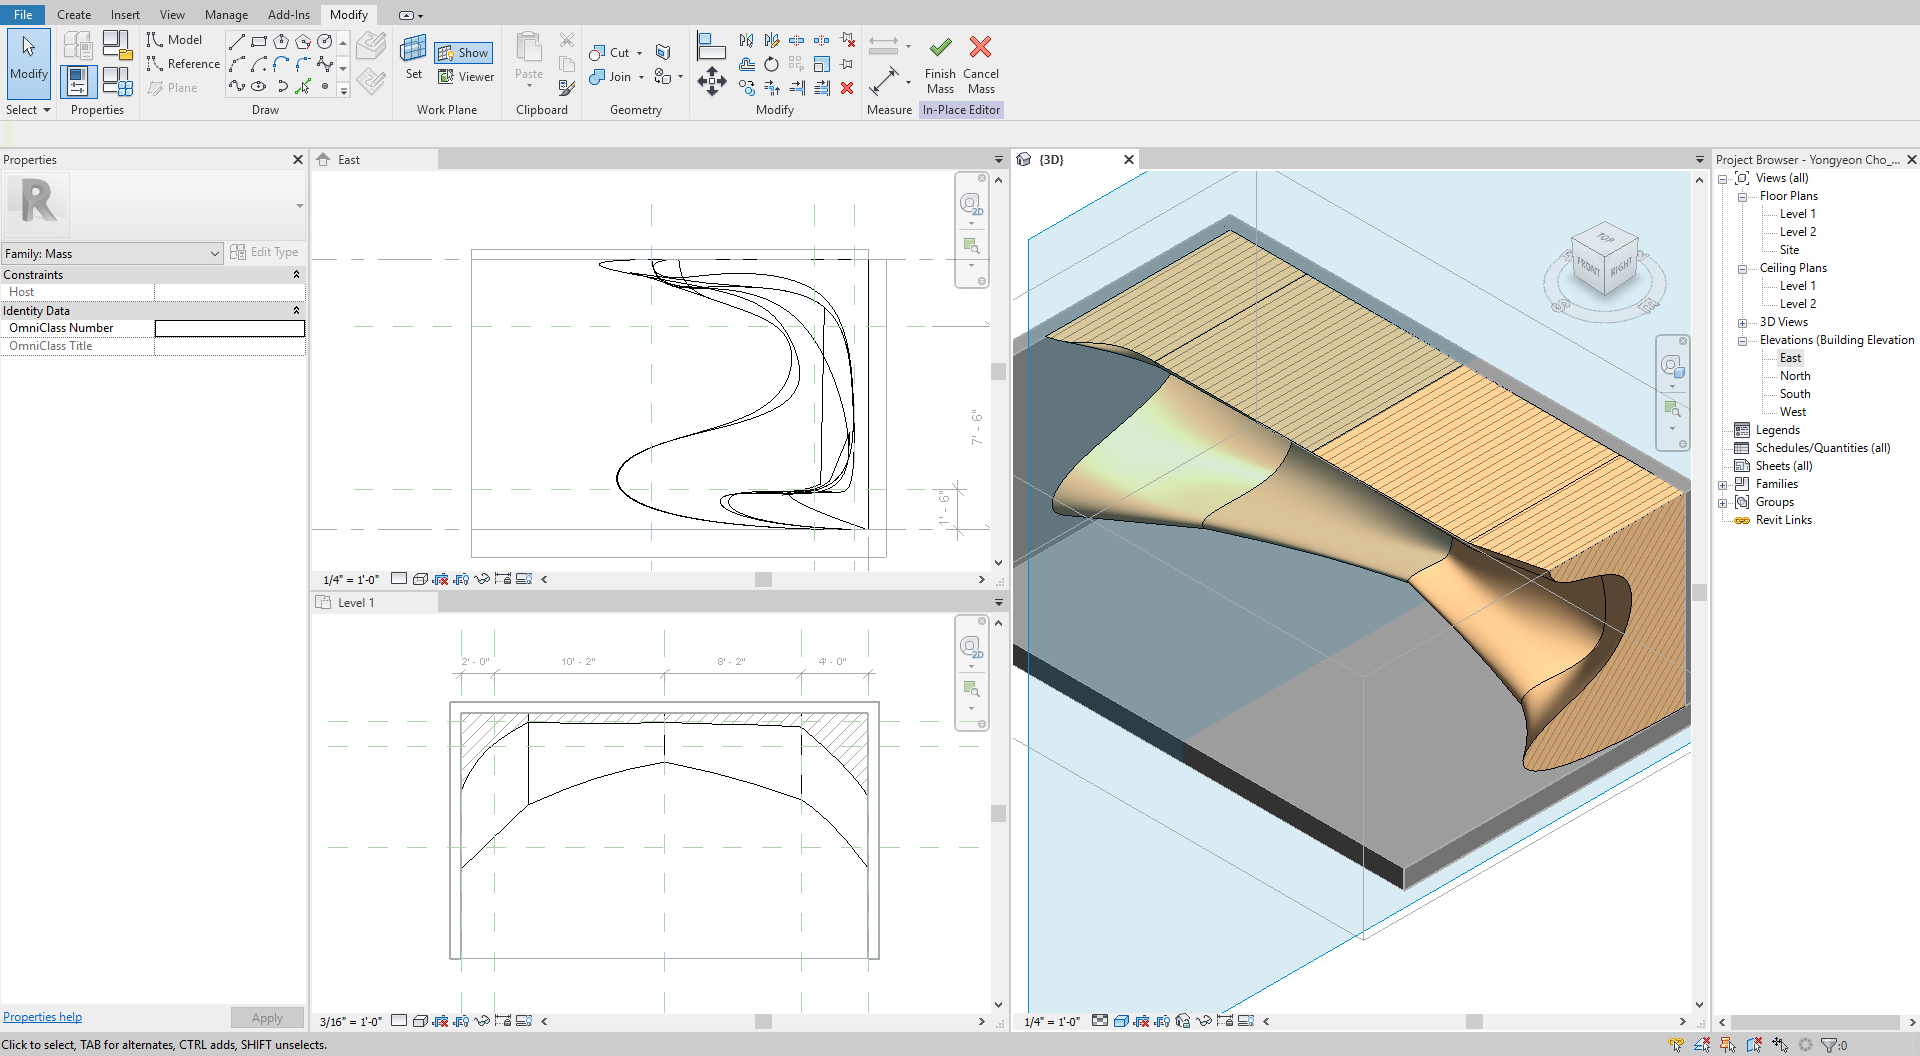
- [STEP 4] Create solid forms. You must select only two and make a solid form. So, you need four forms if you have five closed loops > Select forms and apply a material.
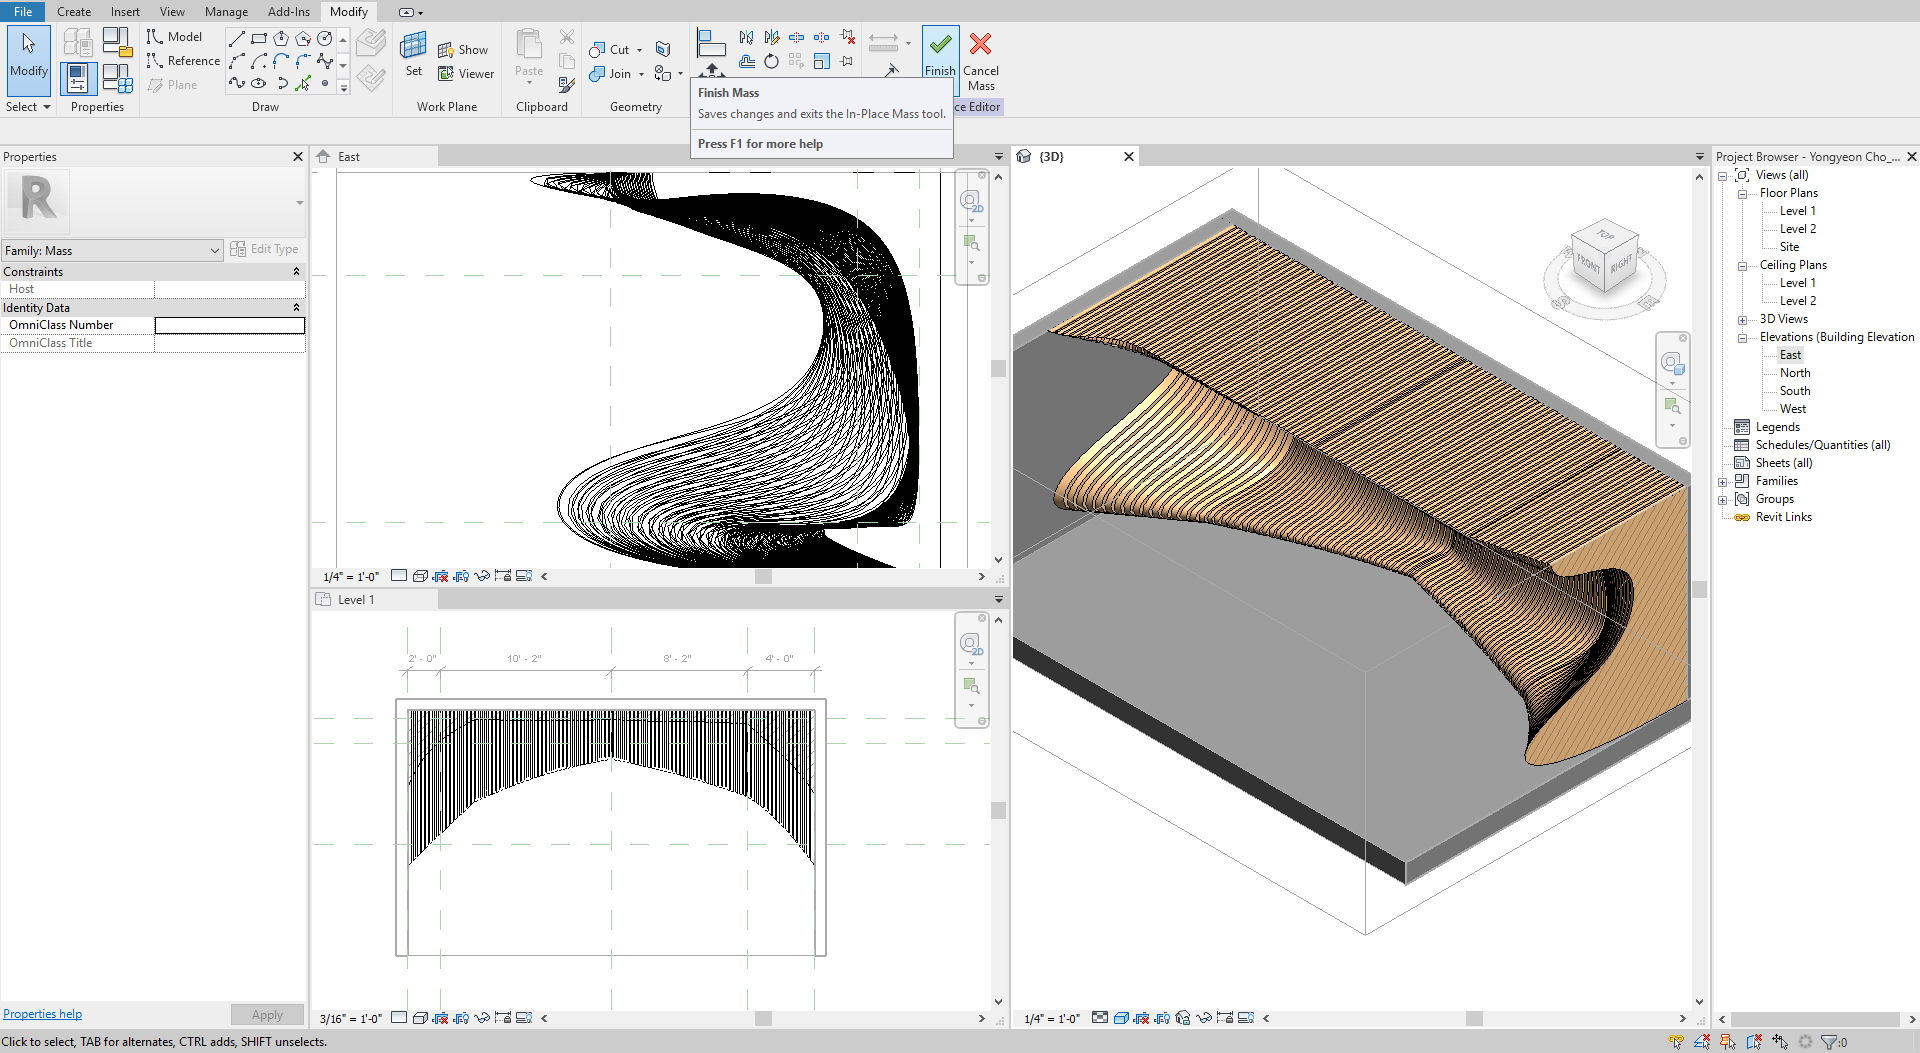
- [STEP 5] Create a rectangle void form and copy > Click [Finish Mass] to complete the modeling.
(CO2) Create a geometric pattern ceiling
In this tutorial, you will use massing to create a geomatic pattern form for the ceiling. You will use nodes and components to create geometric surfaces.
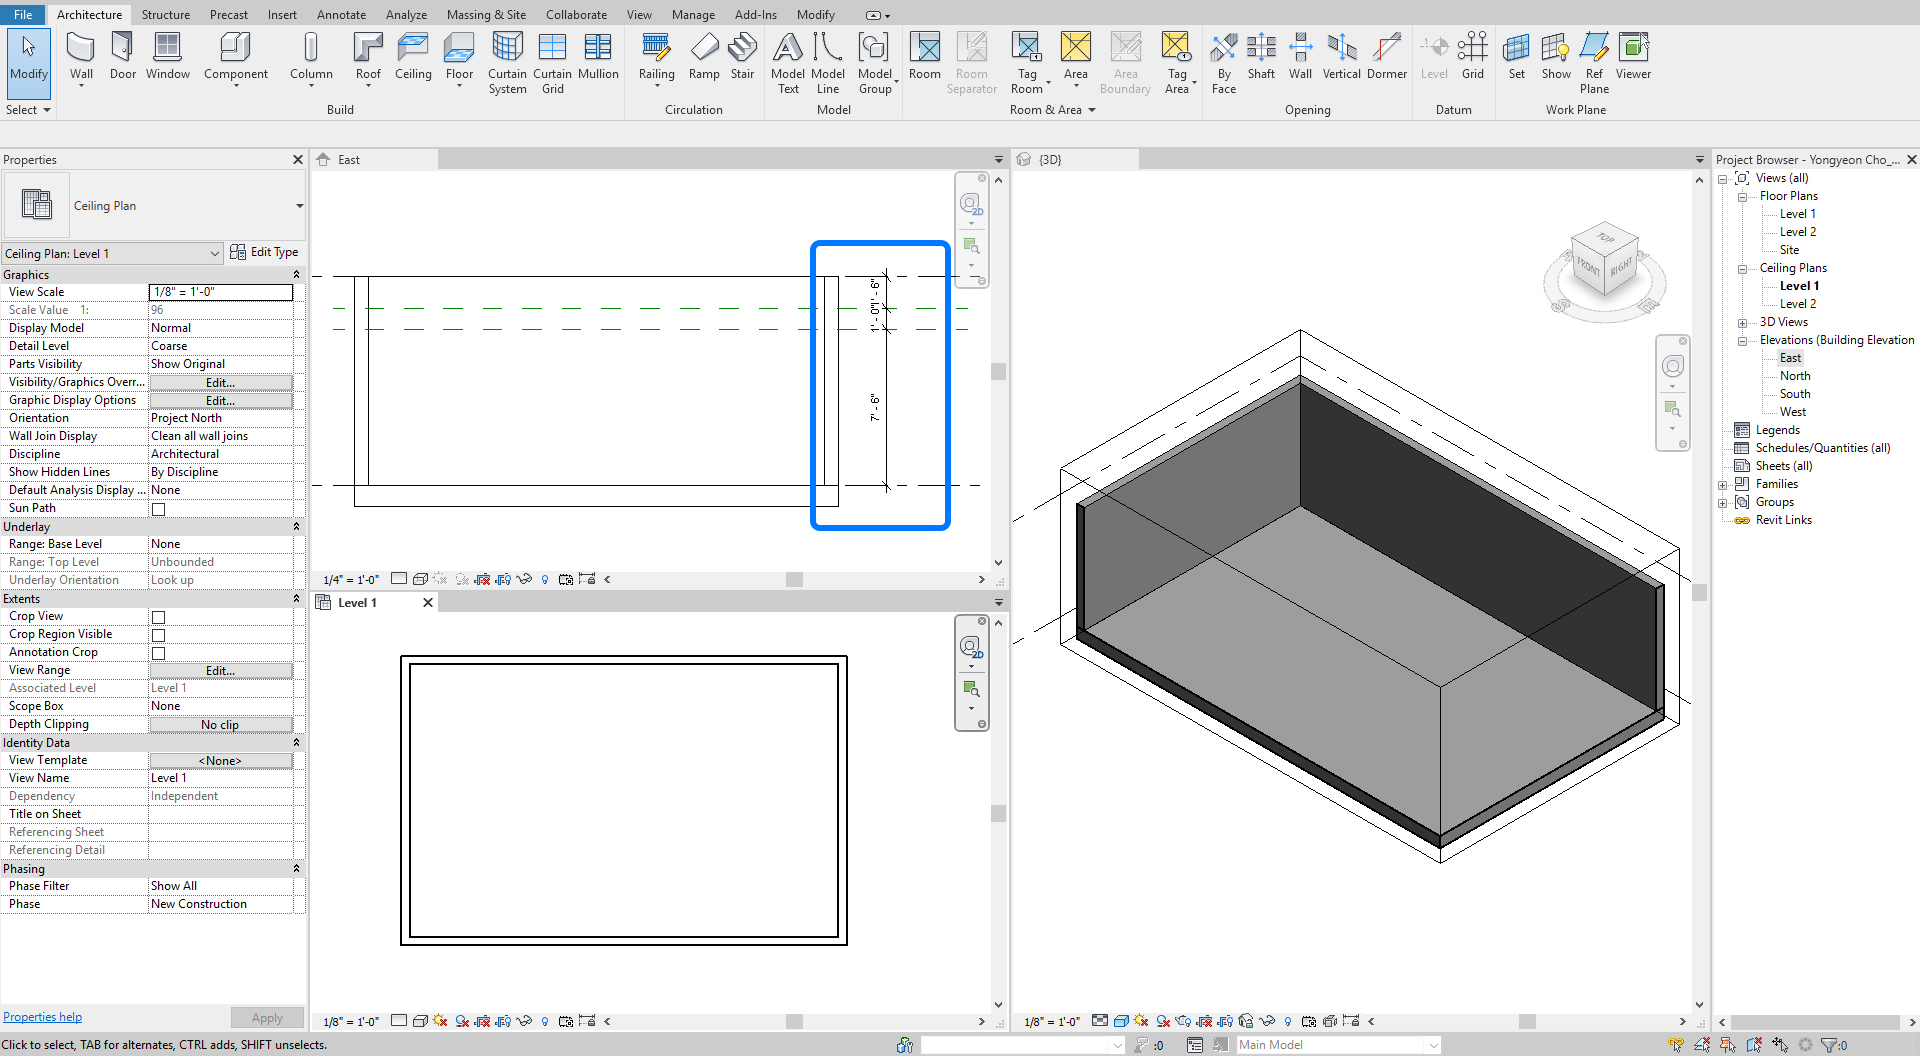
- [STEP 1] Create Floor, wall, and ceiling to define the boundary of the space > Open a ceiling plan, a side view, and 3D view with section box to see wall view > make a tile view > change visual style to [ceiling plan – hidden line], [side view – wireframe], [3D view – shaded with edges].
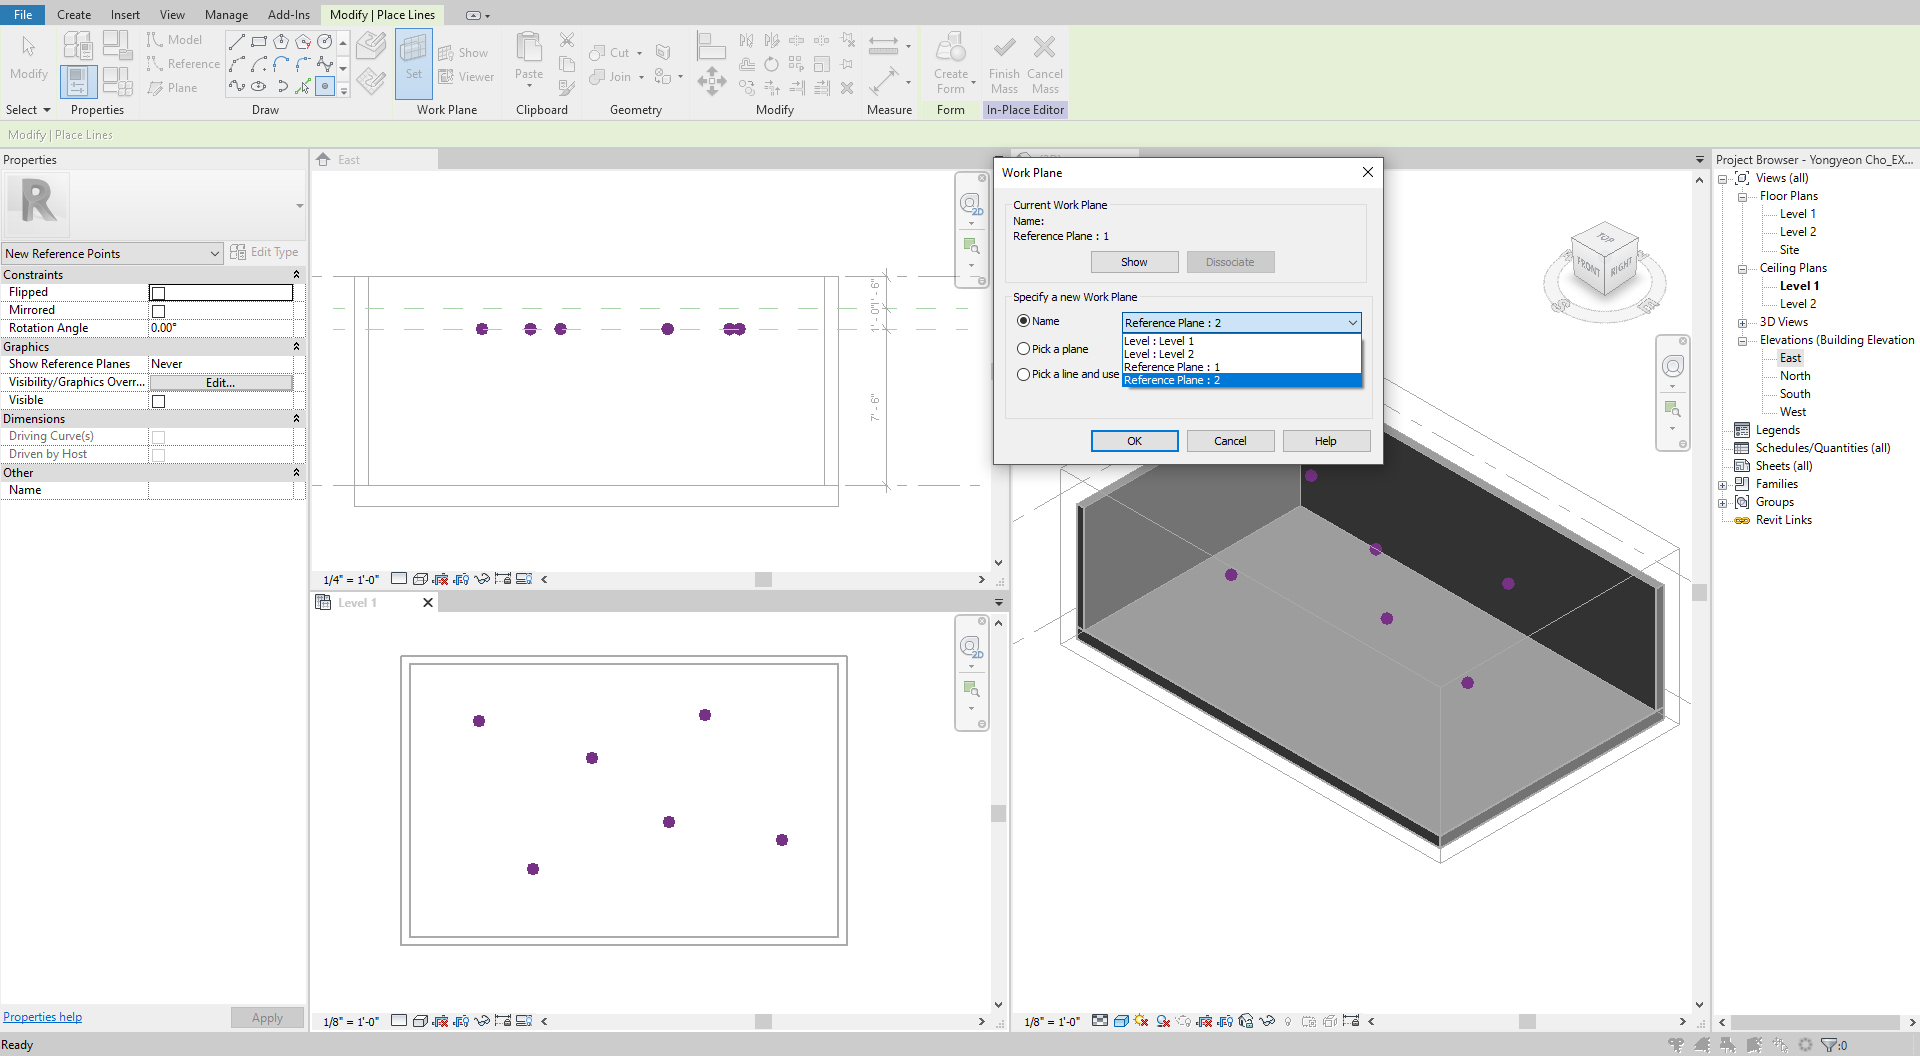
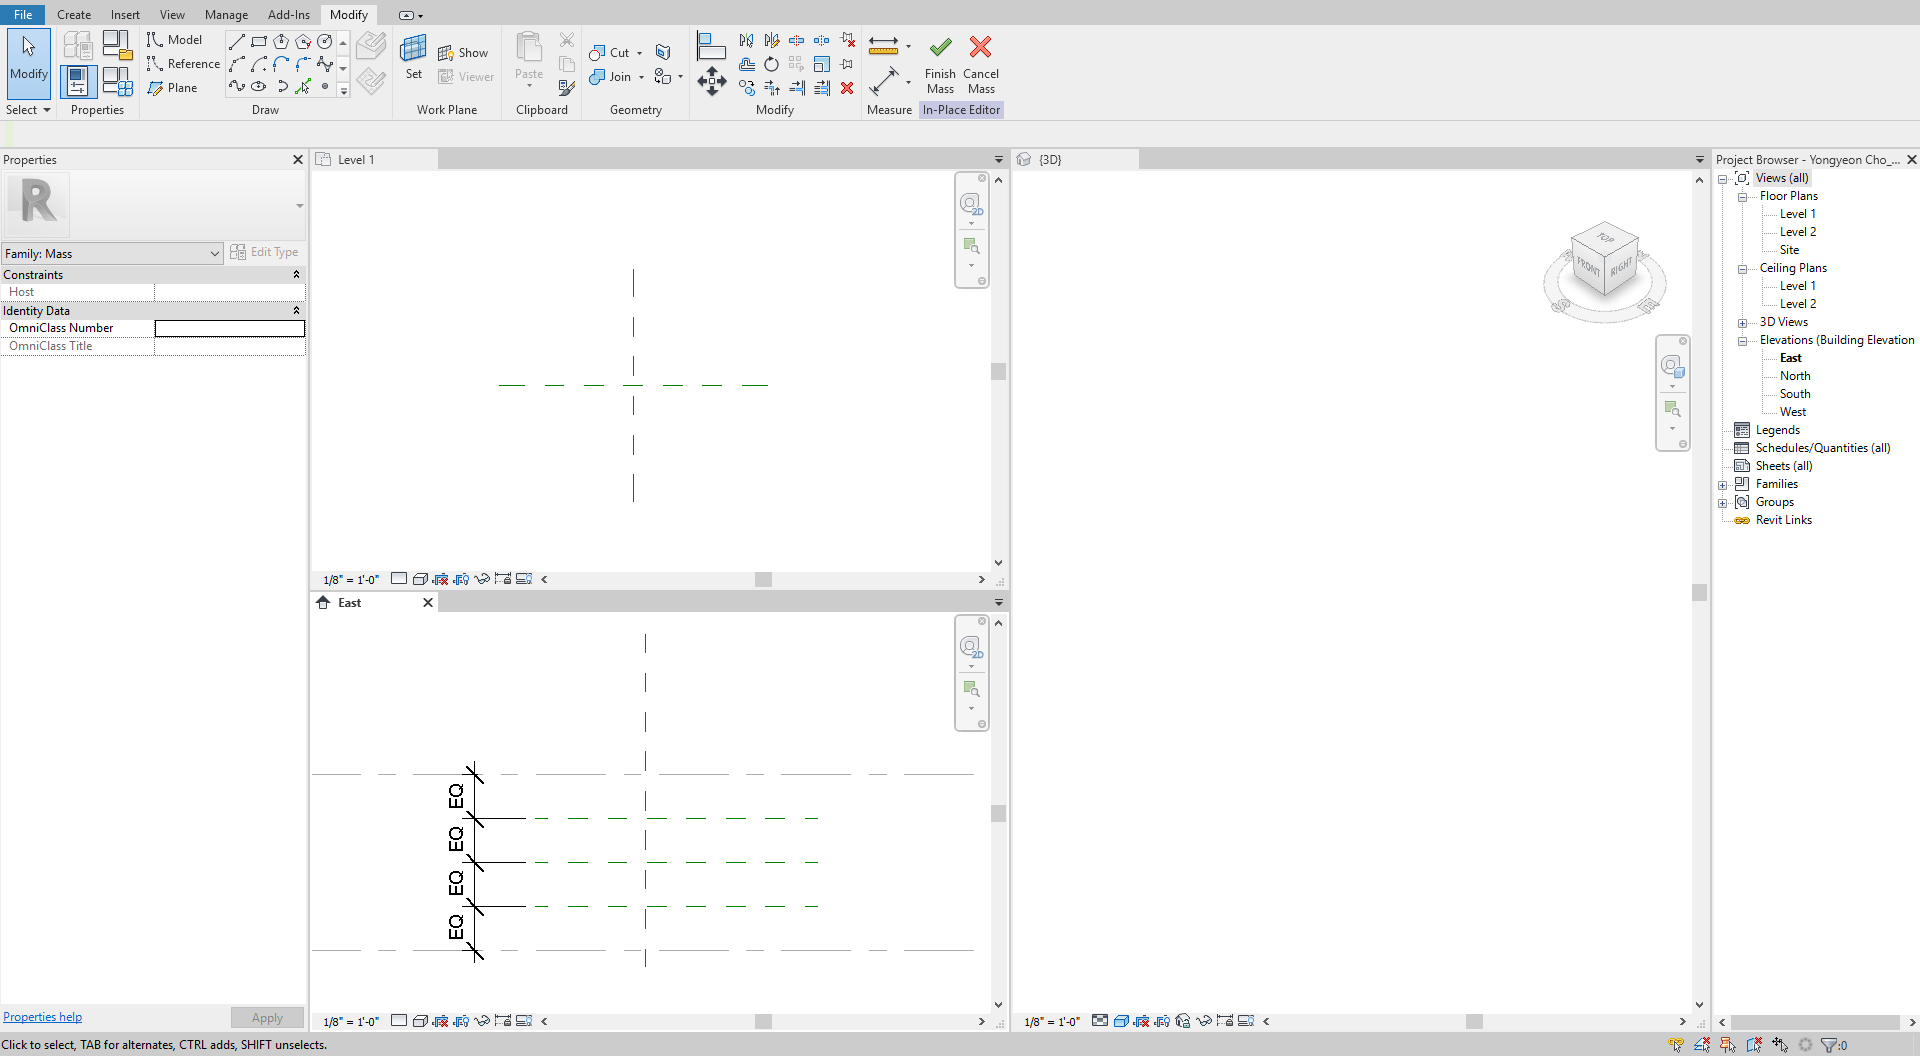
- [STEP 2] Set reference planes with dimensions and name them. I will create two reference planes for different dimensions.
- [STEP 3] Add nodes on the different levels of reference planes.
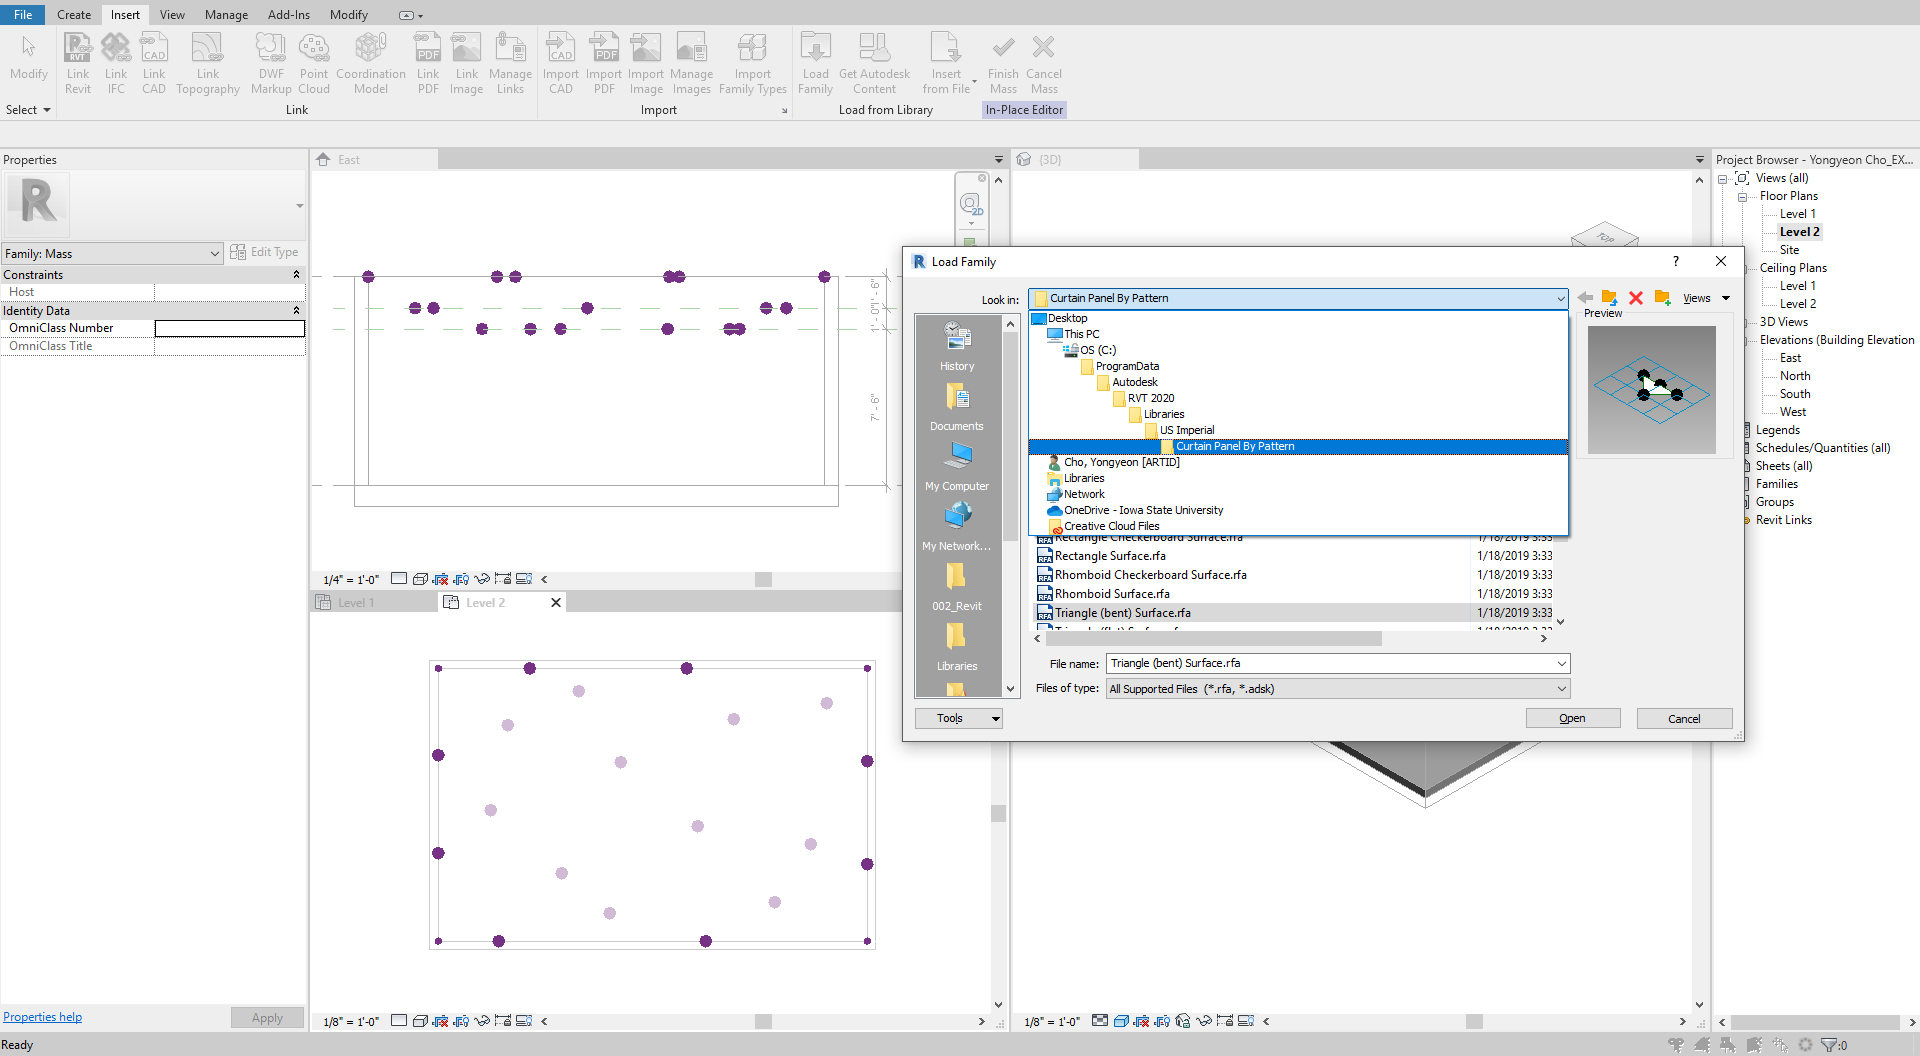
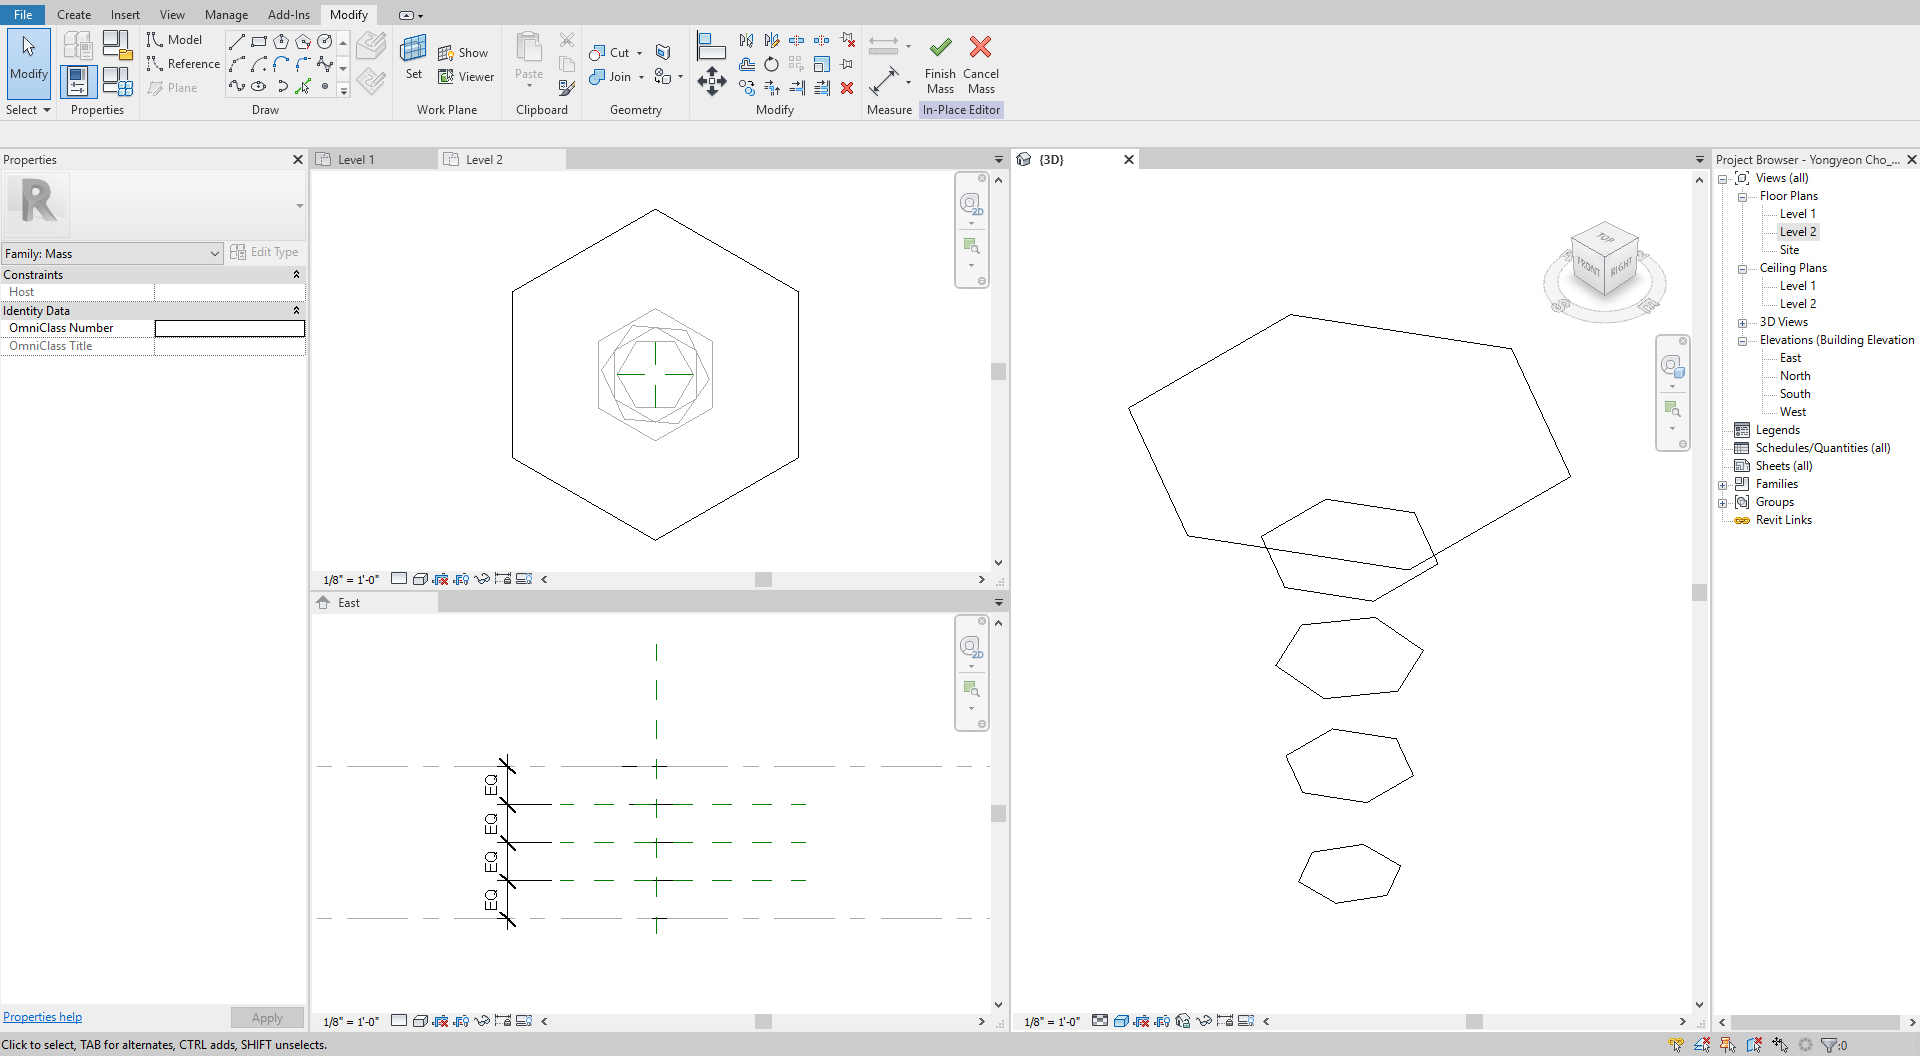
- [STEP 4] Insert a family [Triangle (bent) Surface] from Revit library [Curtain Panel By Pattern].
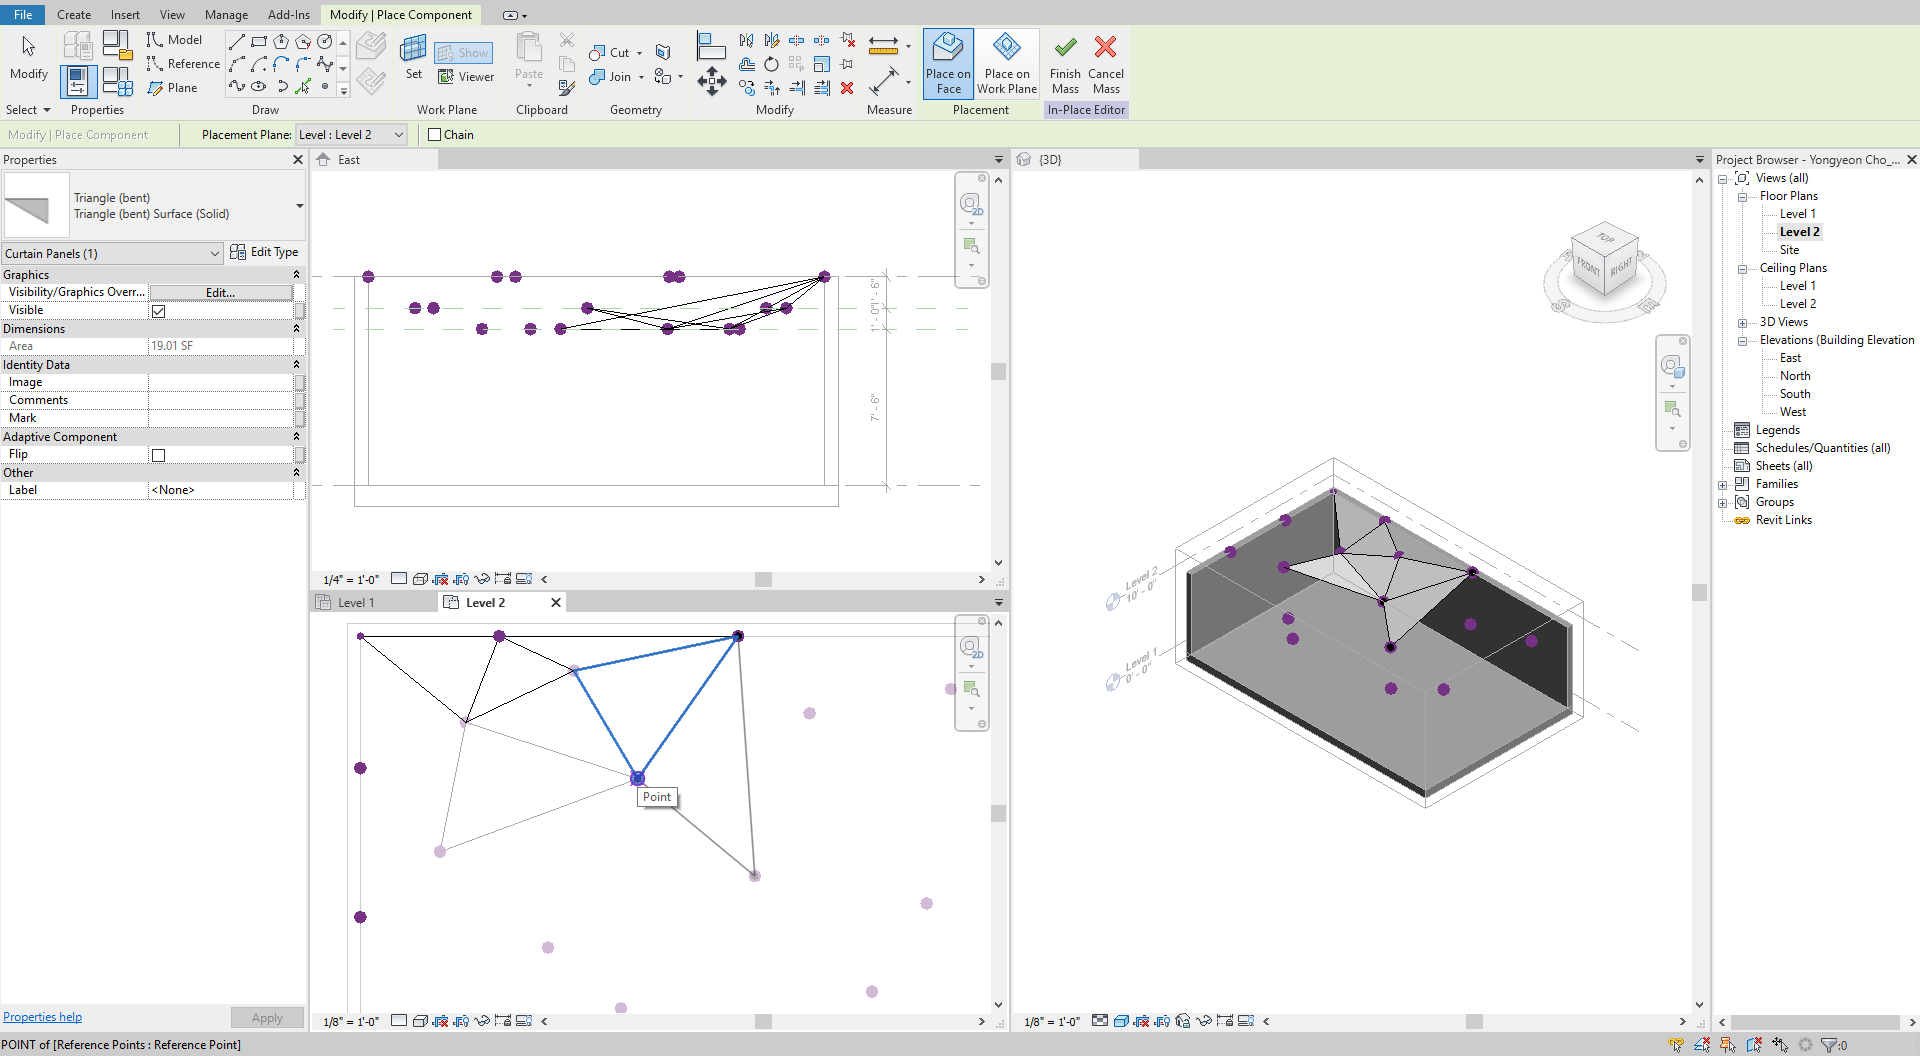
- [STEP 5] Add the component by selecting nodes.
- [STEP 6] Add/Modify material if needed.
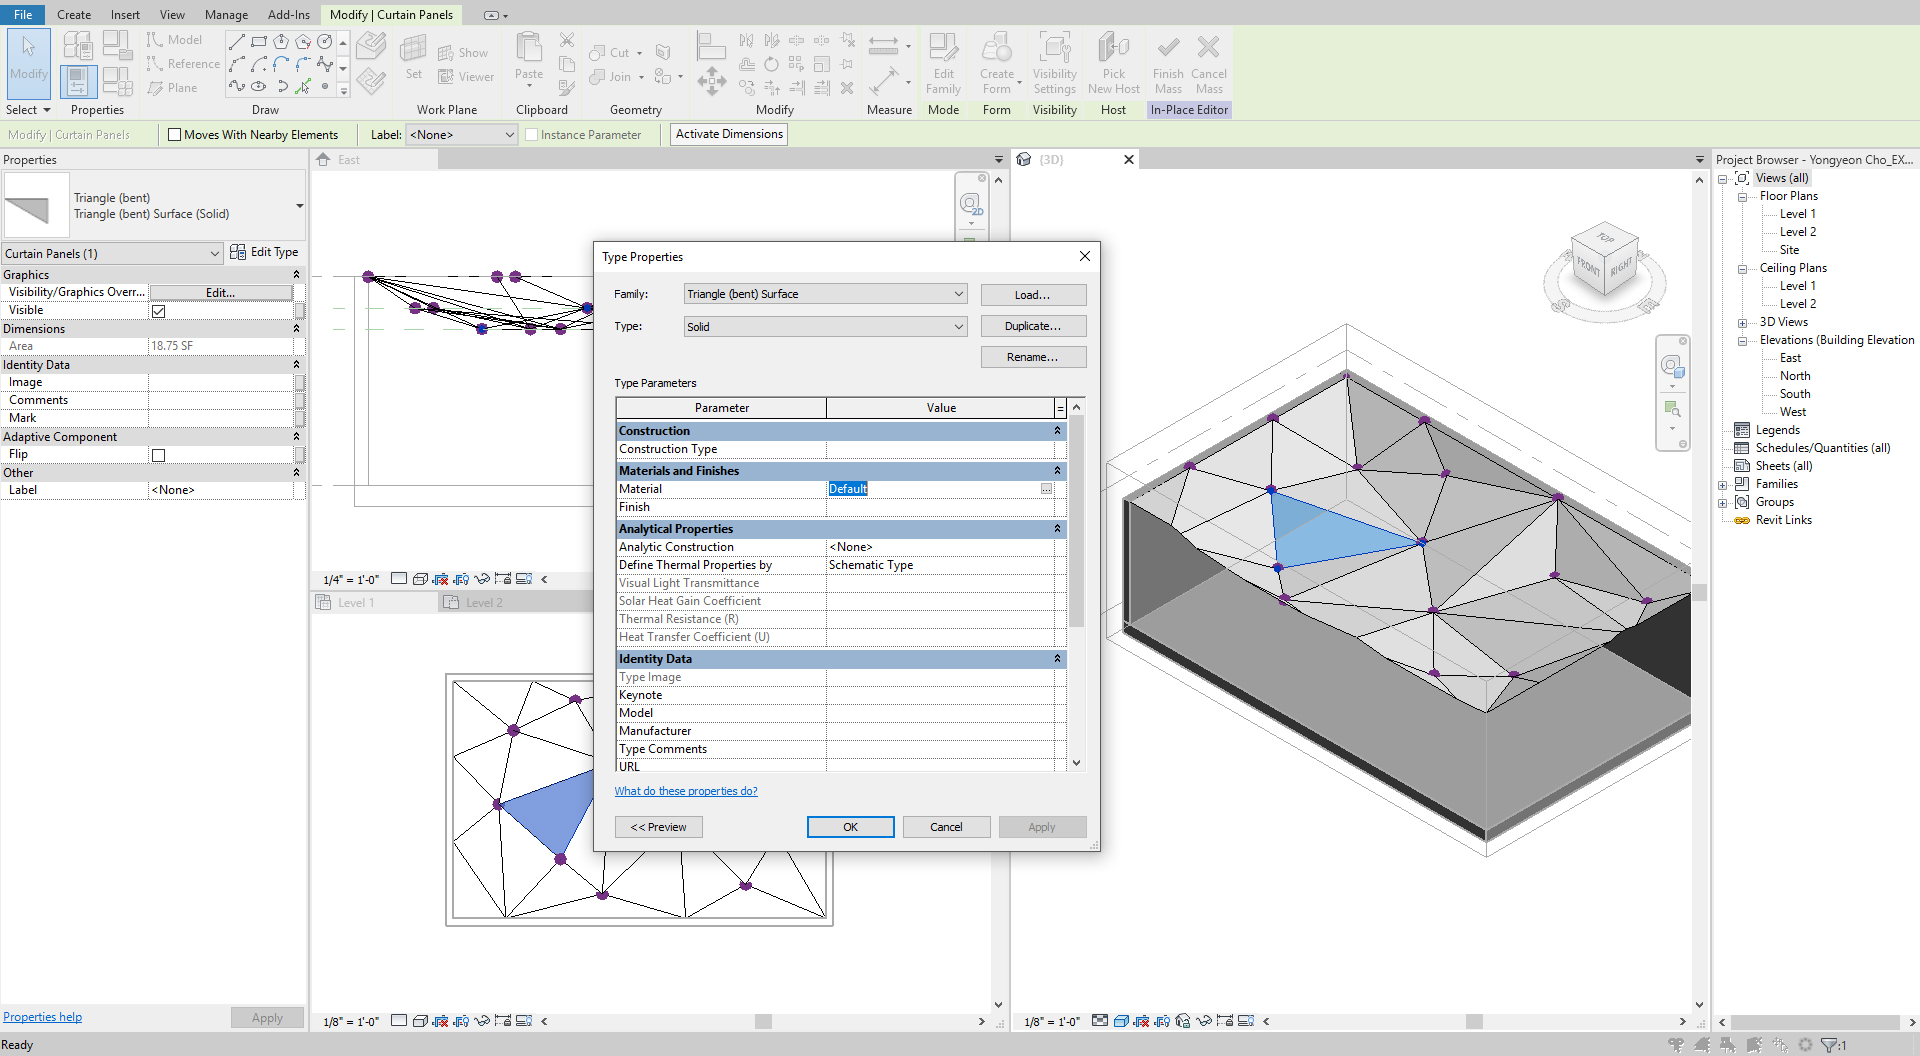
- [STEP 7] Select [Finish mass] to complete creating the mass. To change shapes or material, you must click the mass instead of the family, then you click [Edit In-Place].
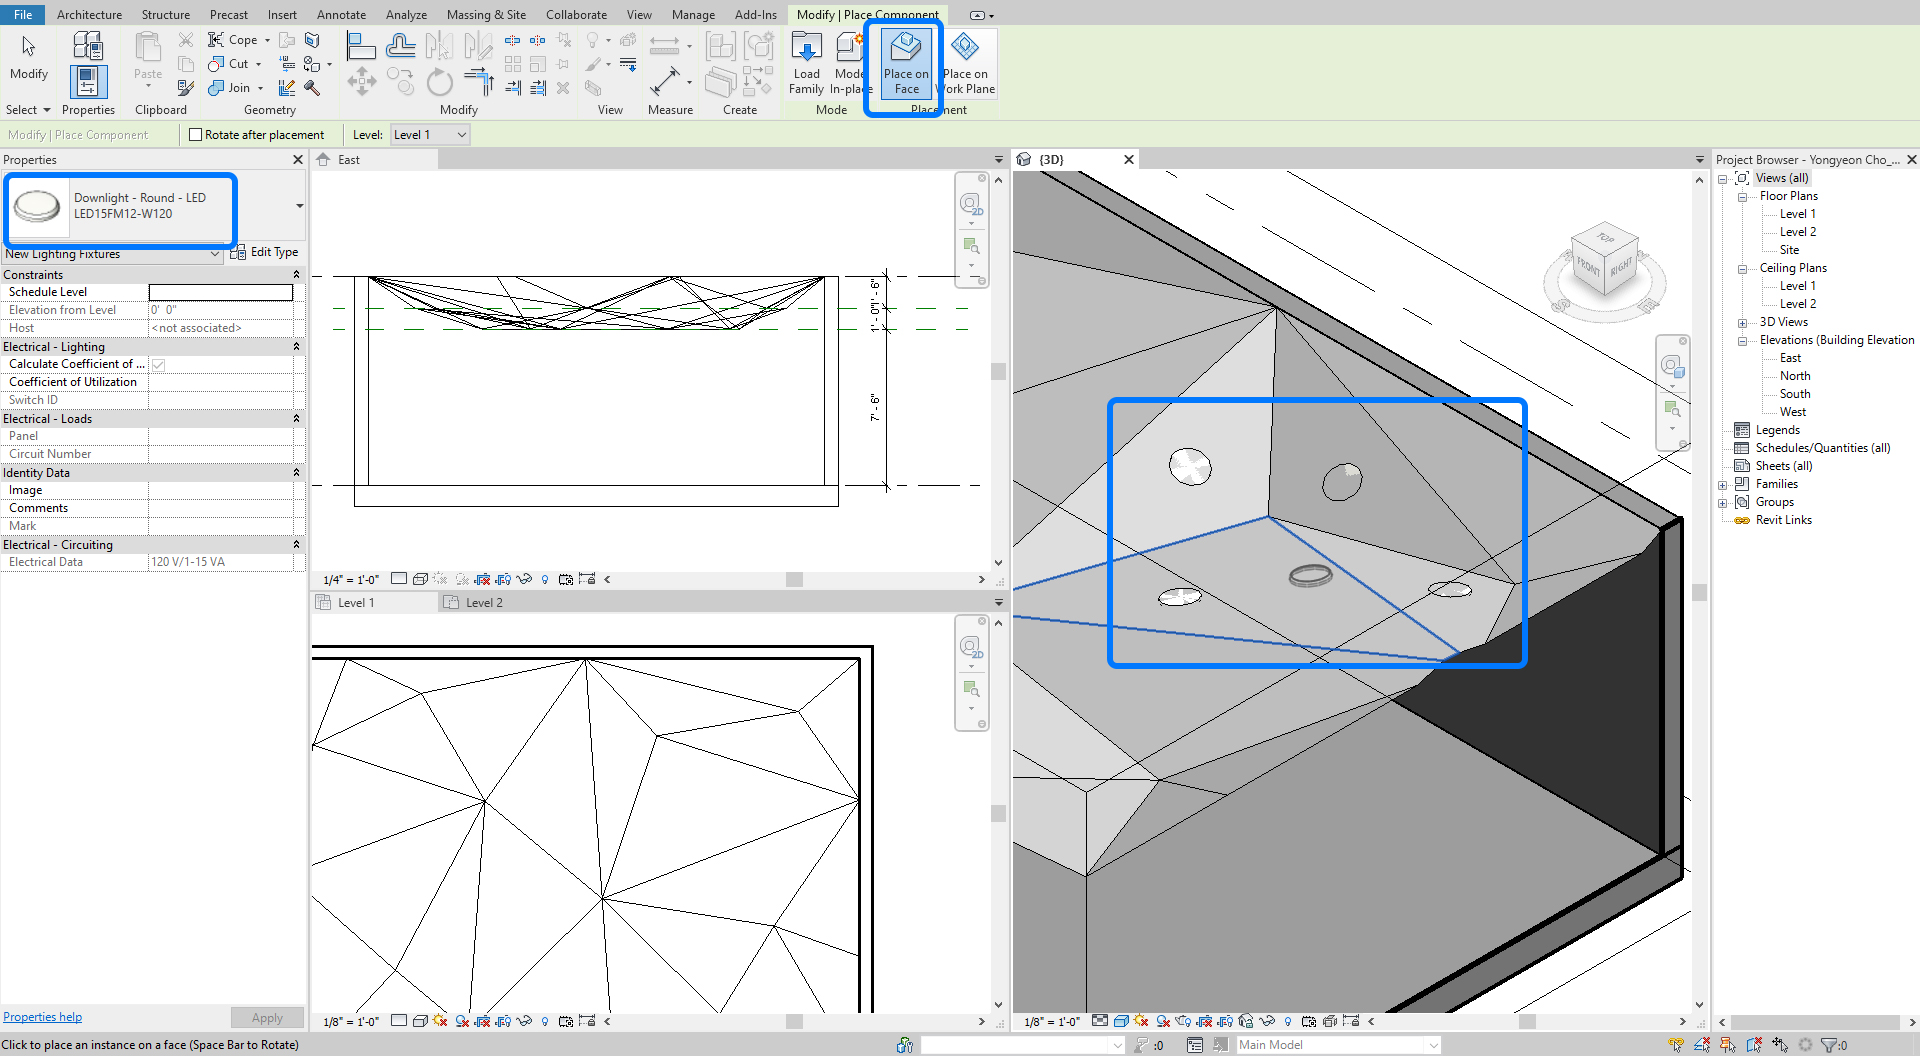
Note, you can add lighting fixtures by selecting [Place on Face].
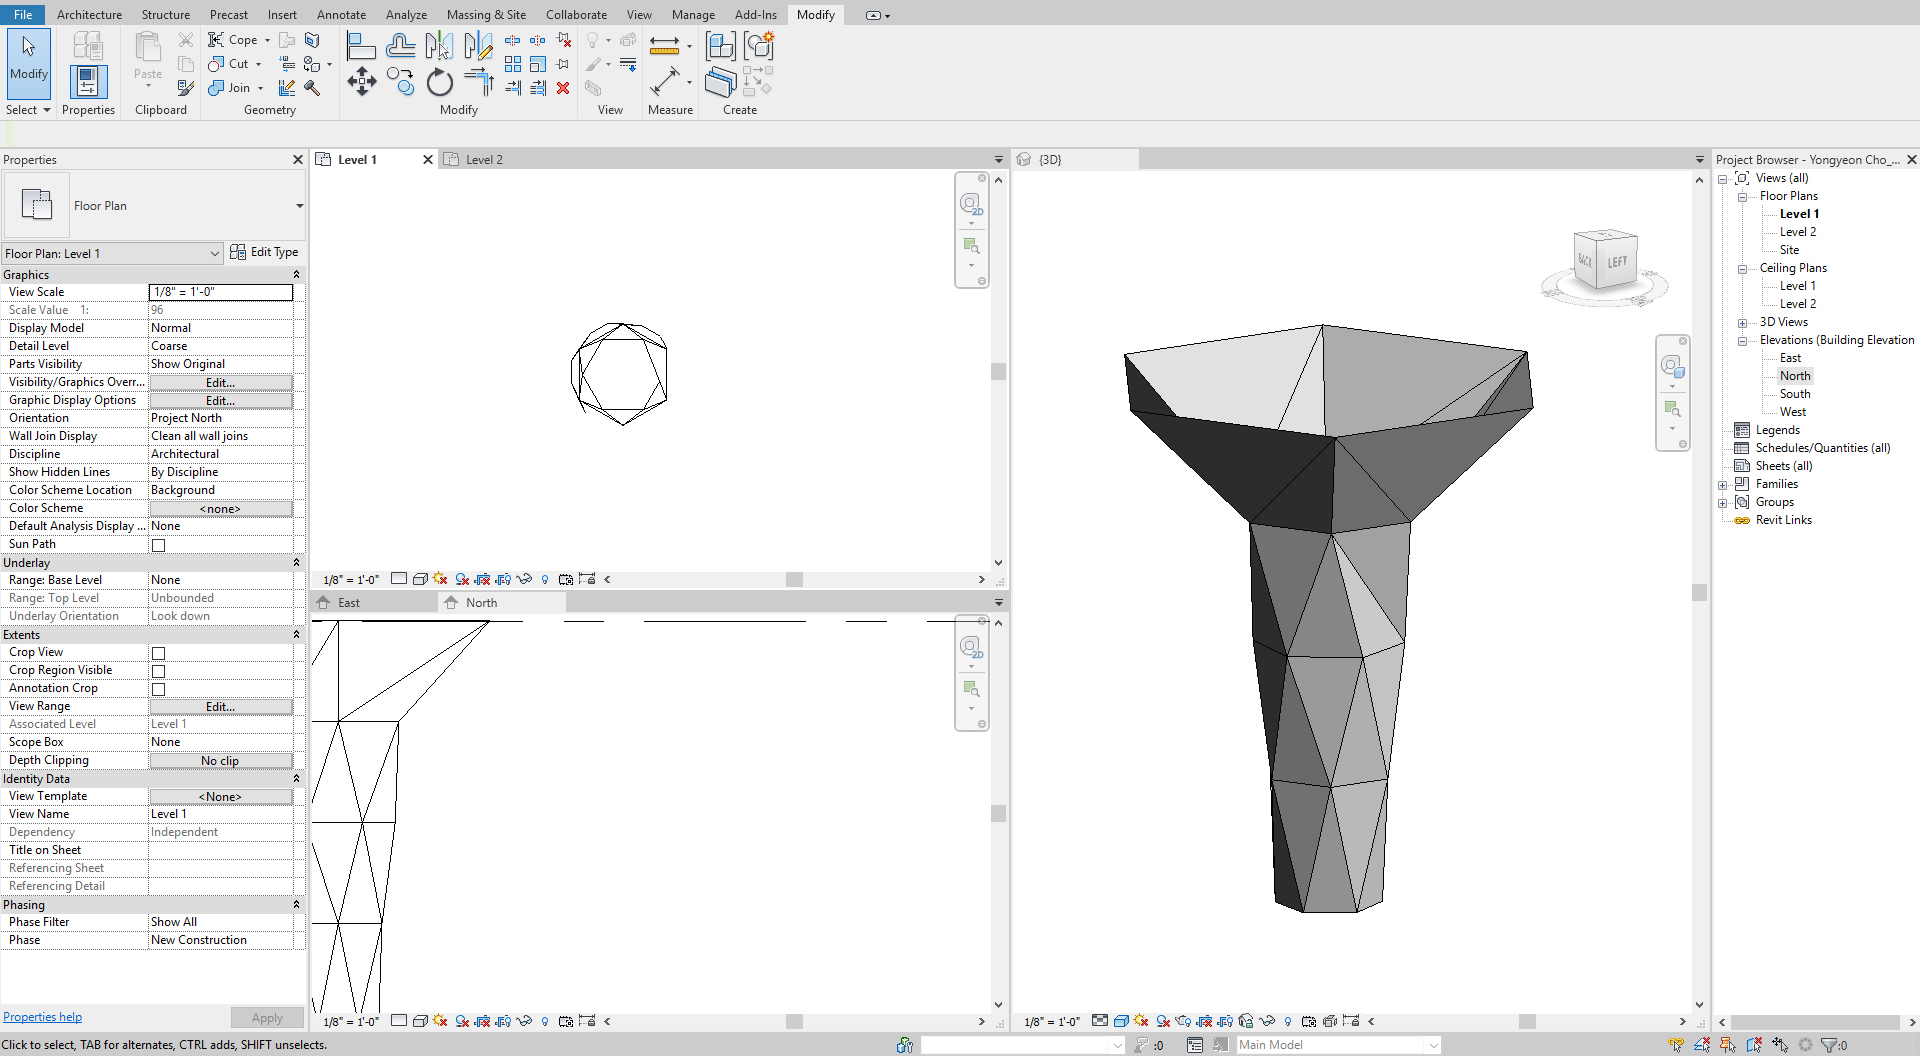
(CO3) Create organic column vs. geometric pattern column
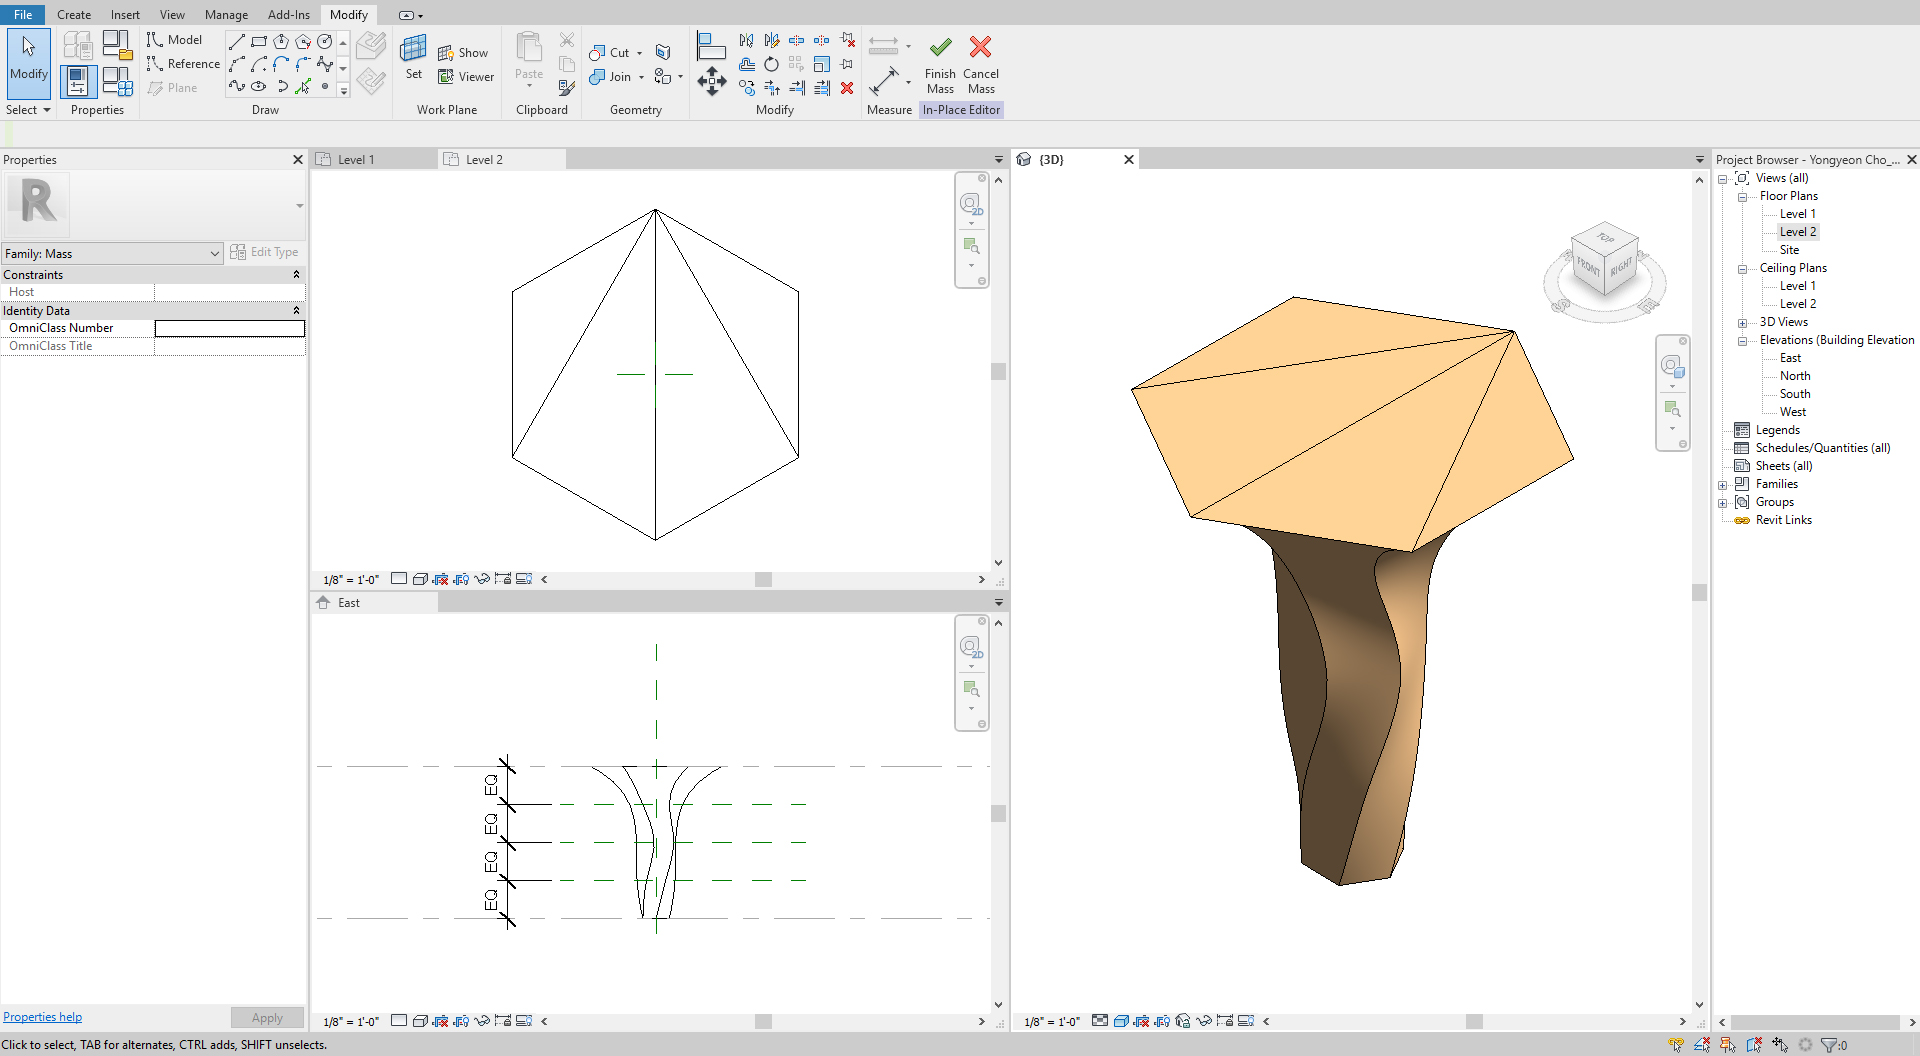
In this tutorial, you will use massing to create an organic pattern form for a column and a geometric form for a column. You will use technics that you used in CO 1 and CO 2.
- [STEP 1] Set reference planes with dimensions and names.
- [STEP 2] Draw model lines on referent planes.
- [STEP 3] Select model lines that you draw and create a solid form.
- [STEP 4] Click [Divide surface] > Adjust numbers of U grid and V grid > Select a pattern that you want to use, but this function may not be useful to apply materials and be accurate modeling.
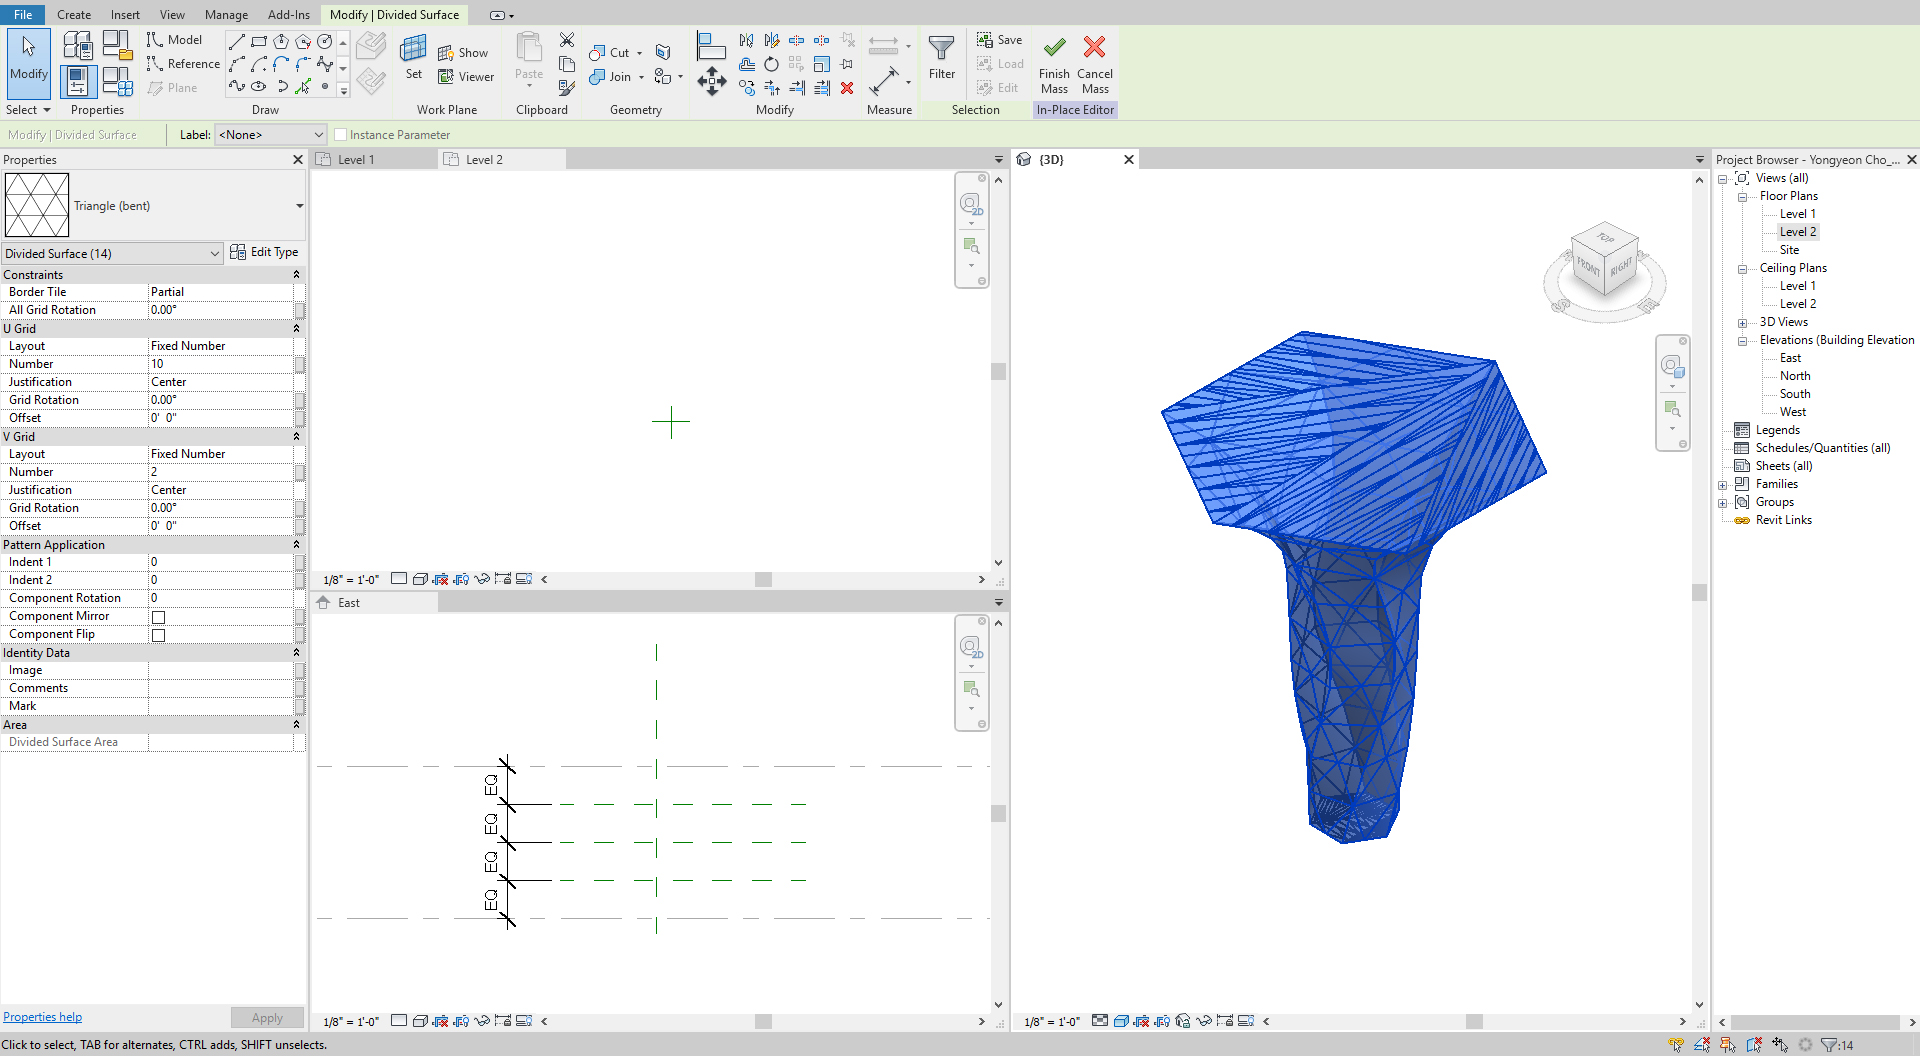
- [STEP 5] Copy the mass and click [Dissolve] from the [Modify] tab. Add components by clicking the points of the model lines to create geometric faces.