
Part Five. 3D Video Animation
Chapter 23. Premiere – Video pro-production
Upon completing this session, students will be able to:
- (CO 1) Understand Adobe Premiere pro the User Interface
- (CO 2) Add videos and titles
- (CO 3) Edit videos and add transitions
- (CO 4) Add/edit sounds
 Session Highlights
At the end of the session, students will be able to create graphics like those below.
 Lecture Contents
(CO1) Understand Adobe Premiere pro the User Interface
This lecture content is for an entry-level student learning video editing.
“Premiere Pro is the industry-leading video editing software for film, TV, and the web. Creative tools, integration with other apps and services, and the power of Adobe Sensei help you craft footage into polished films and videos” (Adobe, n.d.).
Please watch this Adobe tutorial video for information about using Premiere Pro panels and tools.
Once you open the application, you can see this Welcome page.
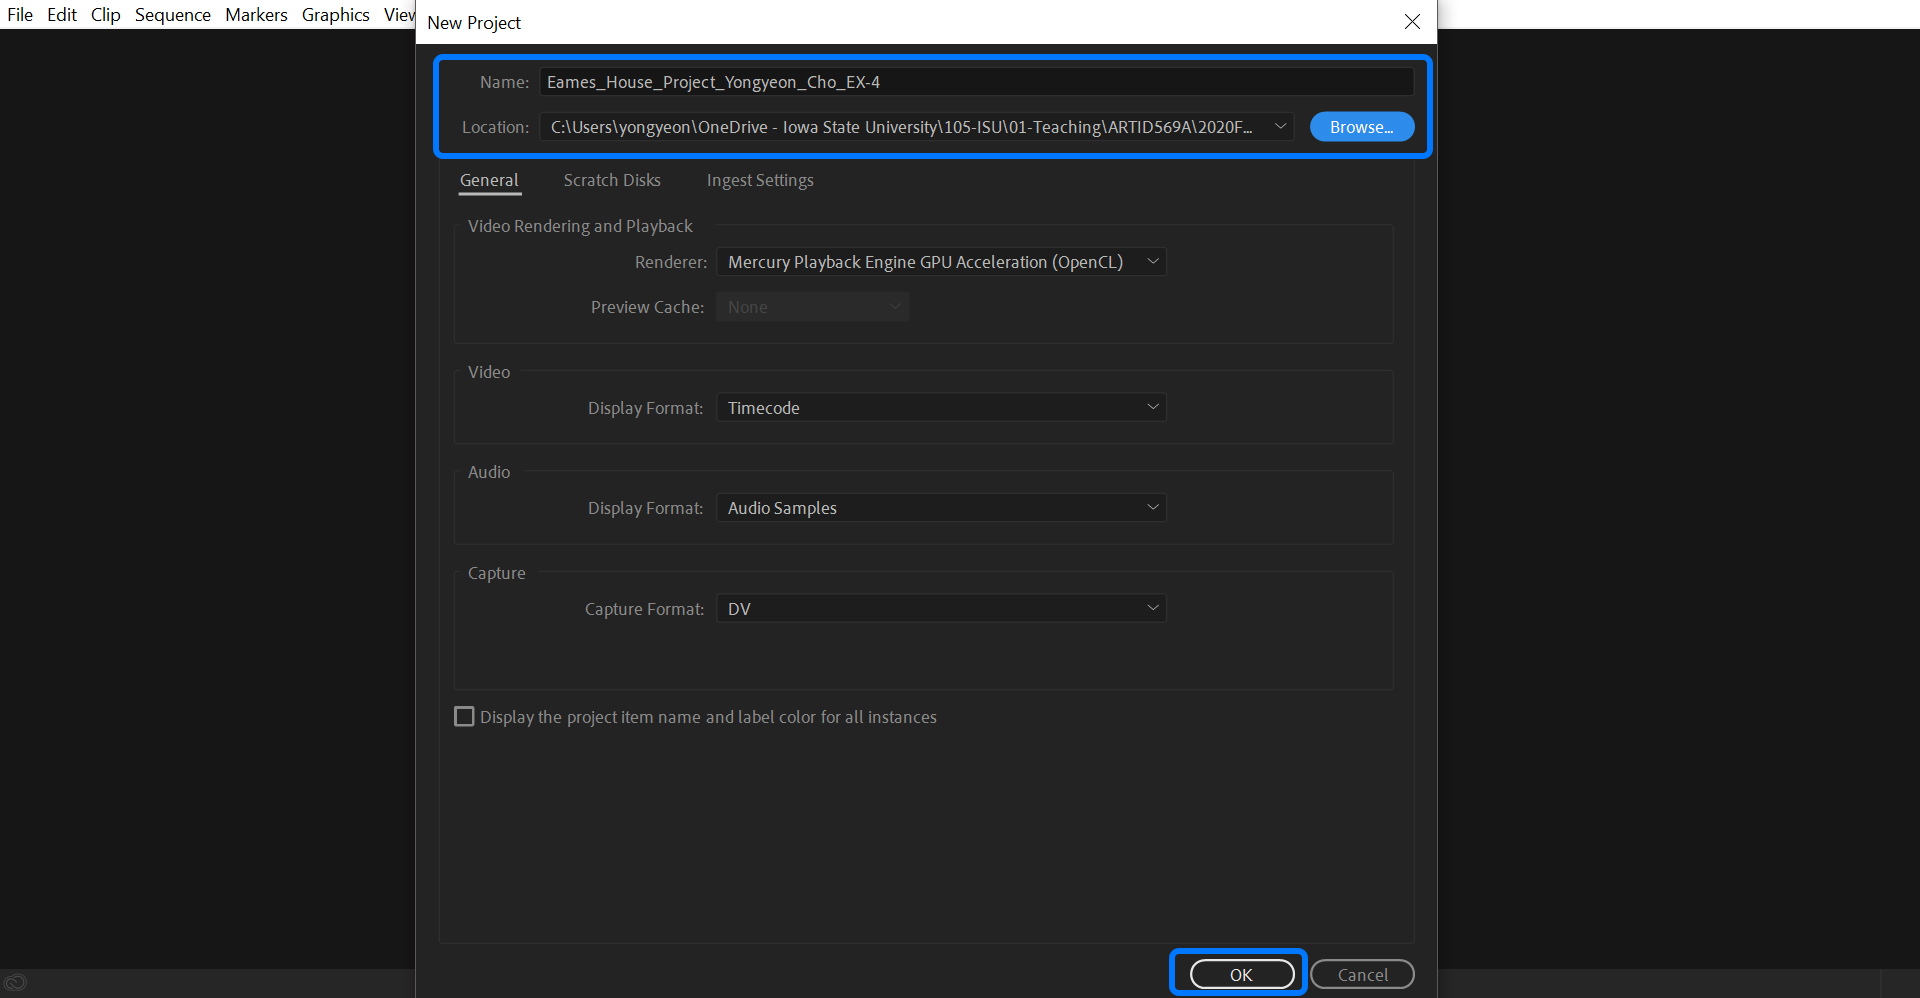
- [STEP 01] To create a new file, click [New Project].
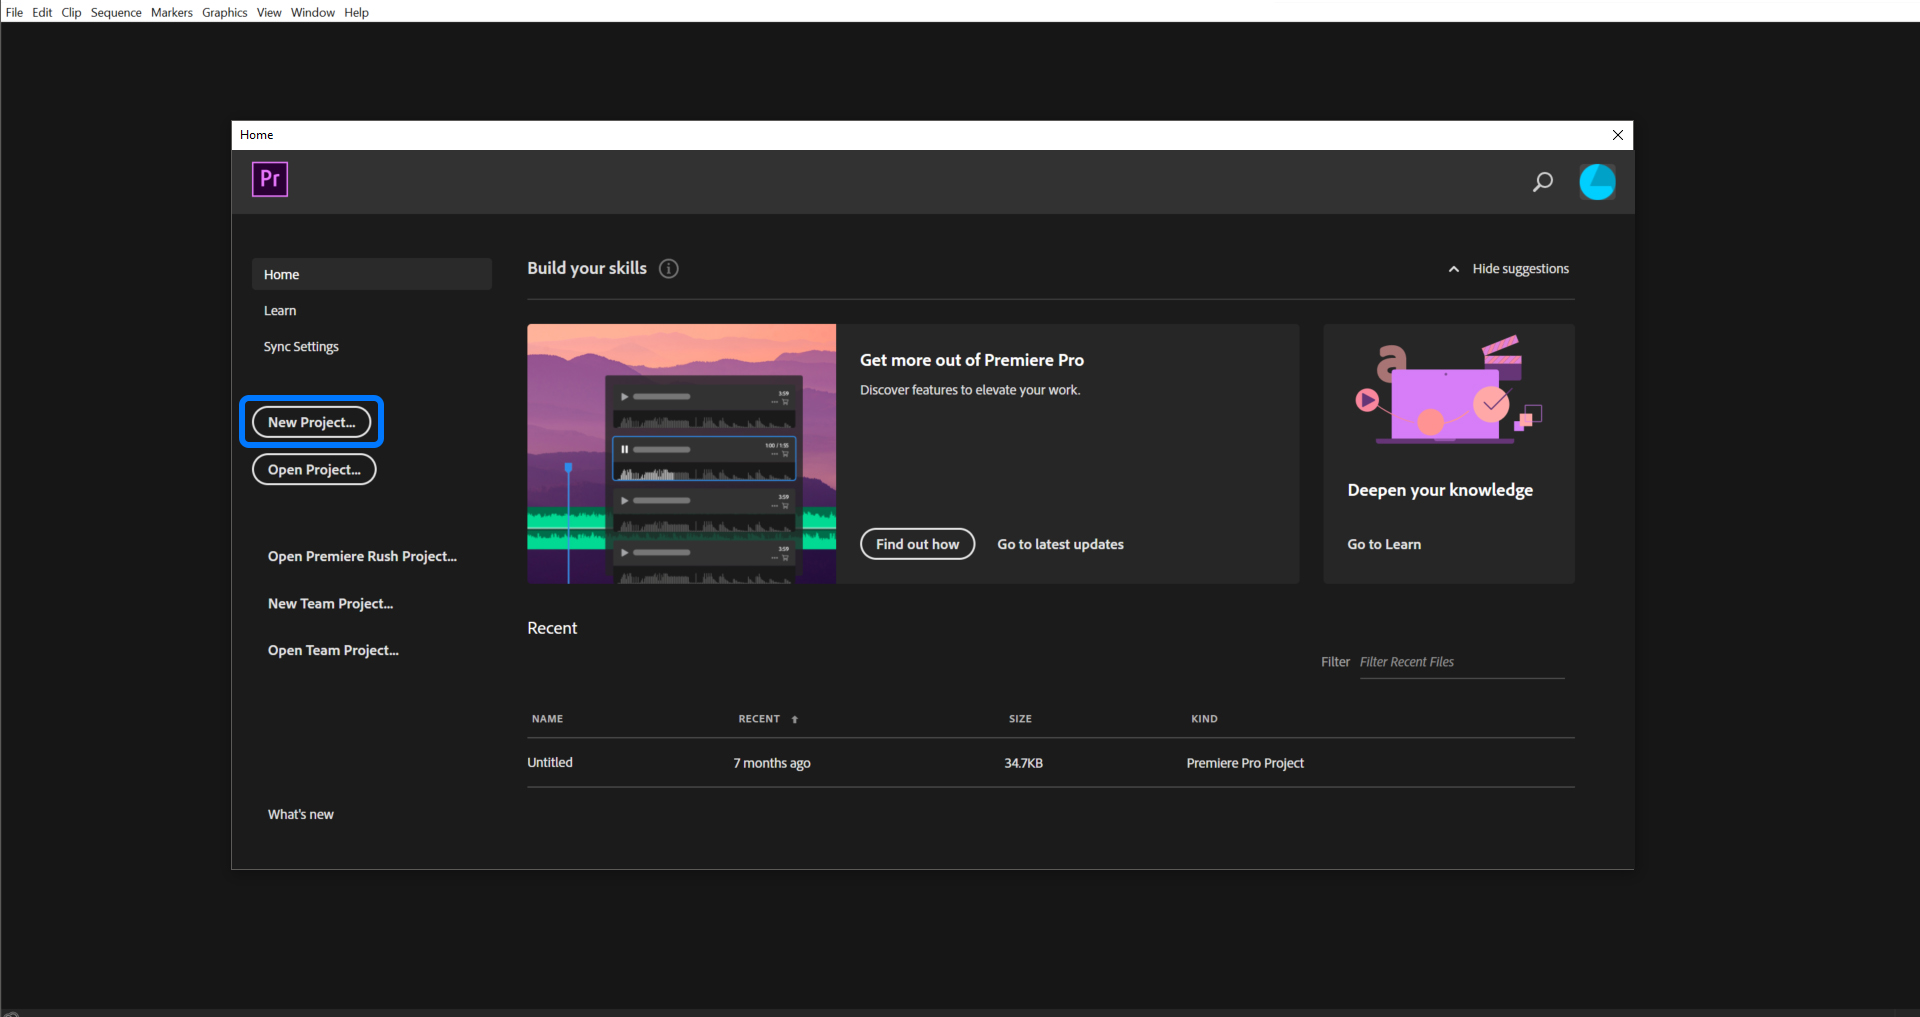
- [STEP 02] Add the project name and define the file location where you will save the file and your other resources (video sources and audio sources).
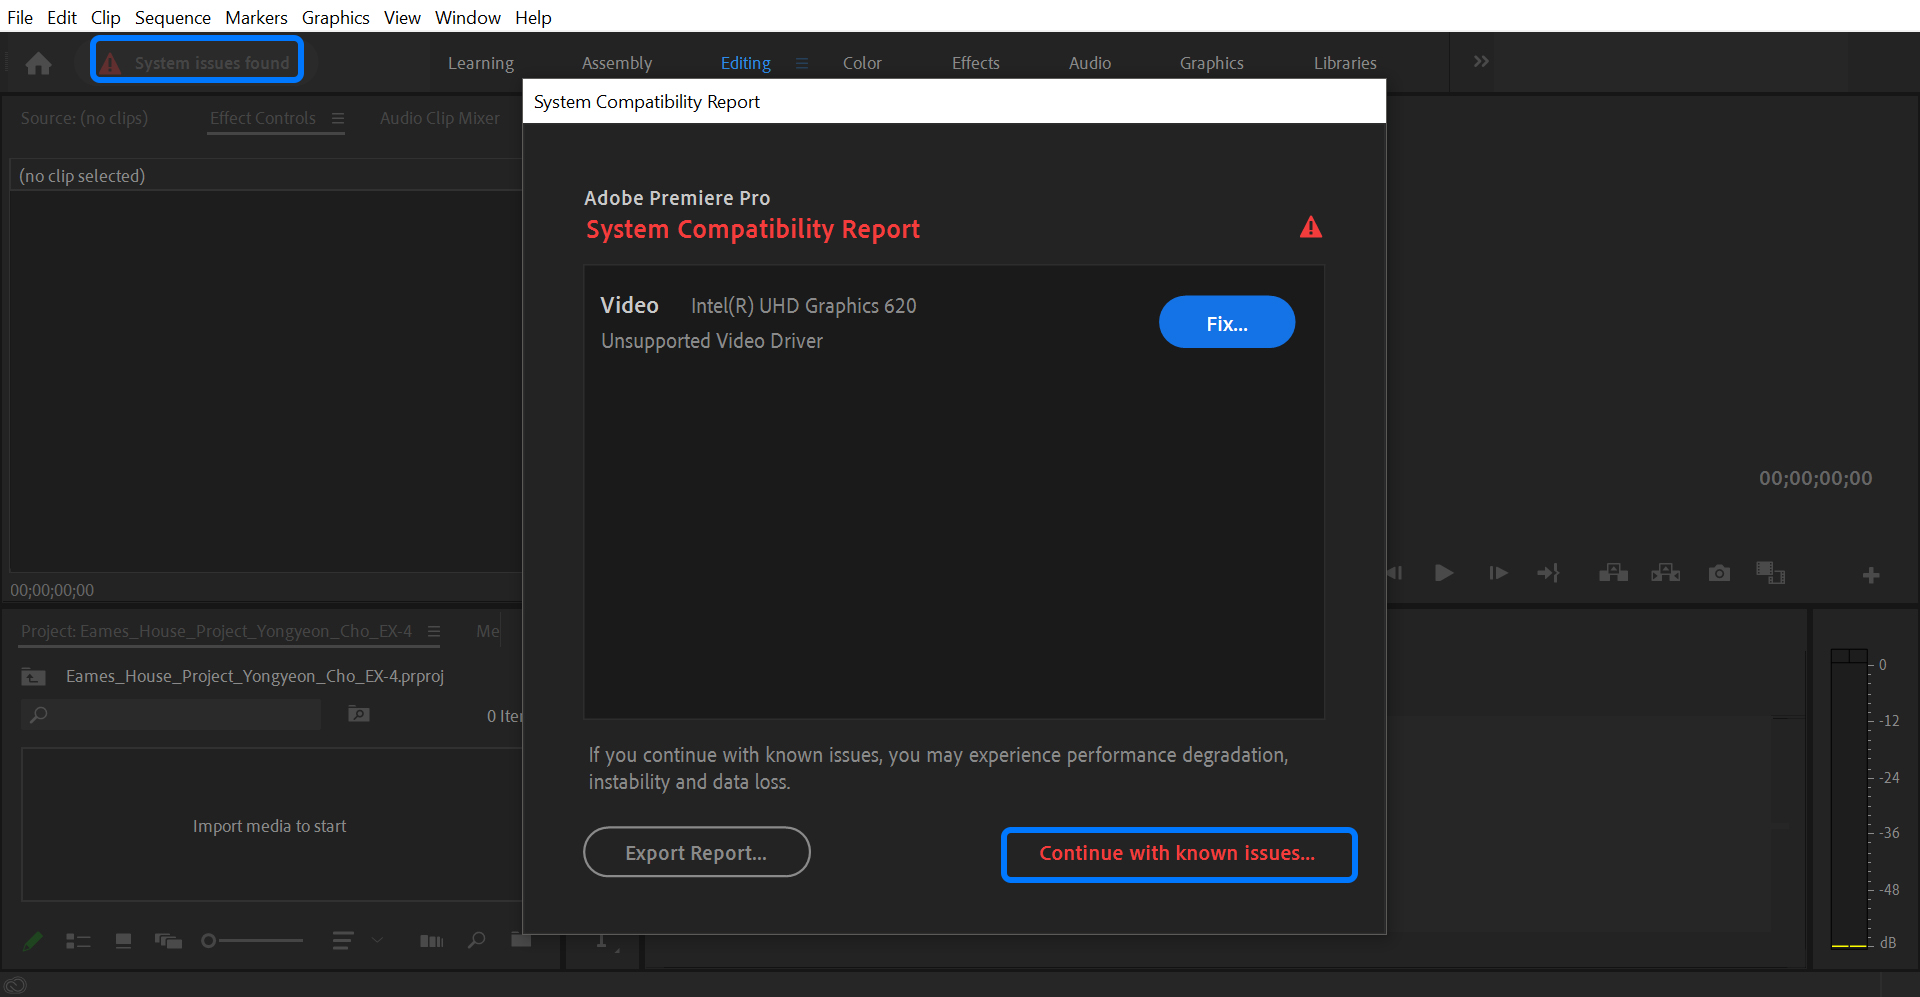
You may find this error message because of the system requirements, but you can ignore the issue.
User interface

Modes: Premiere Pro provides different modes for learning, editing, audio, graphics, and more. EDITING mode is recommended for regular use.
Project Panel: This is where you place links (video clips, audio files, images, and sequences) to your project. You can create bins (aka folders) to organize the assets you use.
- Media Browser: Browse your hard drive to find files.
- Effects: all effects you will use in your sequences.
Timeline Panel and Tracks: This is where you will do most of your editing. You can cut, move, and edit scenes. Tracks are like layers. There are video layers and audio layers within the timeline.
Tool Panel: to edit the video, use the tool panel. This includes various tools for adjusting the files in your timeline.
Source Monitor: This screen allows you to view and trim the original clips.
- Effect control: Once you apply an effect, you can control the effect on this panel.
Program monitor: This is for viewing your edited sequence.
For more about the user interface information, please refer to the Adobe Press website.
(CO2) Add videos and titles
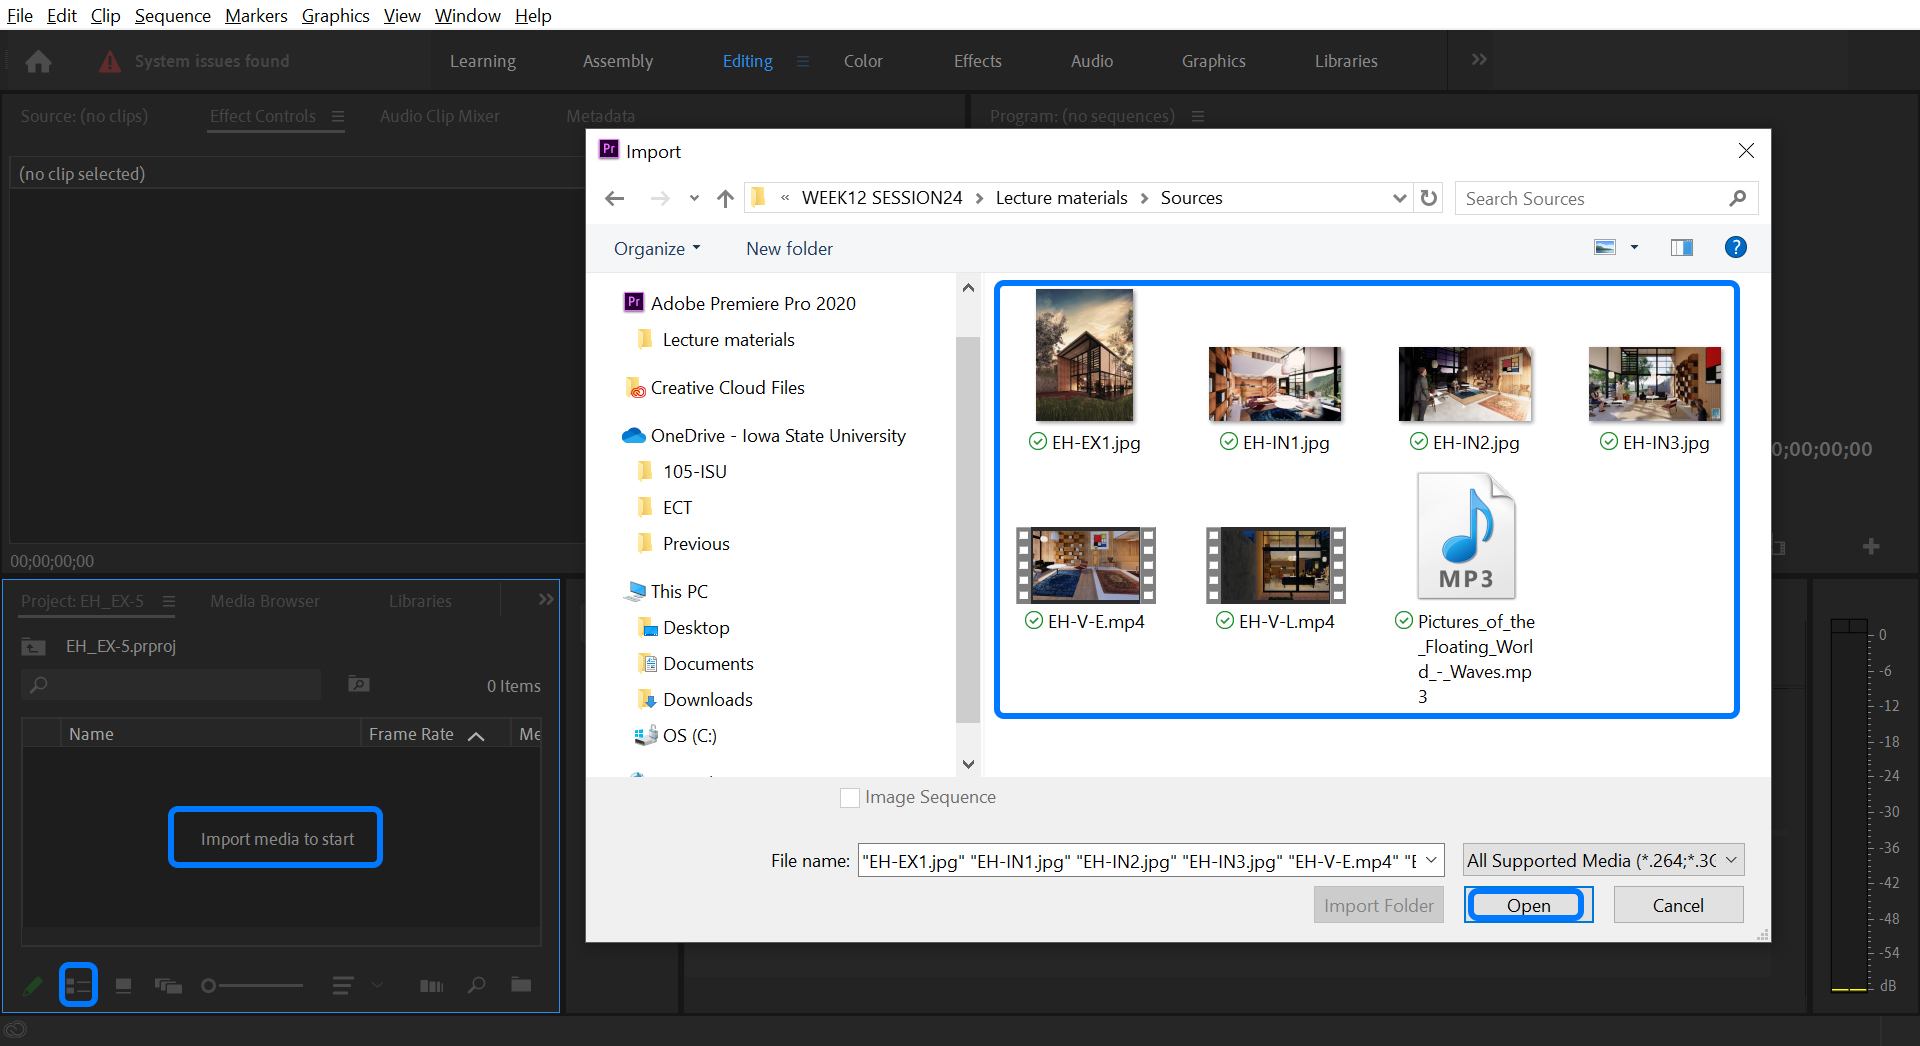
Before you import your sources (video files, audio files, and images), gather all the sources together in a project folder.
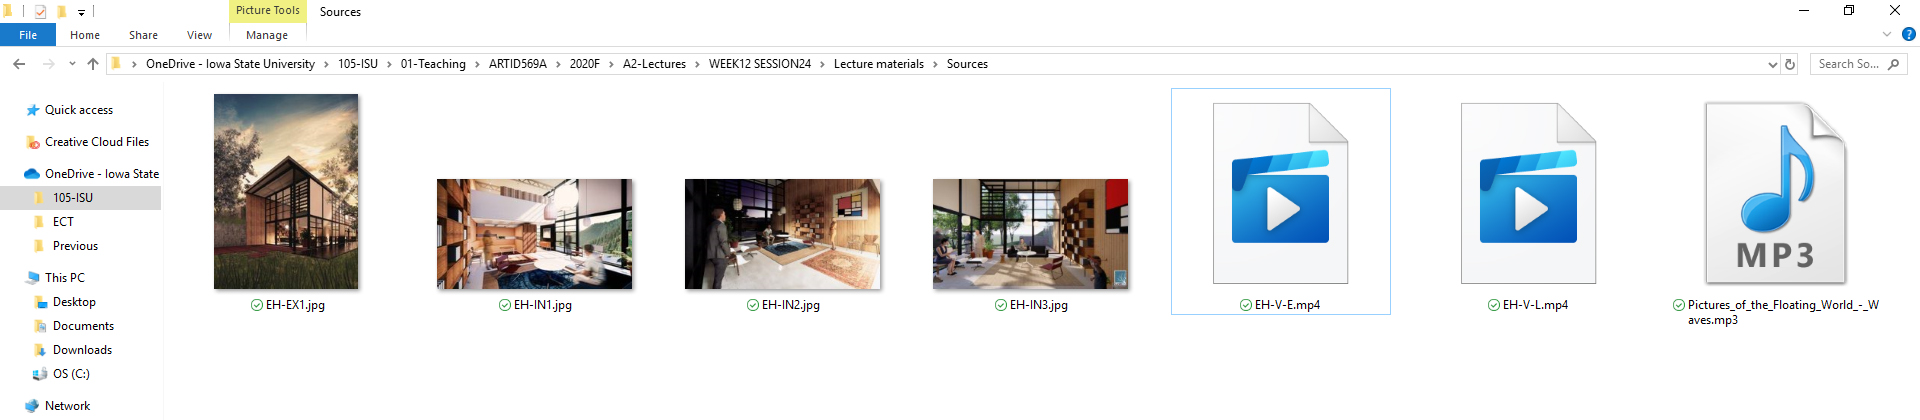
Import sources
- [STEP 01] Double click [Import media to start] from the [Project Panel].
- [STEP 02] Select all sources that you want to add/edit to the project.
- [STEP 03] Click [Open] to import the sources.
- [STEP 04] You can switch the view to list view, Icon view, and freeform view.
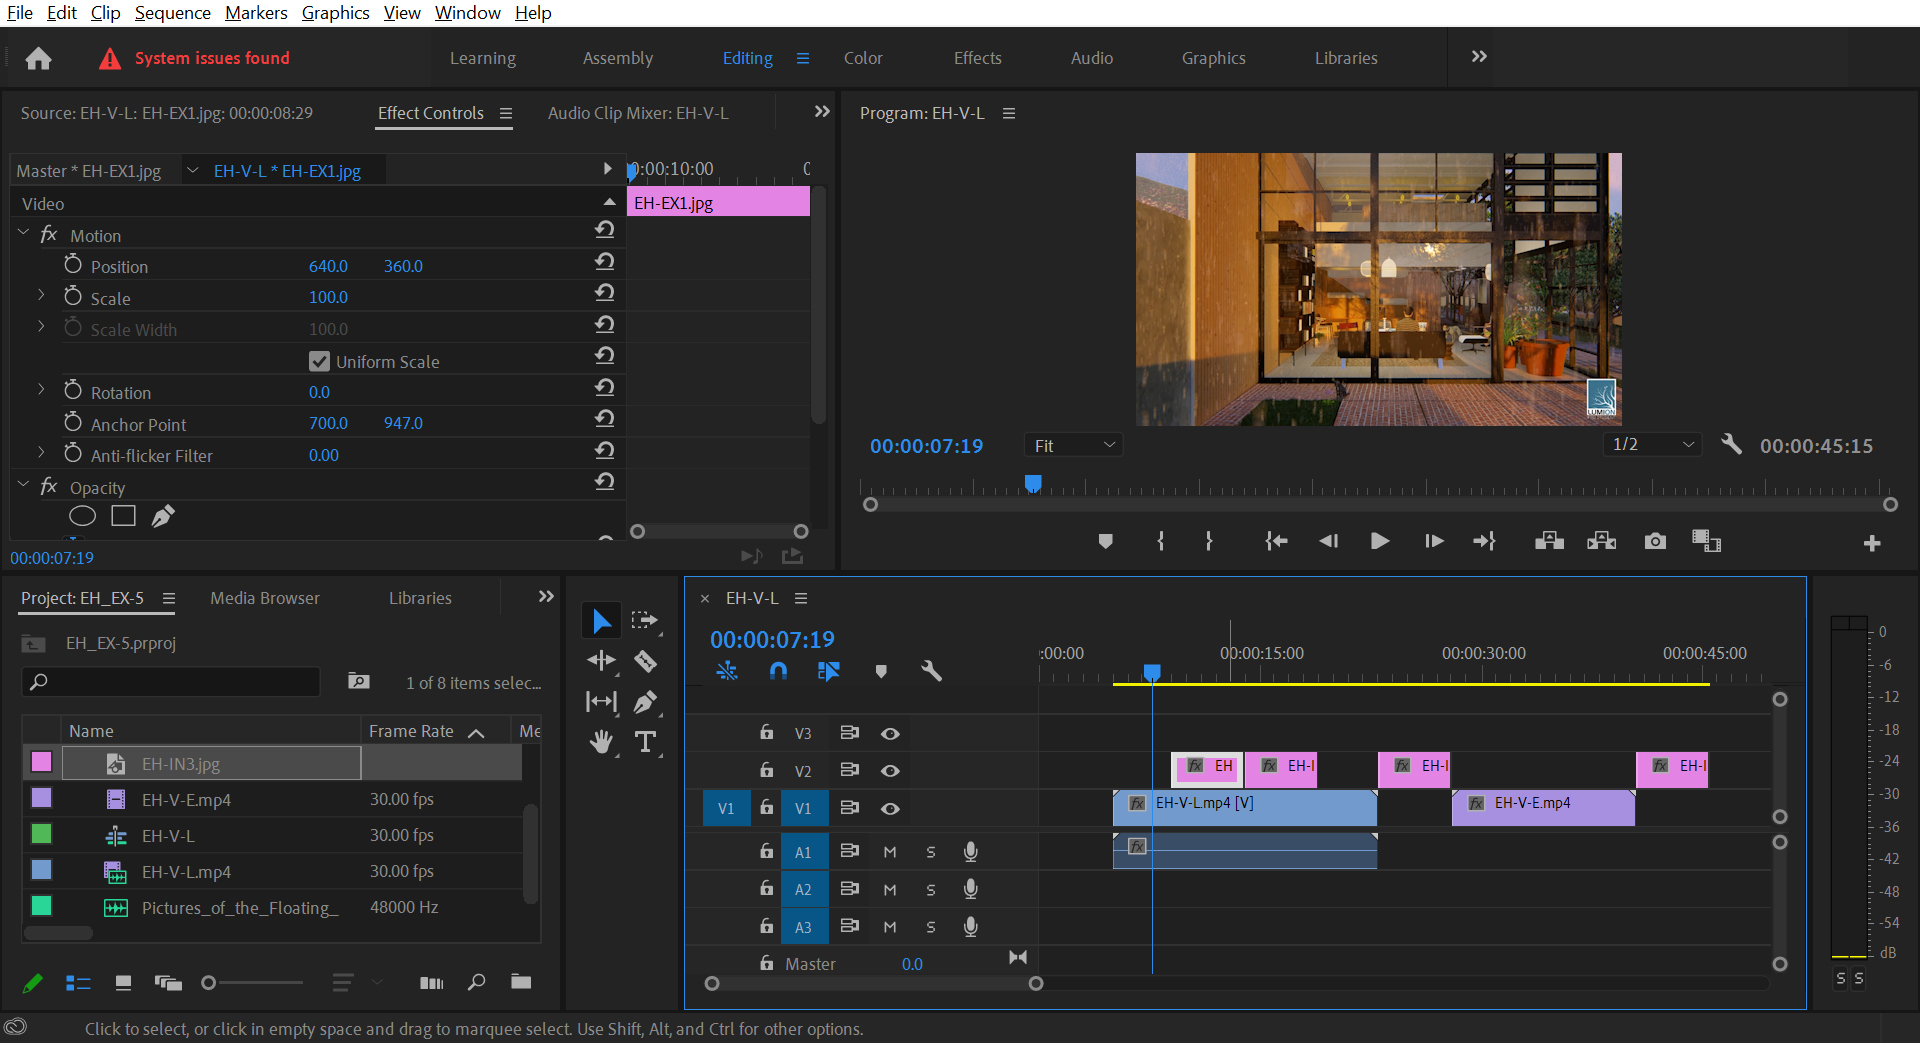
Add the sources to the Timeline
- [STEP 01] Select a source from [Projec Panel].
- [STEP 02] Drag the source to the [Timeline] in the [V1] track.
- [STEP 03] Repeat steps 1 and 2 for other videos and images you want to add to the [Timeline]. You can add videos in the [V1] Track, and add images in the [V2] track.
- [STEP 04] Change the sequence of the video and image with the [Selection tool].
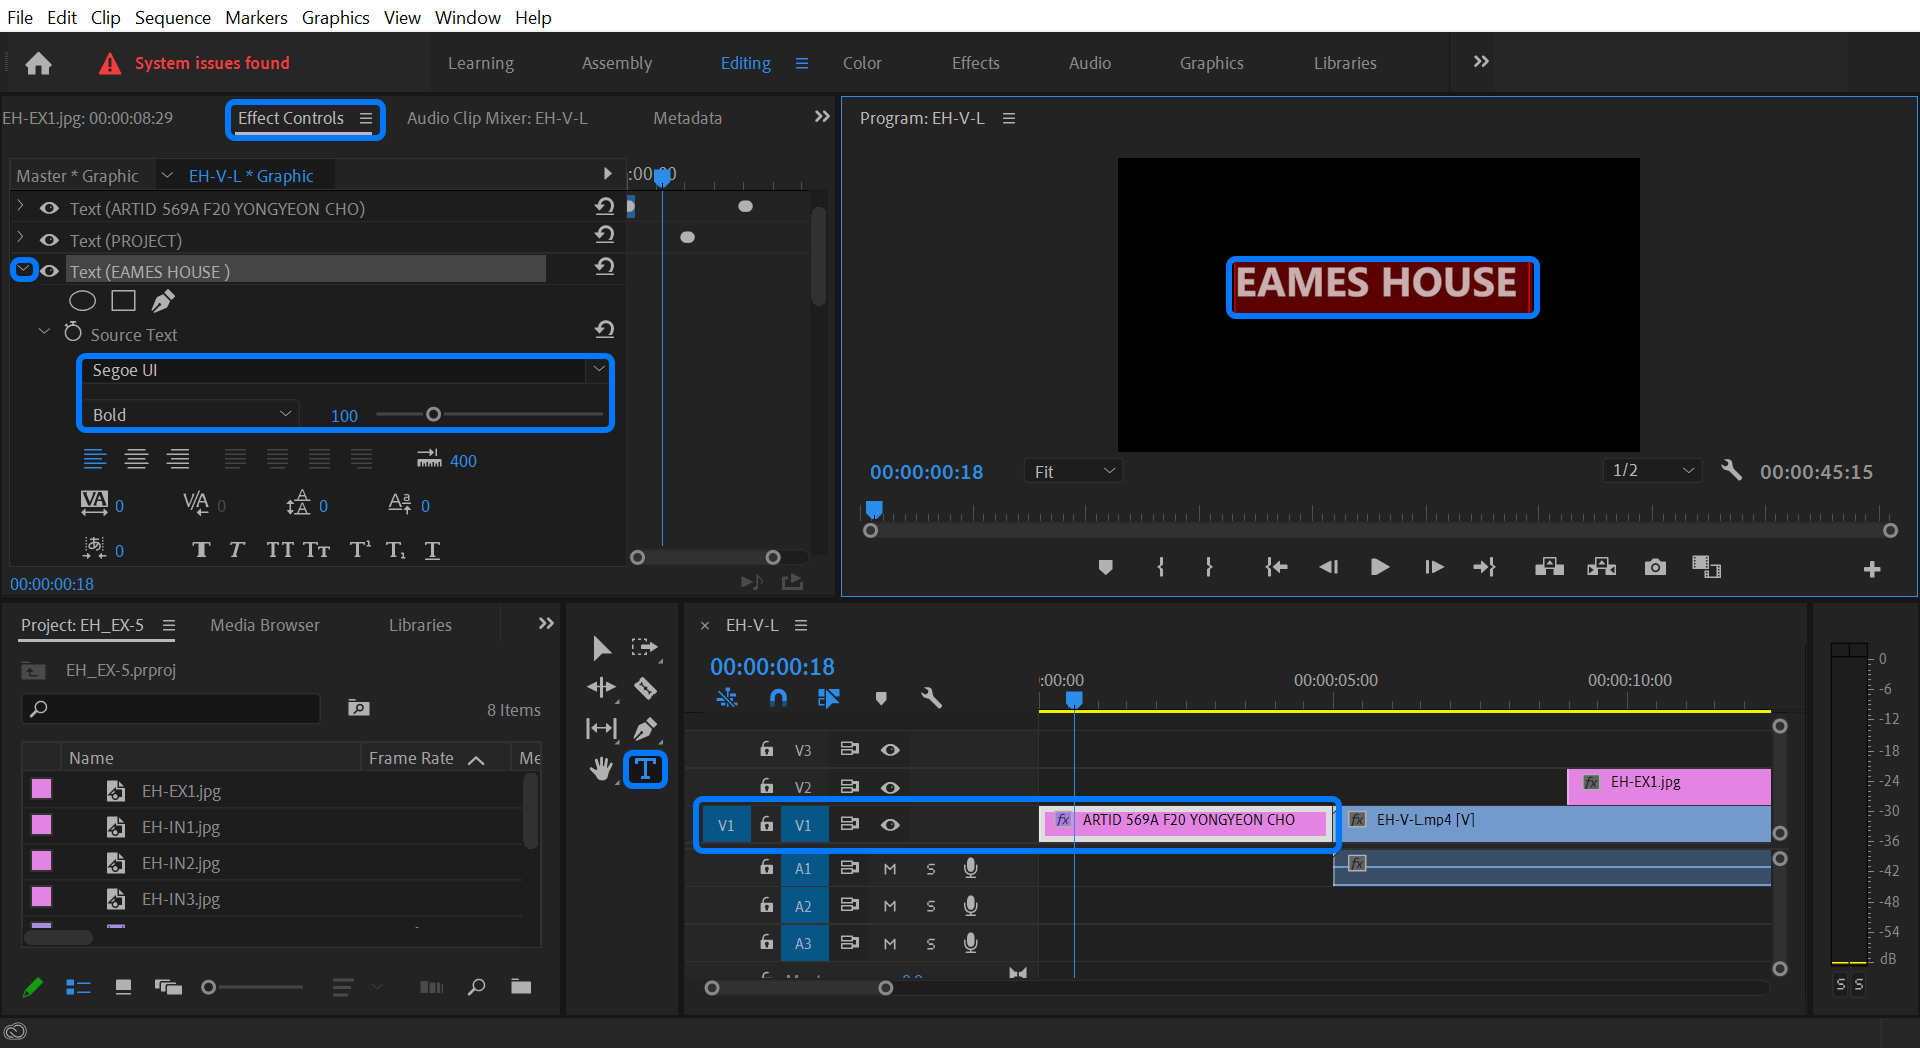
Add a title
- [STEP 01] Click the [Type Tool] from the [Tool Panel].
- [STEP 02] Drag and drop to create a text box.
- [STEP 03] Add text.
- [STEP 04] Open [Effect Control panel] by clicking [Effect Control].
- [STEP 05] Click [Text] to change the font, size, and position of your placed text.
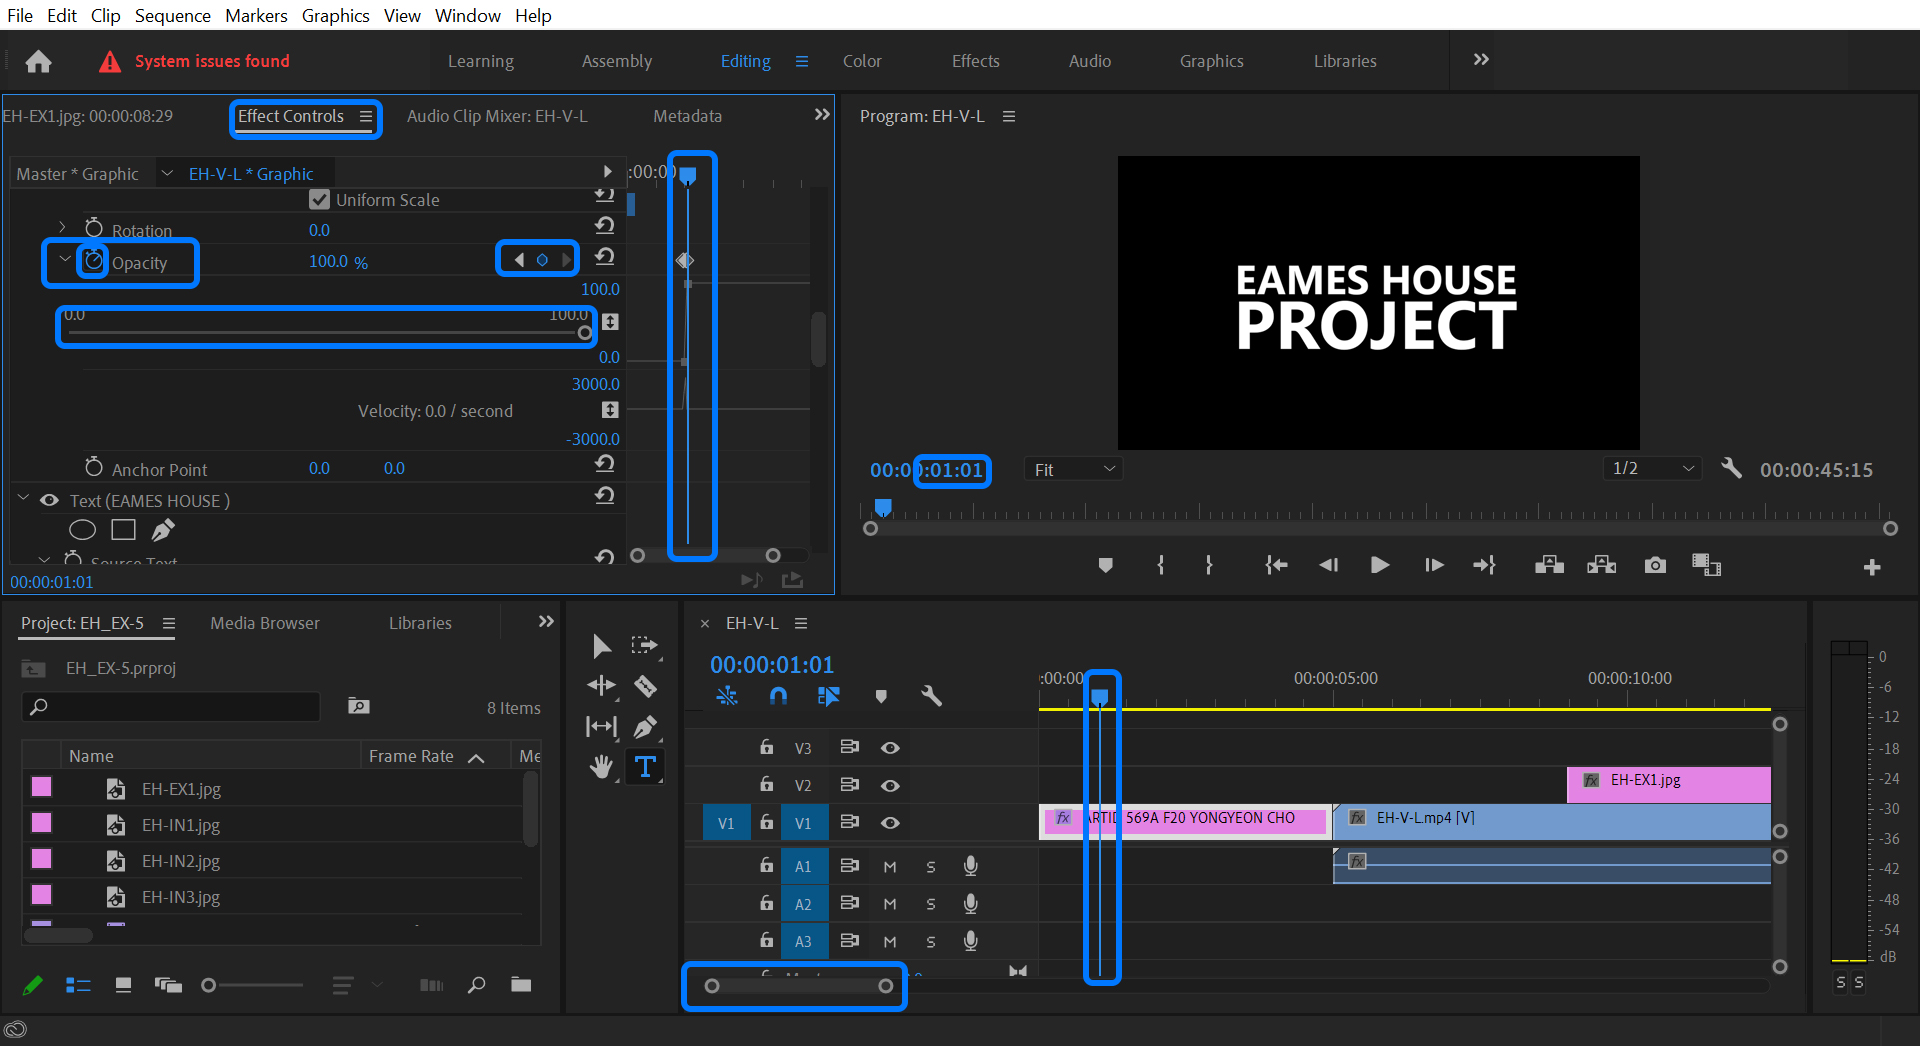
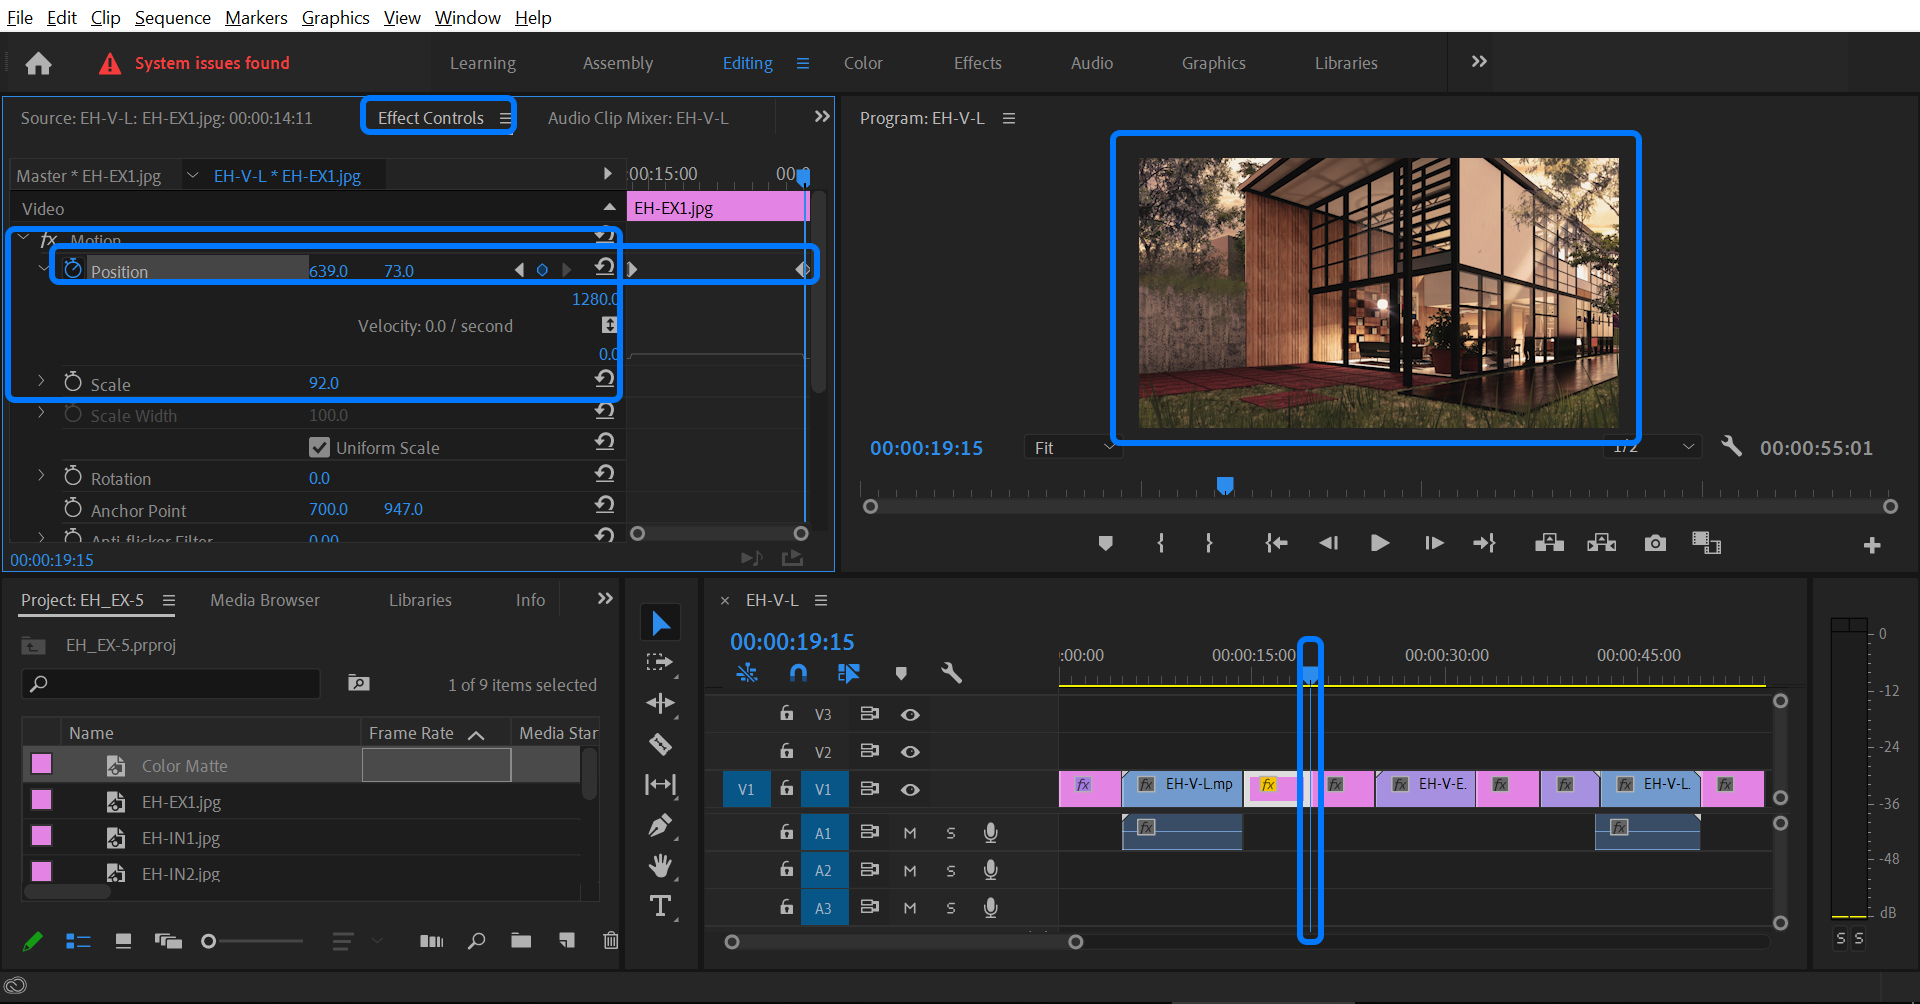
Edit the title
- [STEP 01] See more options from the effect control panel.
- [STEP 02] Click the Timeline or double-click the time and enter the numbers that the changes need to be made.
- [STEP 03] Add the [Stop watch] icon from the [Effect Controls] panel on the effect to add to the first keyframe.
- [STEP 04] Change the value for the keyframe if needed.
- [STEP 05] Change the Timeline.
- [STEP 06] Add the second keyframe.
- [STEP 07] Change the value for the second keyframe.
- [STEP 08] Confirm that the changes are all right by pressing [Space bar].
(CO3) Edit videos and add transitions
Edit a video clip
- [STOP 01] Hide layers that you do not need to edit by clicking the [Eye] icon on the track.
- [STEP 02] Find a time frame you want to cut from the Timeline.
- [STEP 03] Select the [Razor Tool] and click the time frame to cut the video clip.
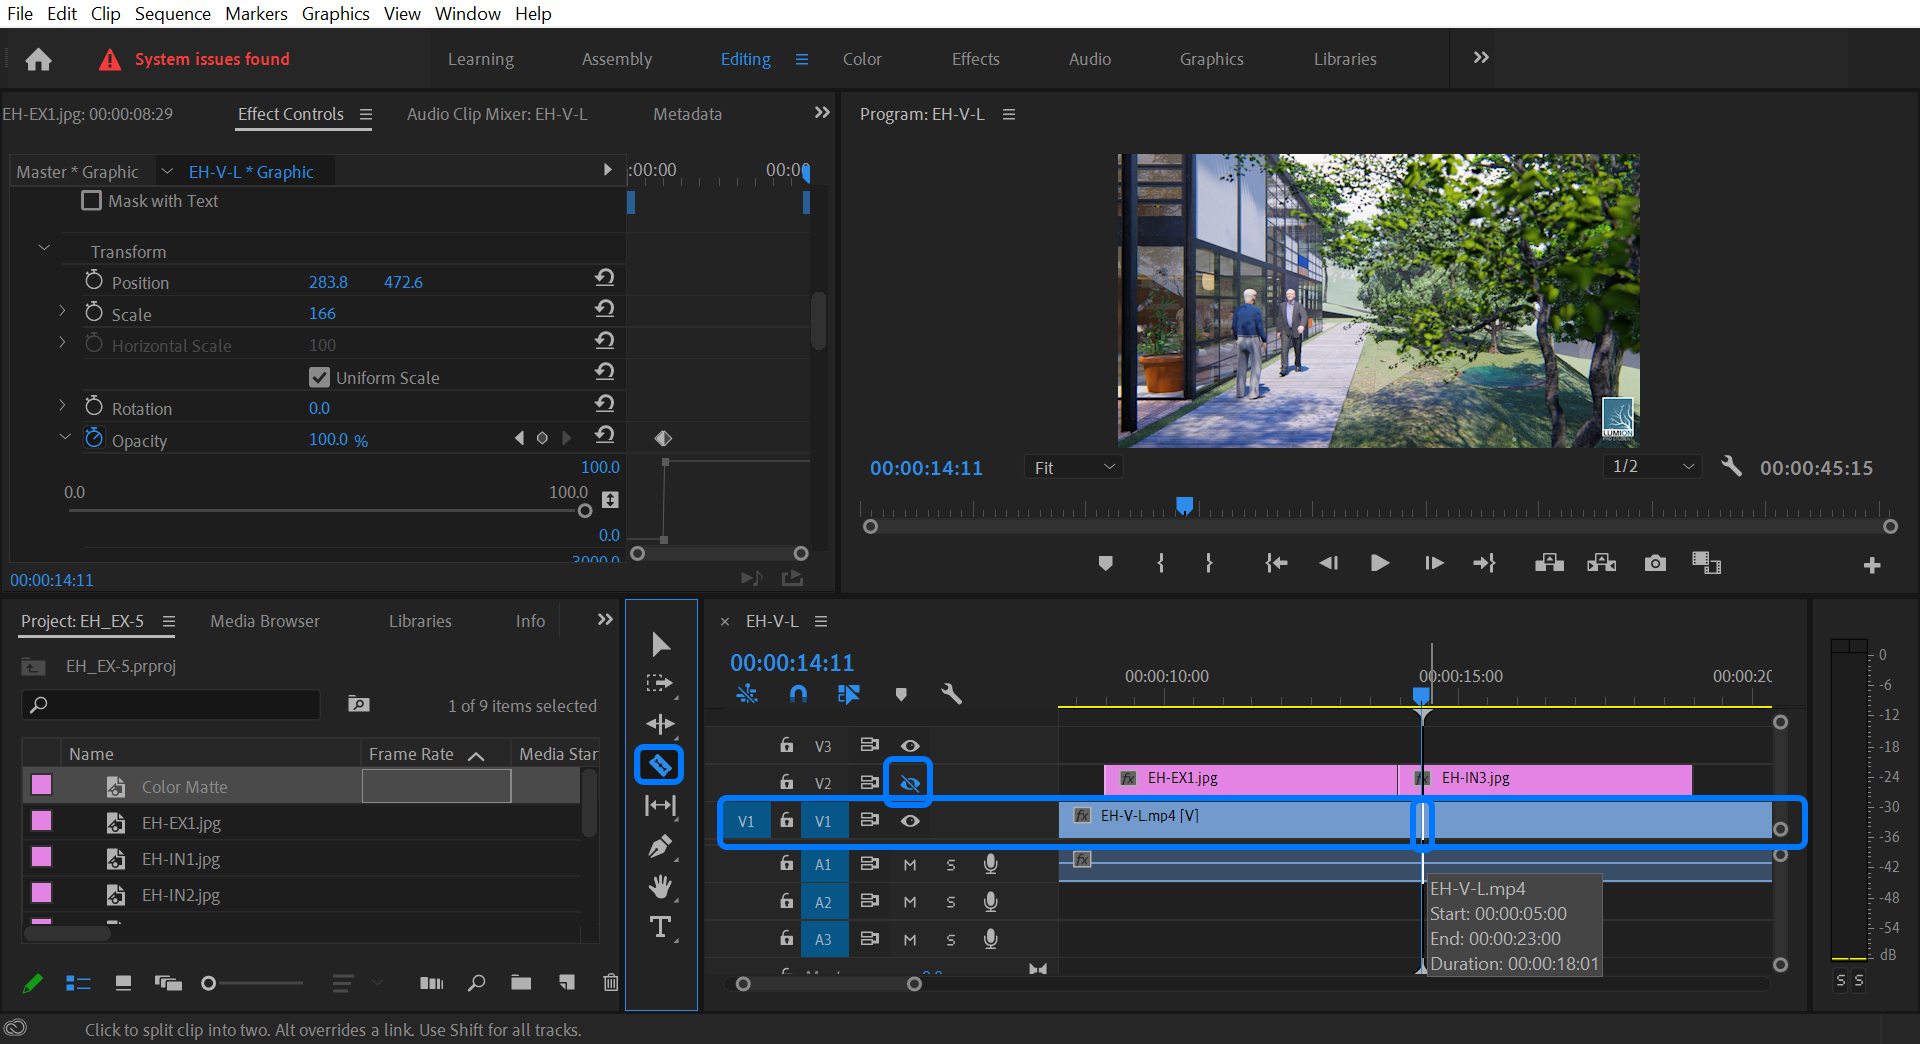
- [STEP 04] Move the time frame you want to cut from the Timeline.
- [STEP 05] Click the time frame to cut the video clip.
- [STEP 06] Select the edited clip and move or delete.
- [STEP 07] Repeat this process to make the right sequence for your video clips and images.
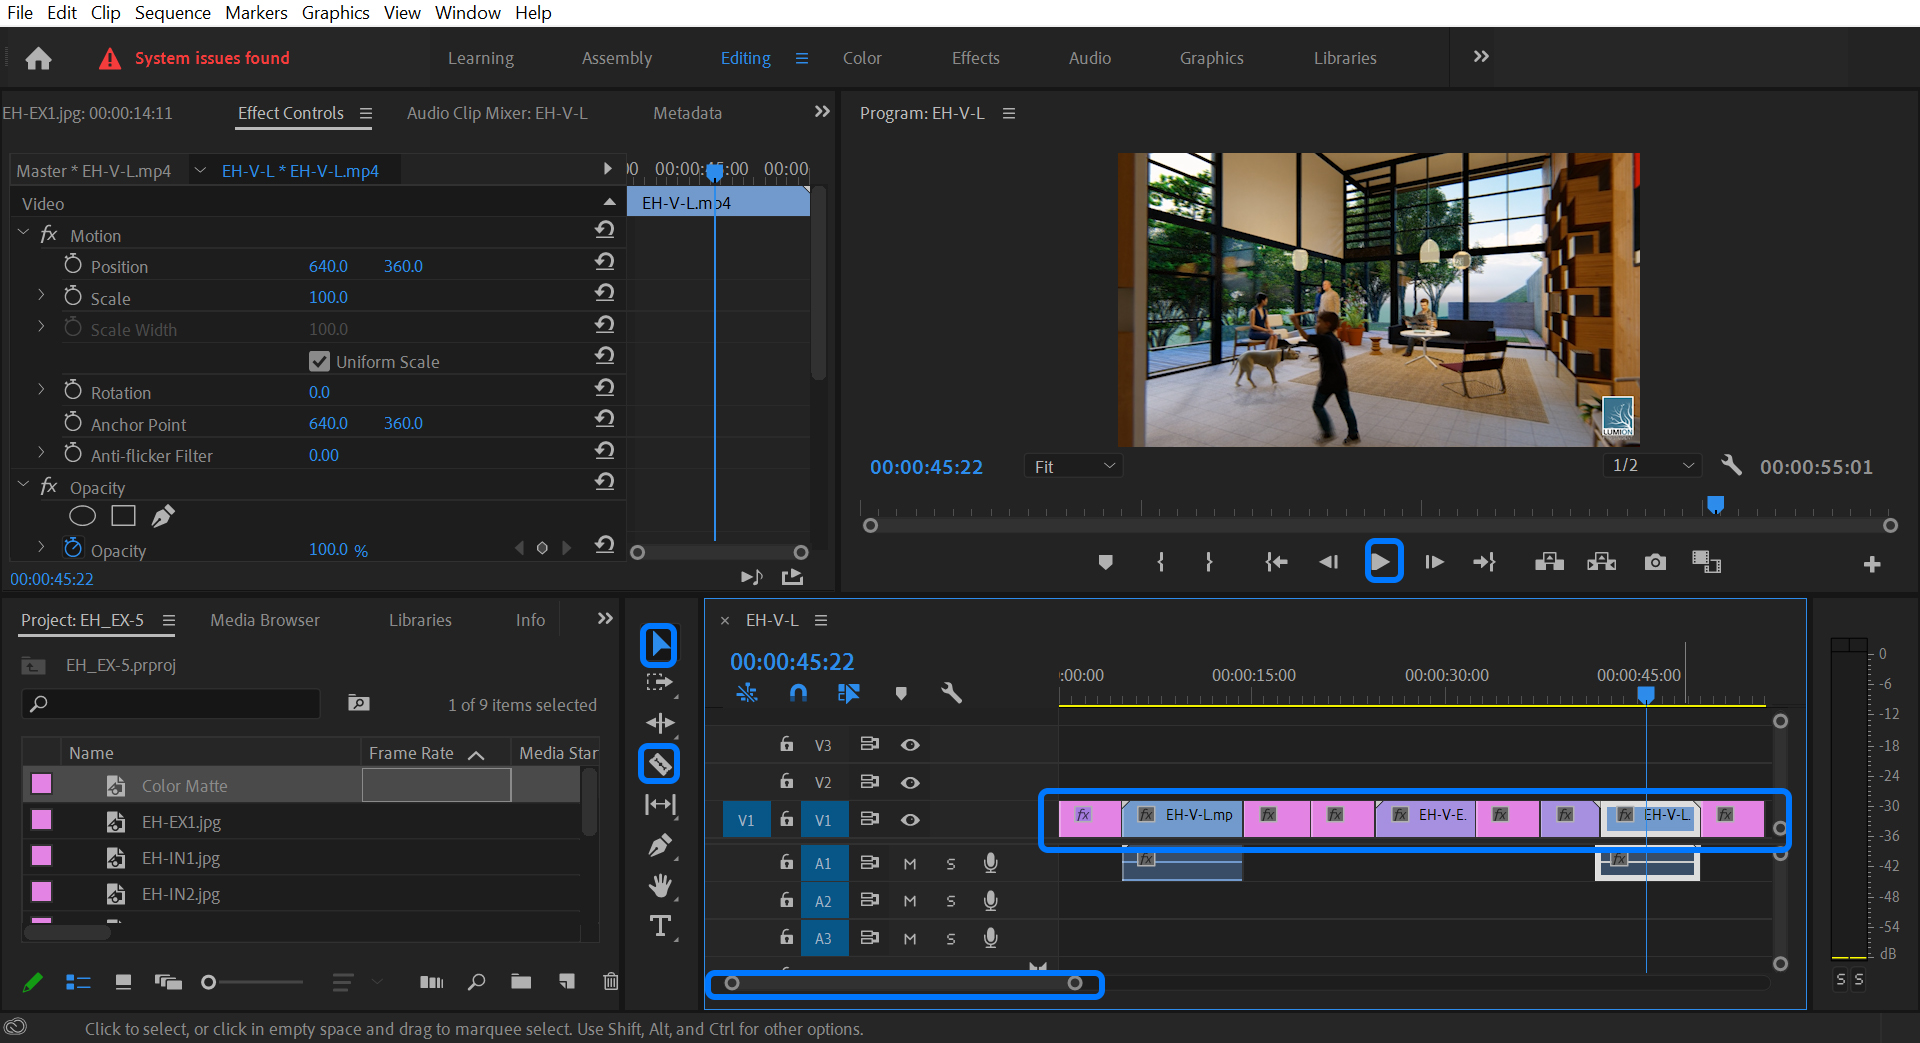
Edit a still image
- [STEP 01] Click the still image that you want to change on the [Timeline].
- [STEP 02] Double-click the still image from the [Program Panel].
- [STEP 03] See the [Effect Controls] panel, and change the scale and position that you want to present.
- [STEP 04] If you want to make a moving image, use the keyframes.
Add descriptions using texts
- [STEP 01] Click the [Type Tool] from the [Tool Panel].
- [STEP 02] Drag and drop to create a text box.
- [STEP 03] Add texts.
- [STEP 04] Open [Effect Control panel] by clicking [Effect Control].
- [STEP 05] Click [Text] and change the font, size, and position.
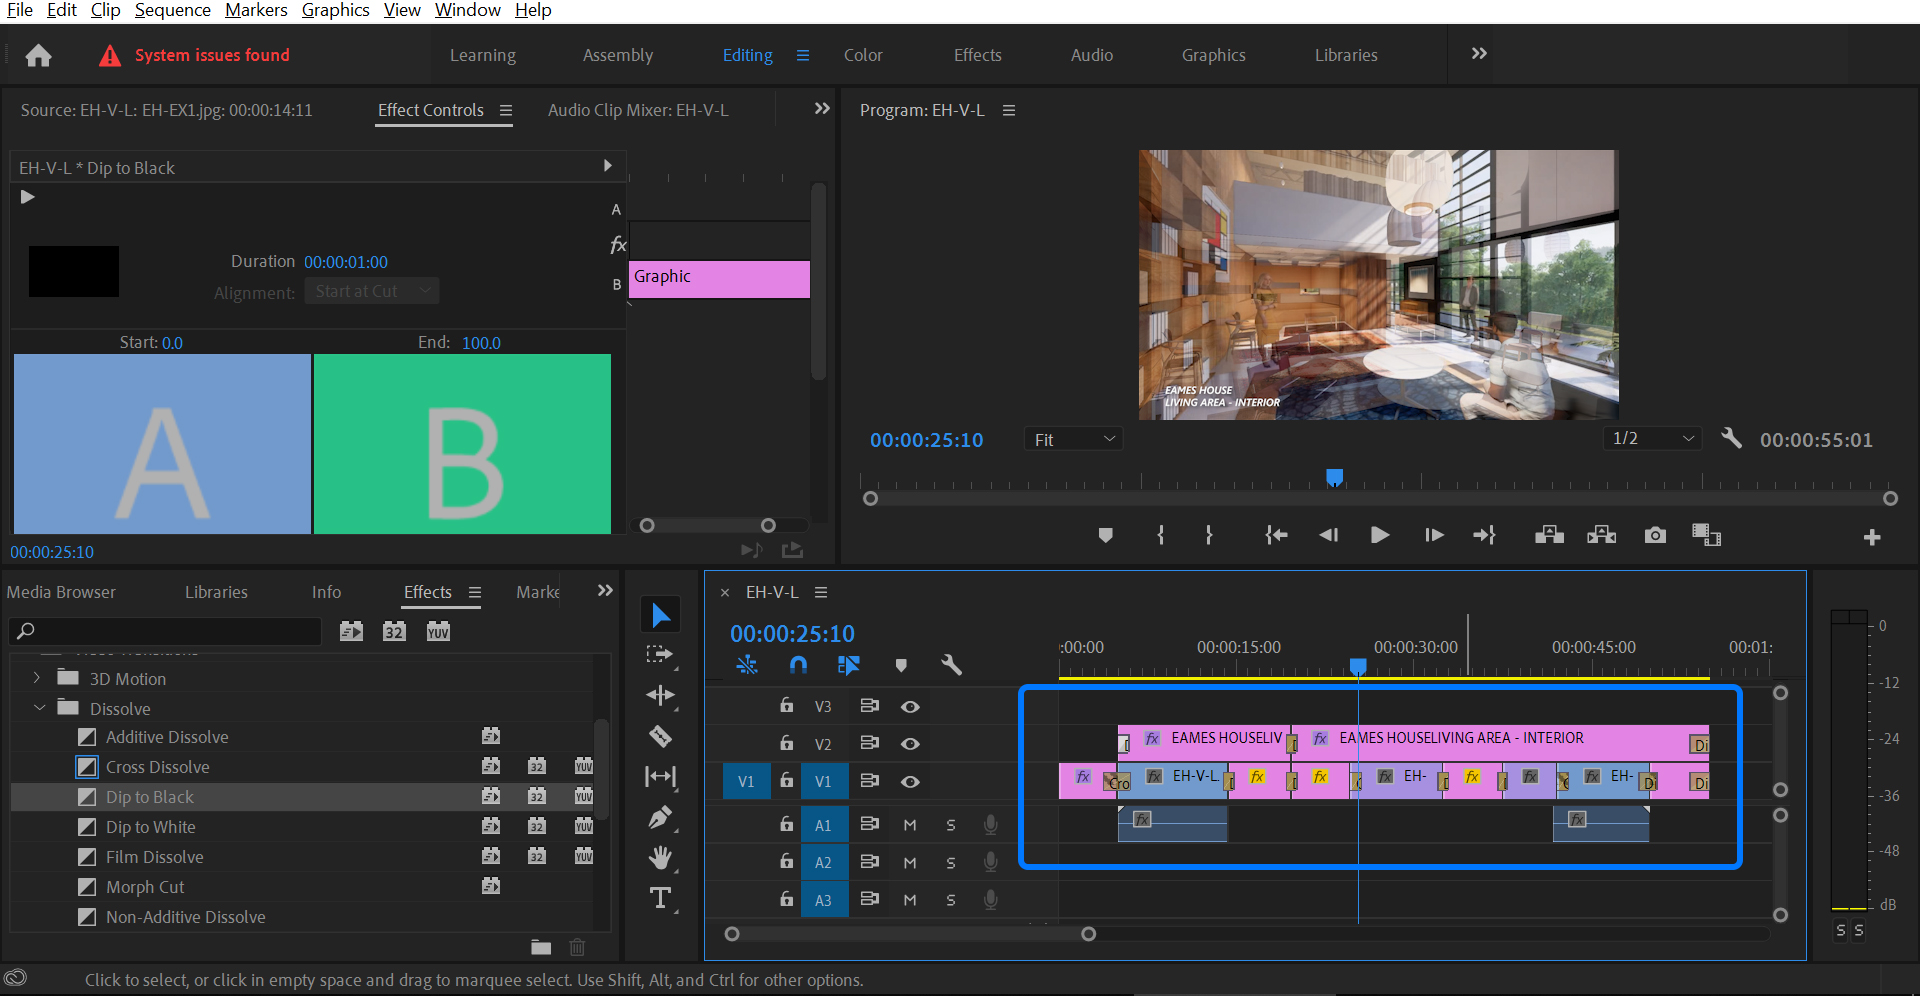
Add transitions between clips
- [STEP 01] Click [Effect] from the [Project panel].
- [STEP 02] Open [Video Transitions] > [Dissolve].
- [STEP 03] Click [Cross Dissolve] or [Dip to black] (if you want a different transition, please try).
- [STEP 04] Drag the dissolve and drop on the between the video clips.
- [STEP 05] Adjust the length of the transition by dragging and dropping the effect on the Timeline.
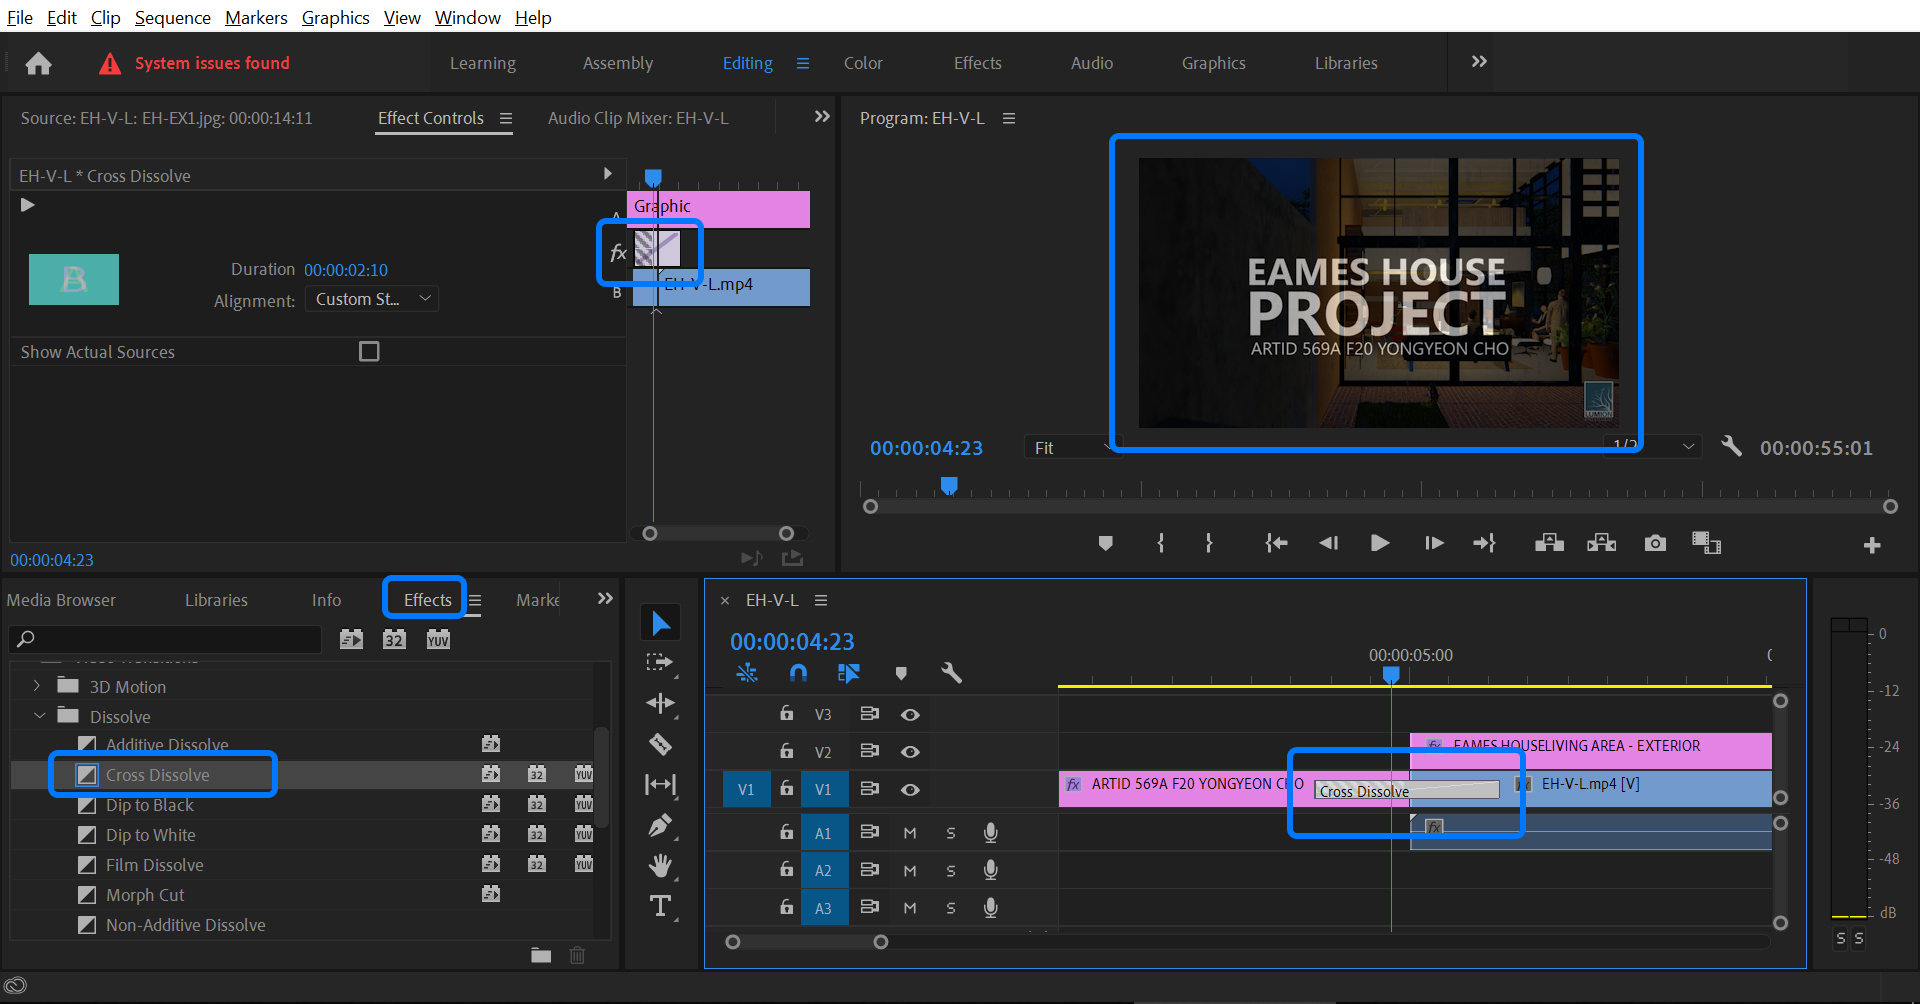
- [STEP 06] Repeat this process for all other transitions.
(CO4) Add/edit sounds
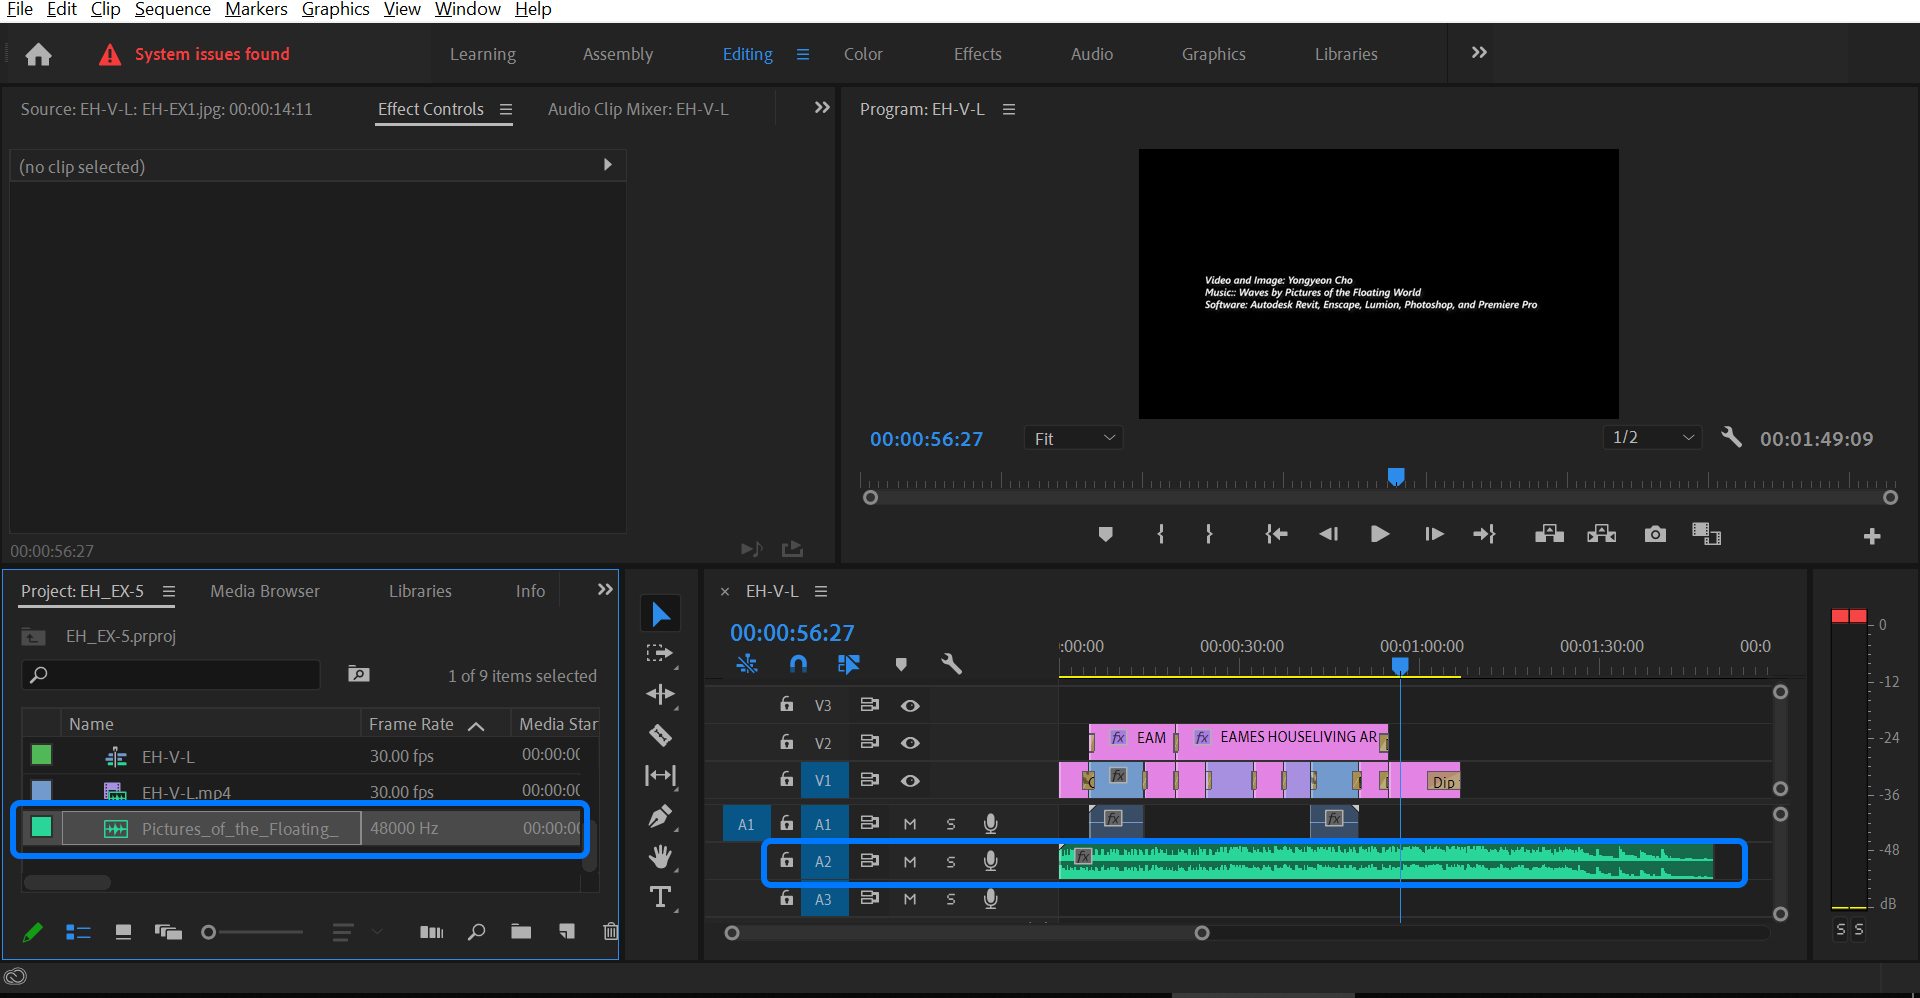
If you want to add music, I recommend using a website that includes open-source instrumental music sources. For example, see the Free Music Archive.
This source is free to share and adapt for non-commercial use with reference (CC-BY-NC).
I already downloaded Pictures_of_the_Floating_World_-_Waves.mp3 and imported it into the project.
Add and edit the audio source
- [STEP 01] If you did not import the sound source, import the source first.
- [STEP 02] Select the imported sound source.
- [STEP 03] Drag and drop the source on the Timeline under the Audio track.
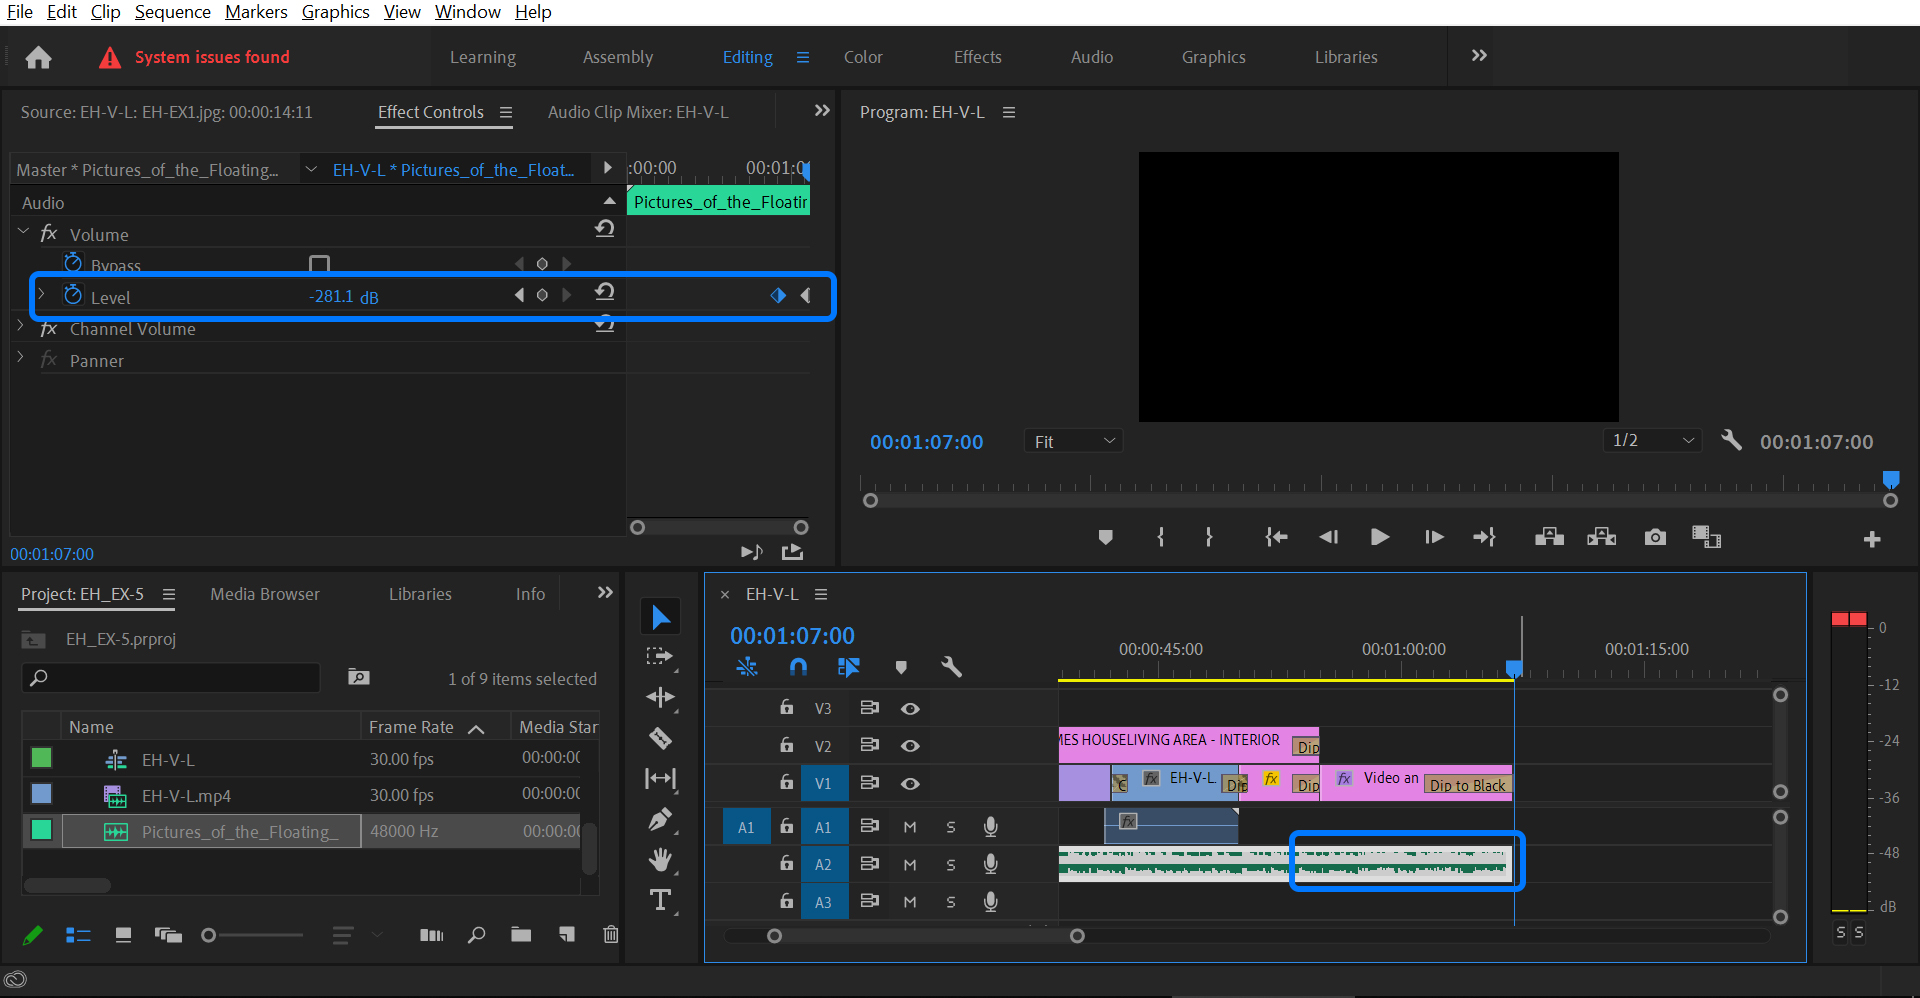
- [STEP 04] If the sound source is longer than the total length of the video, you can cut the sound source using the [Razor Tool] and delete the remaining part.
- [STEP 05] You also edit the volume level of the sound source by adding the keyframes and editing the values.
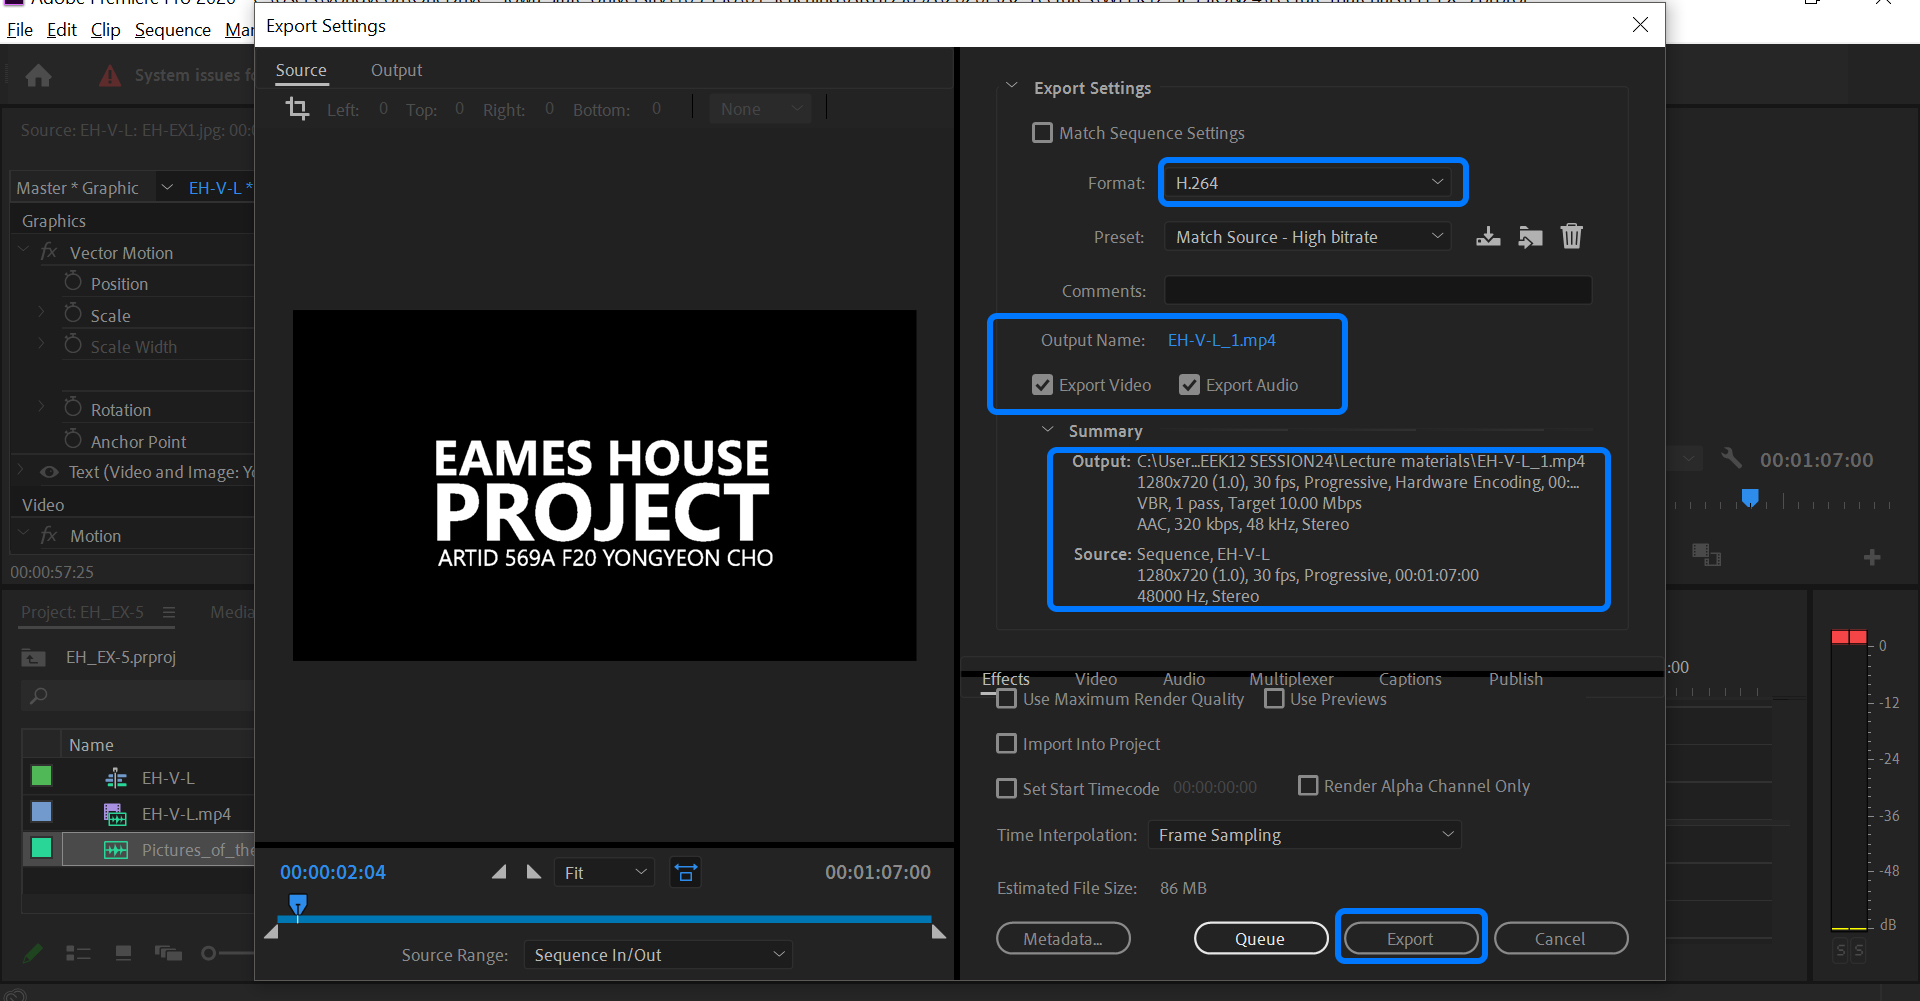
Export to a video file
- [STEP 01] Save the file before export to a video file.
- [STEP 02] Click [File] > Click [Export] > Click [Media].
- [STEP 03] Confirm the Format is H.264, Check both [Export Video] and [Export Audio], and Confirm the file name and location.
- [STEP 04] Click [Export] and check the final result once the processing is done.
 References
Adobe. (n.d.). Professional video editing software | adobe premiere pro. Retrieved December 24, 2021, from https://www.adobe.com/products/premiere.html
Jago M. (2017). Premiere Pro user interface basics tutorial | Adobe Premiere Pro tutorials. Retrieved December 24, 2021, from https://helpx.adobe.com/premiere-pro/how-to/overview-interface-premiere-cc.html.
Team, A. C. (2012). Adobe Premiere Pro CS6 Classroom in a Book: Adobe Prem Pro CS6 Classro_p1. Adobe Press.
