
Part Four. Advanced Rendering
Chapter 19. Photoshop – brushes and quick retouch
Upon completing this session, students will be able to:
- (CO 1) Be aware of various tips and skills for better interior perspective renderings
- (CO 2) Be introduced to various sites for texture, cutouts, and more for references
- (CO 3) Be able to produce a rendering with a quick retouch
 Session Highlights
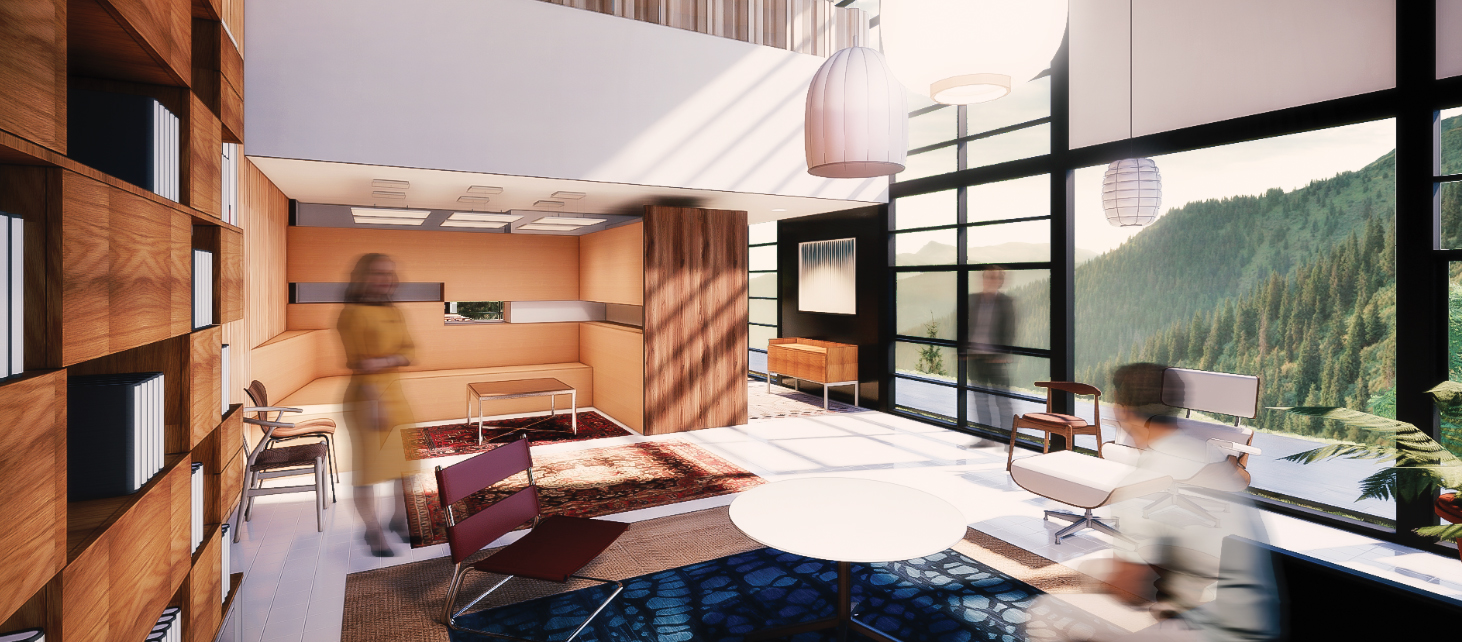
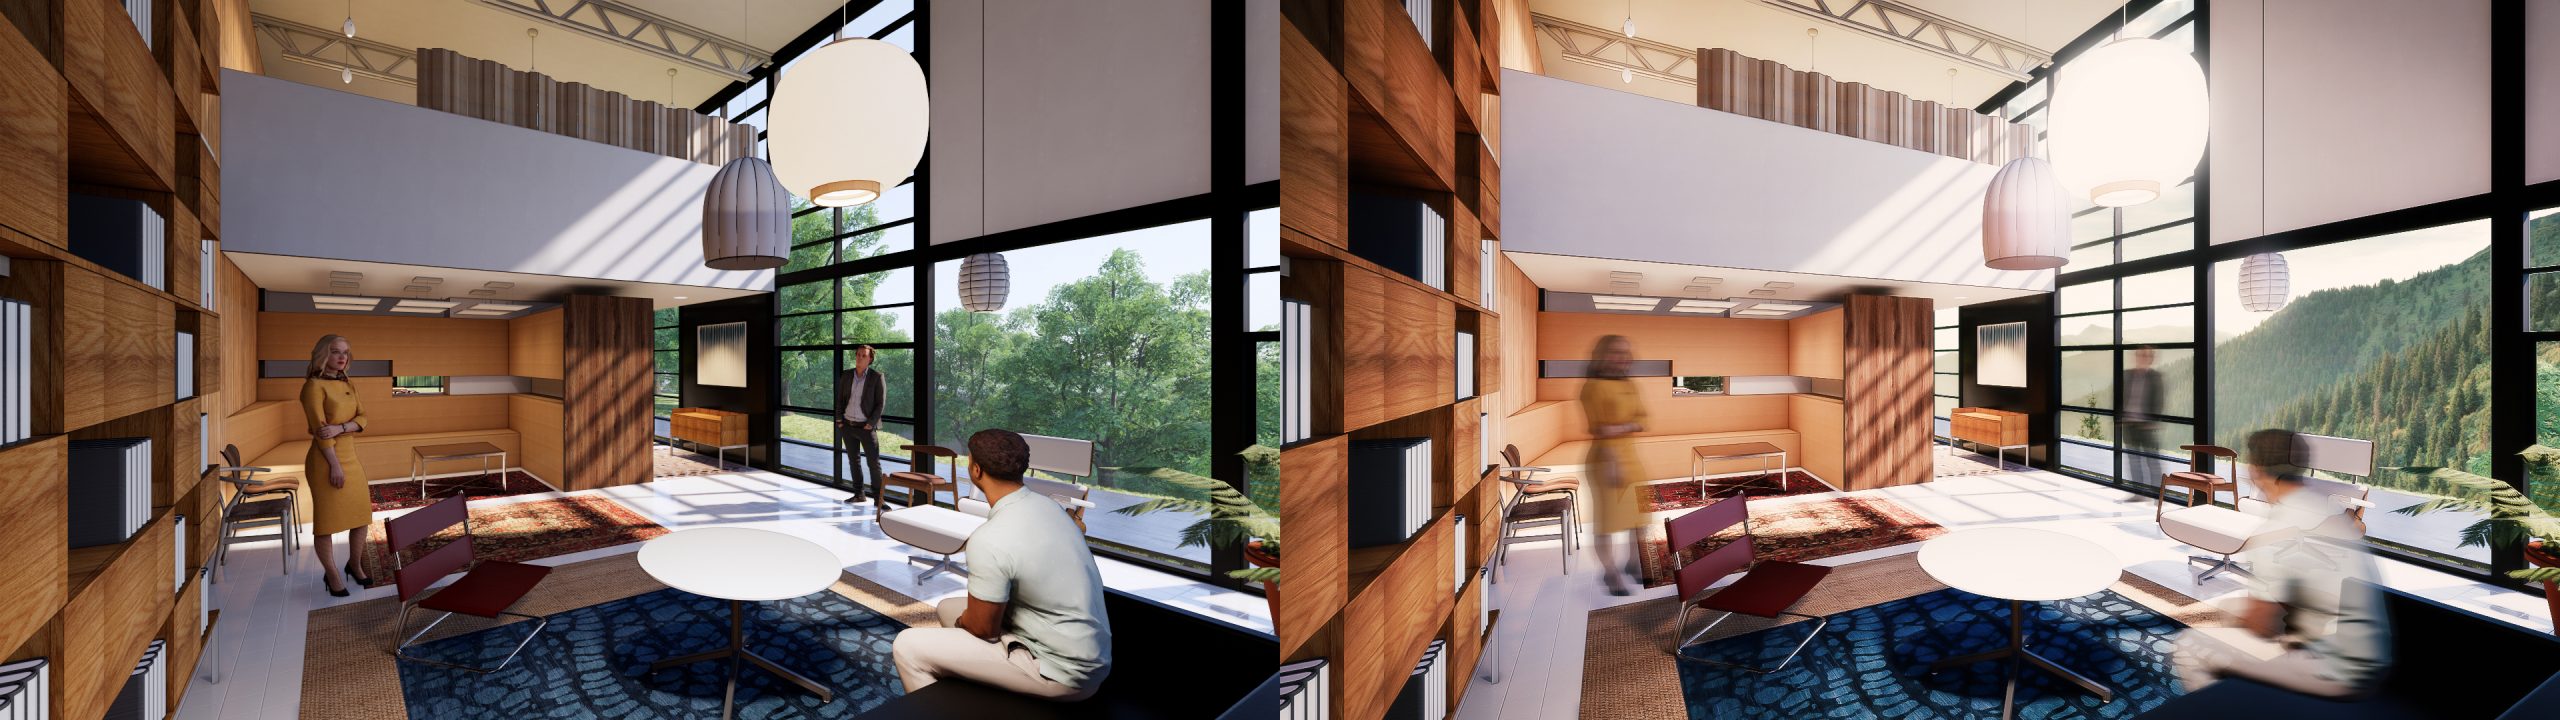
At the end of the session, students can create the graphics below.
 Lecture Contents
(CO1) Be aware of various tips and skills for better interior perspective renderings
8 Tips for better perspective renderings
- [STORY] Make a story in the view with a sketch and references.
- [MODELING] Build a detailed main model for your design.
- [SURROUNDINGS] Use additional surroundings, such as nature, buildings, landscaping, objects, figures, and details. The surroundings can be photoshopped or used 3d models.
- [COMPOSITION] Consider appropriate composition such as asymmetry, two-point perspective, 3-ground rule: fore, mid, and back, Field of View: not too wide, not too narrow.
- [LIGHTING] Develop realistic lightings in your view, use light profiles, use fake lightings.
- [MATERIAL] Use physically real materials and textures – Texture size, image quality, seamless pattern, bumpiness, reflectiveness, and more.
- [MOOD] Avoid using too many colors on your image and too bright image, considering the mood of the view.
- [CREATIVITY] Avoid photorealistic rendering, unleash your imagination!! be creative!! & be bold!!
The information above is from 12 Tips for creating a perfect architectural rendering – From the exports by Paul Keskeys
Websites for Rendering awards
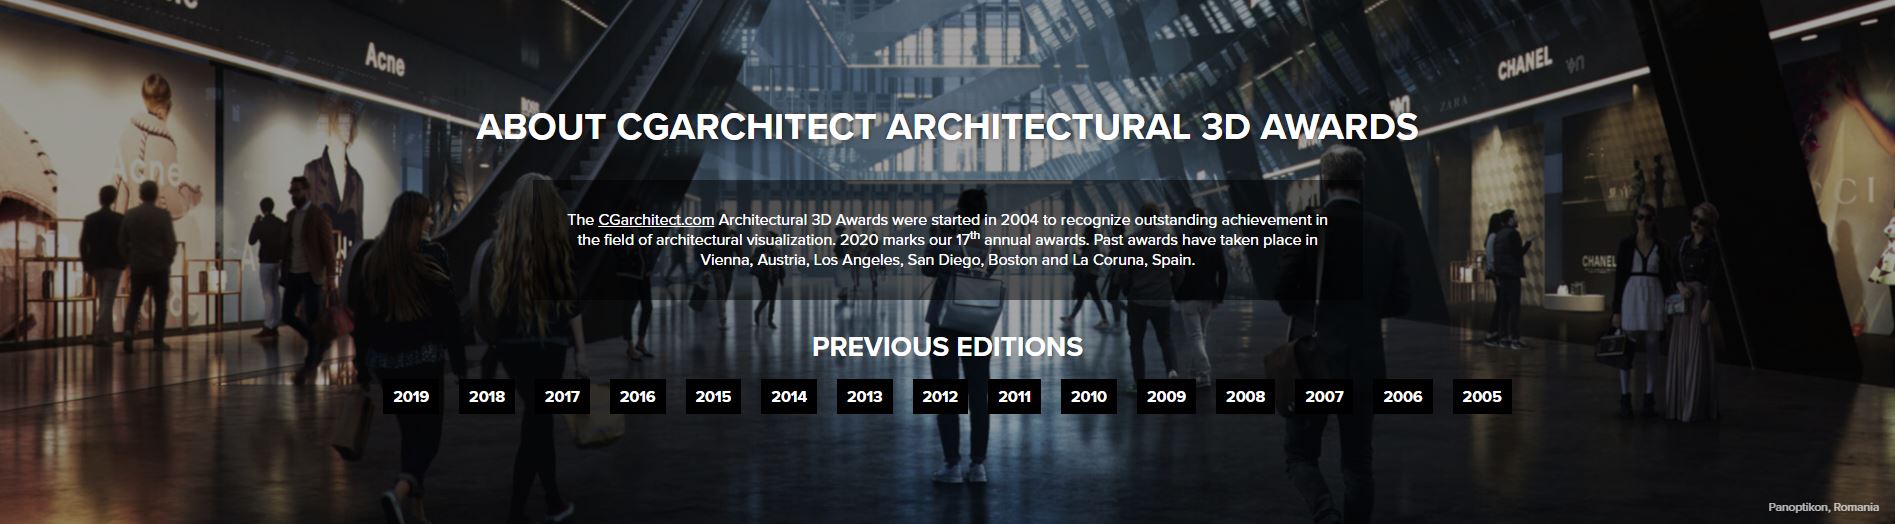
CGarchitect Architectural 3D awards – CGarchitecture is one of the leading online magazines in architectural design visualization launched in 2001 by Jeff Mottle (CGarchitect, n.d.).
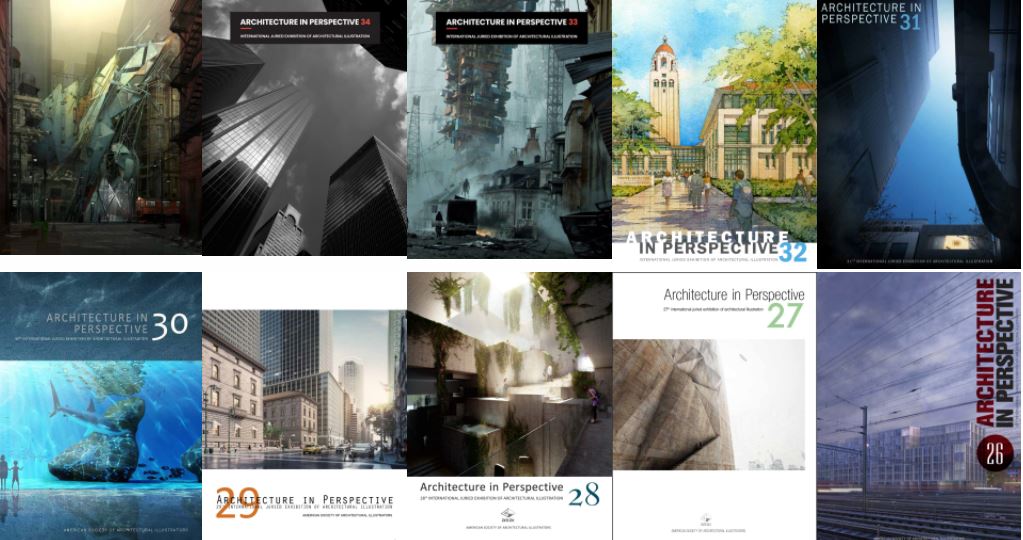
American Society of Architectural illustrators (ASAI) award – ASAI is a professional organization to represent the architectural illustrators in the world founded in 1986 by Steve Rich, Frank Costantino, and Steve Oles (ASAI, n.d.).
The one rendering challenge by Architizer – Architizer is the world’s largest online community of architects to empower and connect architects with building products and inspire them (Architizer, n.d.).
The best architecture drawing of the year by Achidaily.
Bee Breeders competition results.

(CO2) Be introduced to various sites for texture, cutouts, and more for references
Websites for texture
Websites for cutouts
Websites for 3D modeling
- Evermotion – This website is one of the best professional websites for 3D modeling, textures, backgrounds, and cutouts
Architectural visualization tutorials – photoshop
(CO3) Be able to produce a rendering with a quick retouch
In this tutorial, I will demonstrate how to make a quick retouch from Enscape render outputs.
- [STEP 01] Render setting with [Export Object-ID, Material-ID, and Depth Channel].

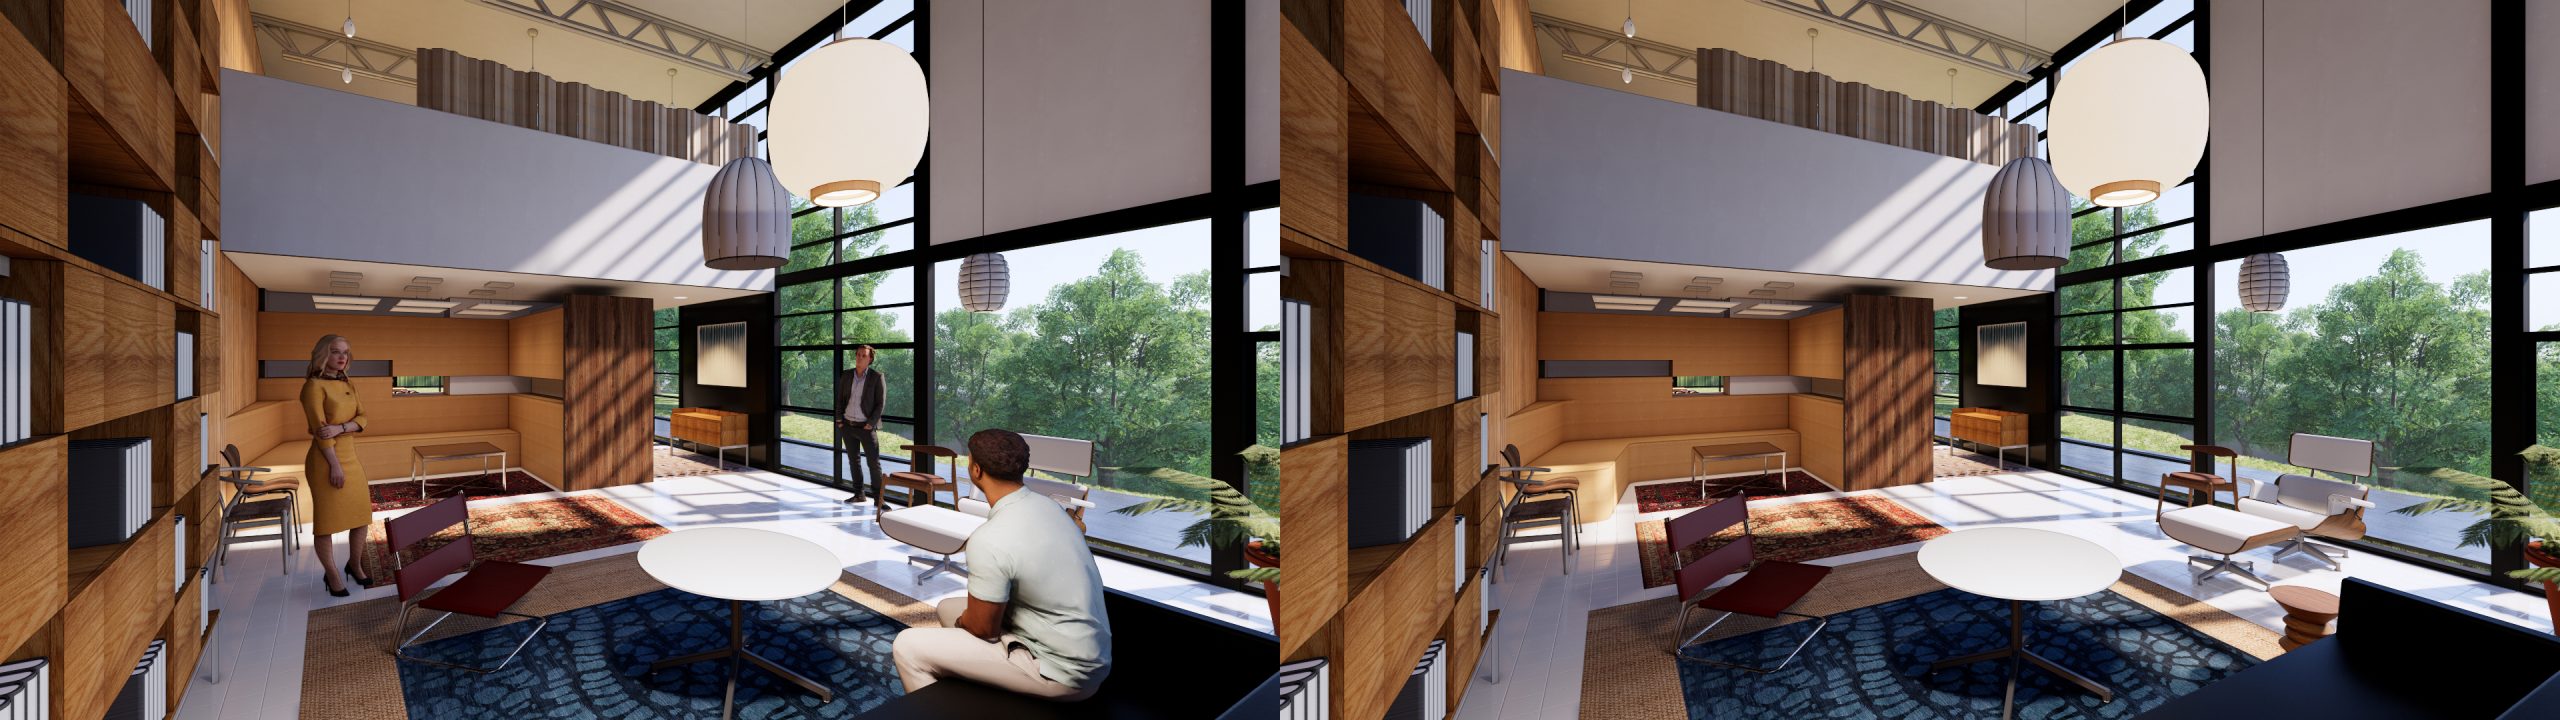
- [STEP 02] Prepare two rendered images, one is with entourages, the other is without entourages.
- [STEP 03] Open the rendered image without an entourage in Photoshop.
- [STEP 04] Save as the file in PSD format.
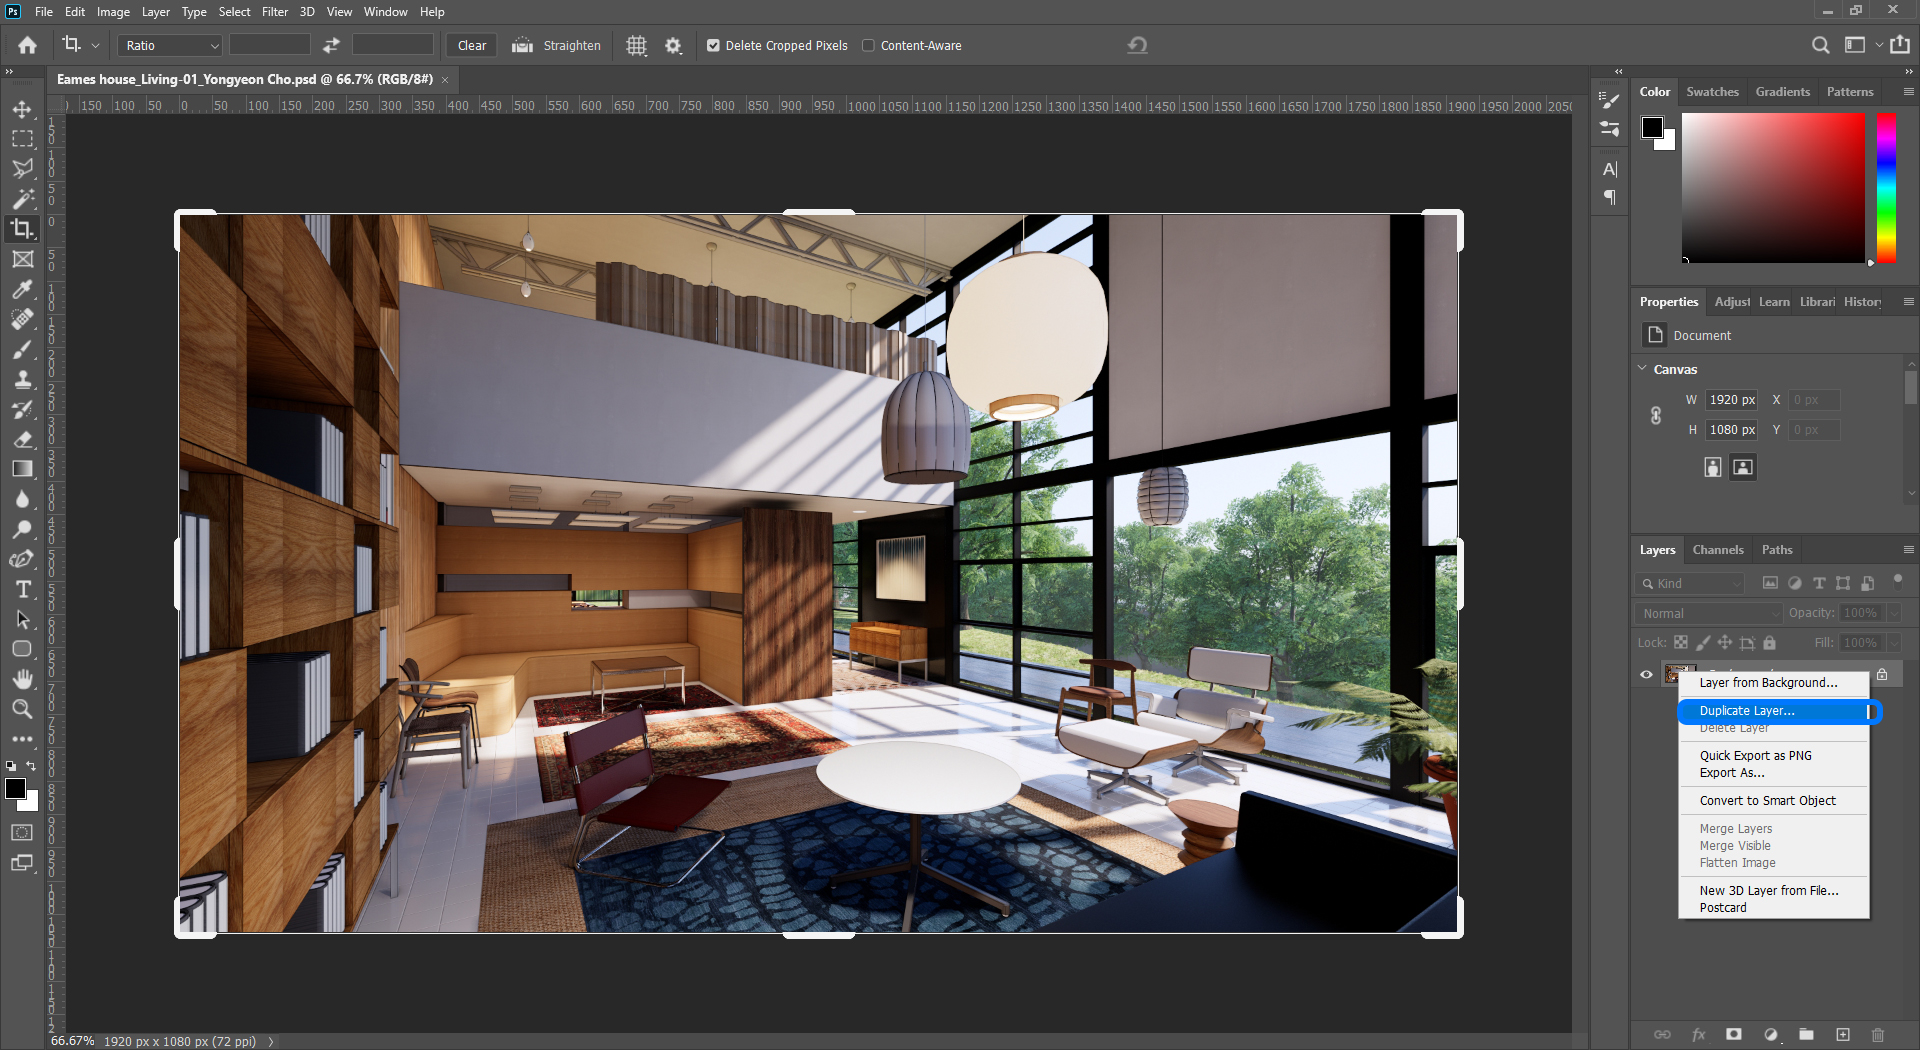
- [SETP 05] Duplicate the background layer by mouse-right clicking and selecting [Duplicate Layer…] or Selecting all [Ctrl+A] and [Ctrl+J].
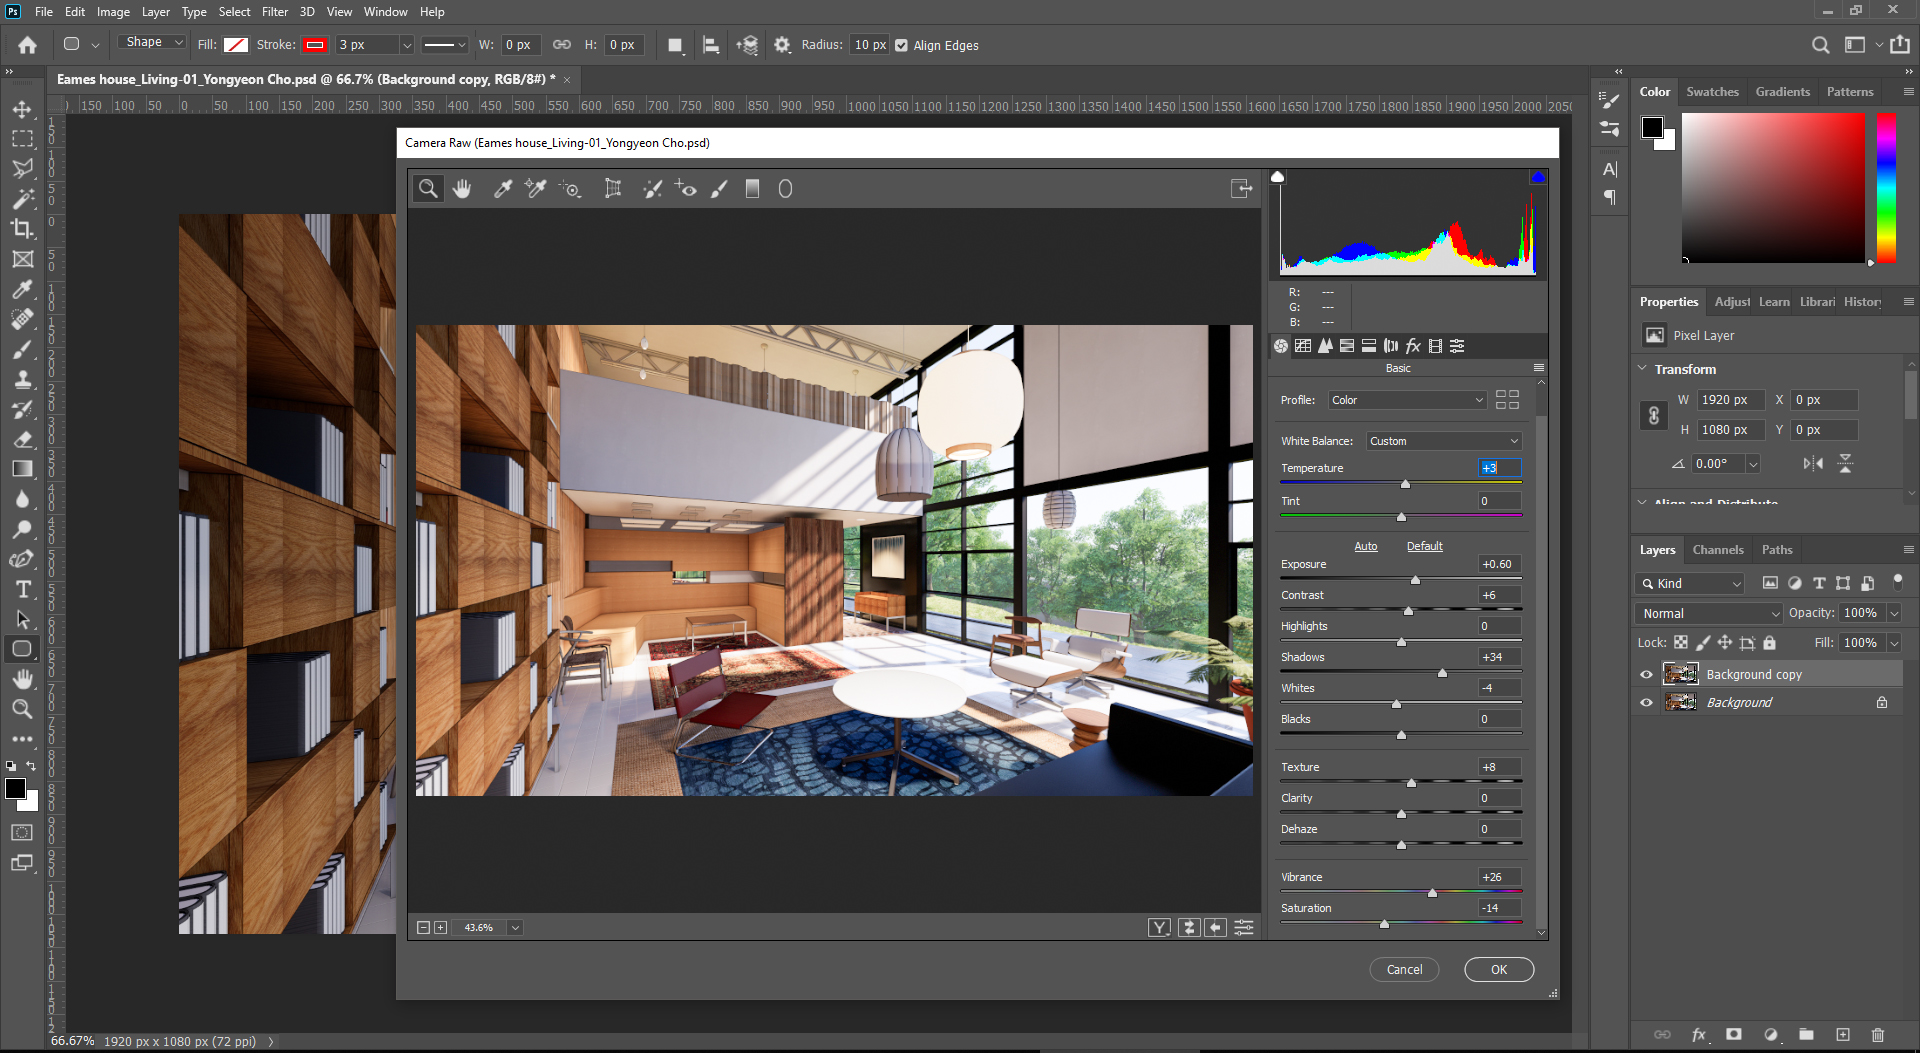
- [STEP 06] Click [Camera Raw] from the [Filter] menu. The [Camera Raw] setting is a combination version of image adjustment settings.
- [STEP 07] Add the [Depth Channal] by dragging and dropping it on the file.
- [STEP 08] Click [Color Range] from the [Select] menu, and click the black part.
- [STEP 09] Select [Image with camera raw] layer and press [Shift+Ctrl+I] for invert selection > Press [Ctrl+J] to duplicate the selected area > hide the [Image with camera raw] layer.
- [STEP 10] Search in google [Landscape HD background] and save an image that you want to use as a background of your rendering > Add the downloaded image on the file under the image with camera raw + no back] layer > Adjust the image size by pressing [Ctrl+T].
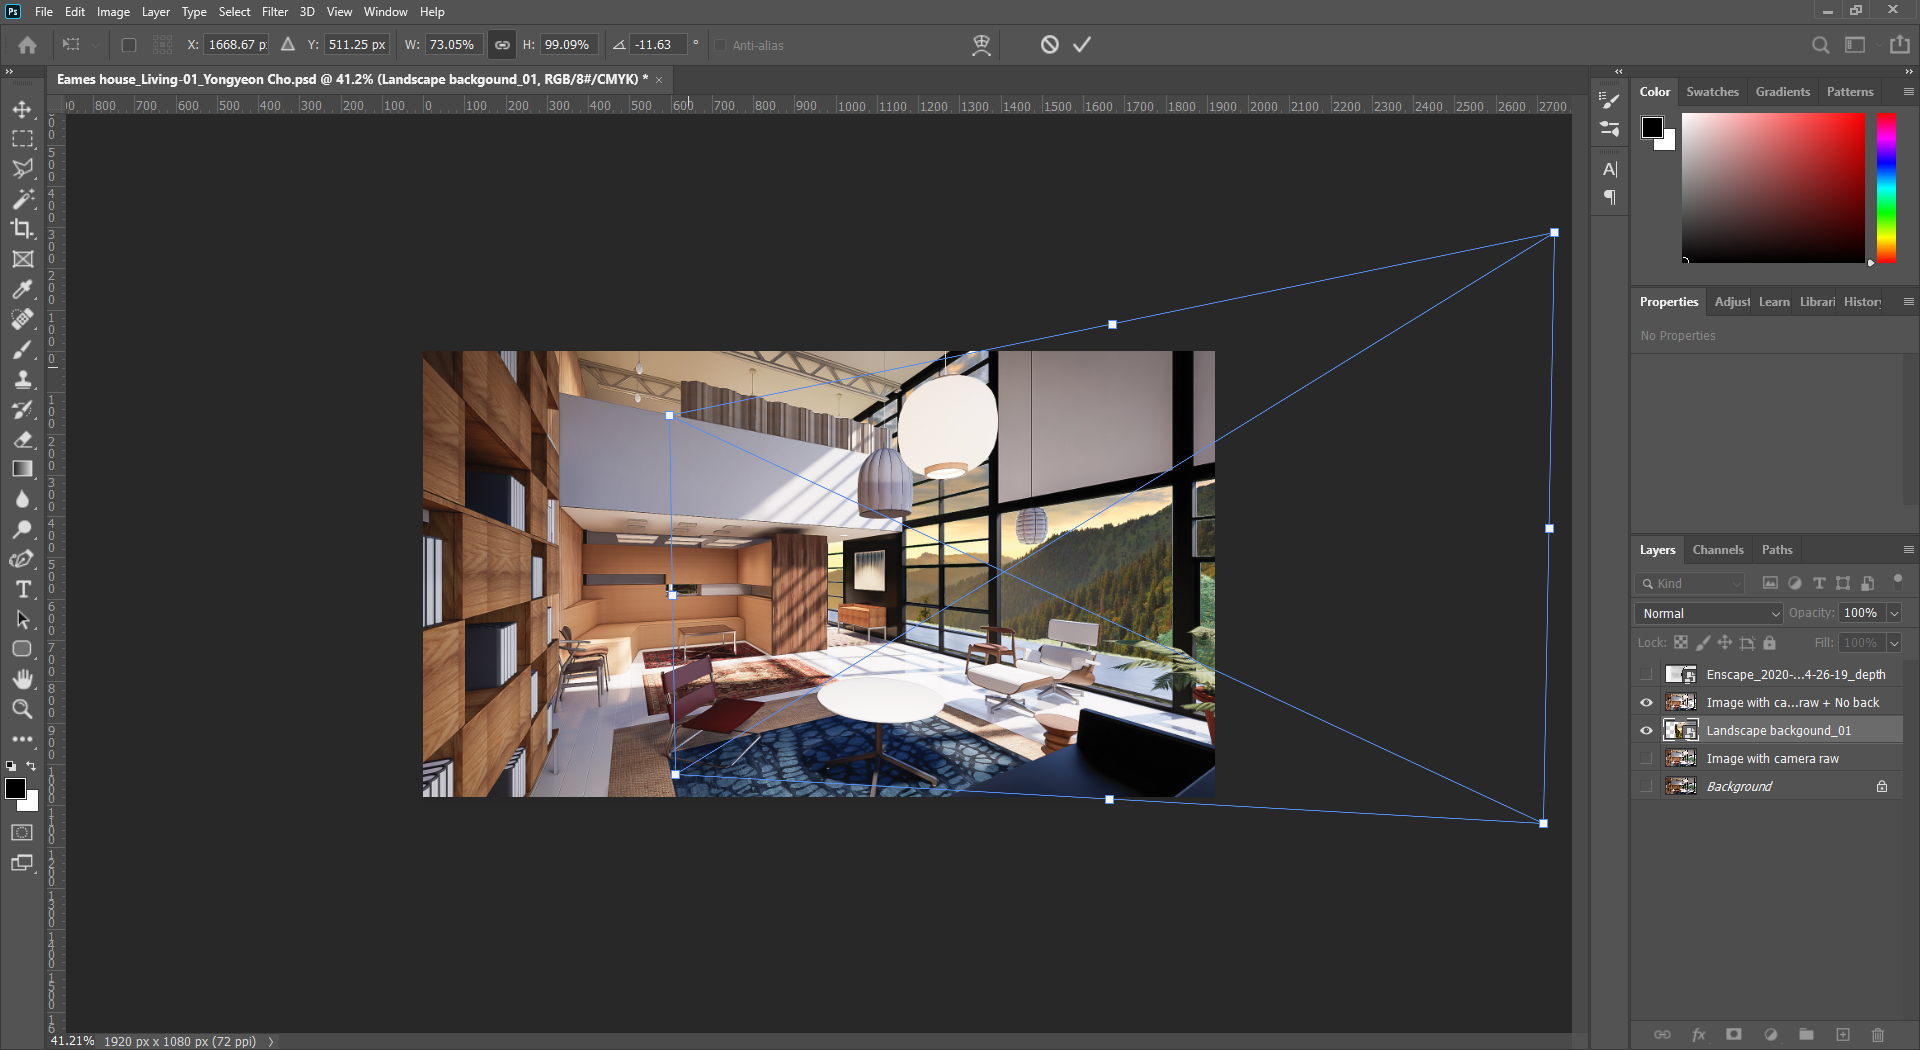
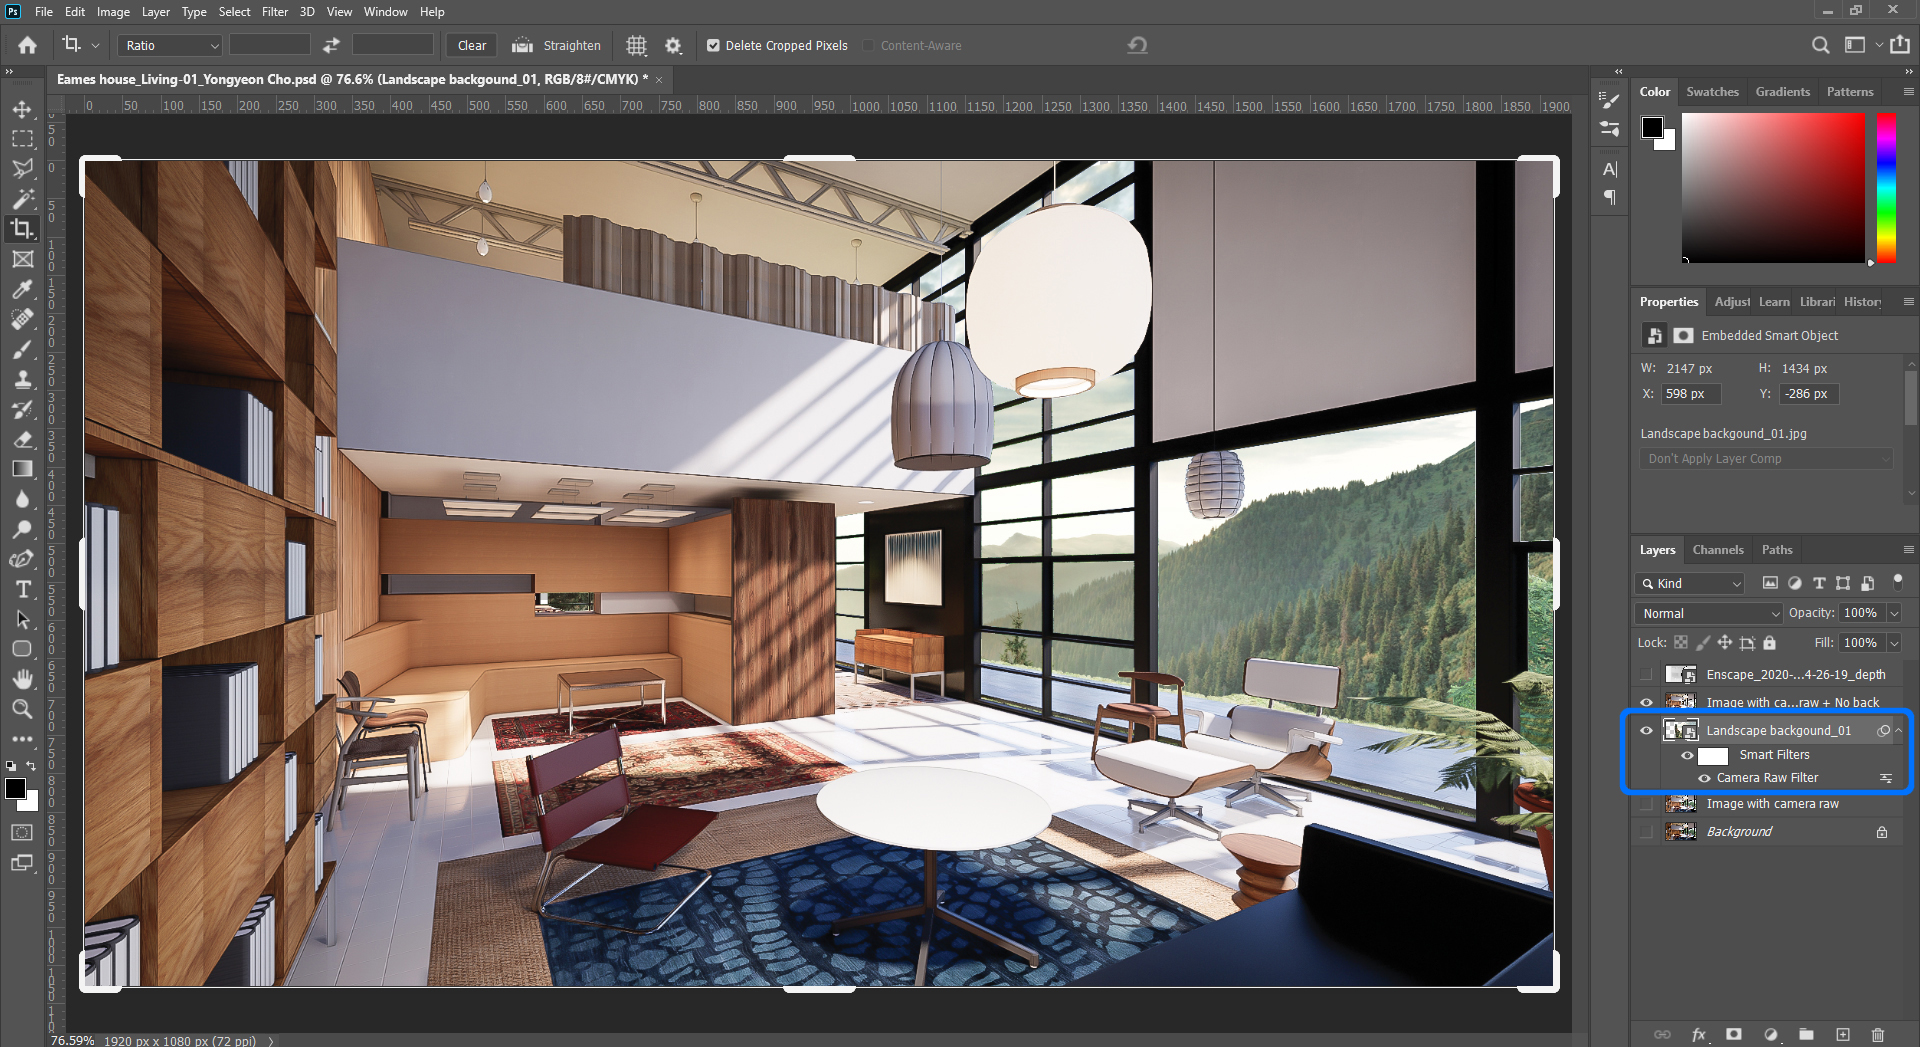
image credit: The background image was modified by the author. Adobe Stock, Standard License. - [STEP 11] Adjust the image color and brightness with the [Camera Raw] filter to match the rendered image. Consider the background image for the interior view is normally brighter than the interior view.
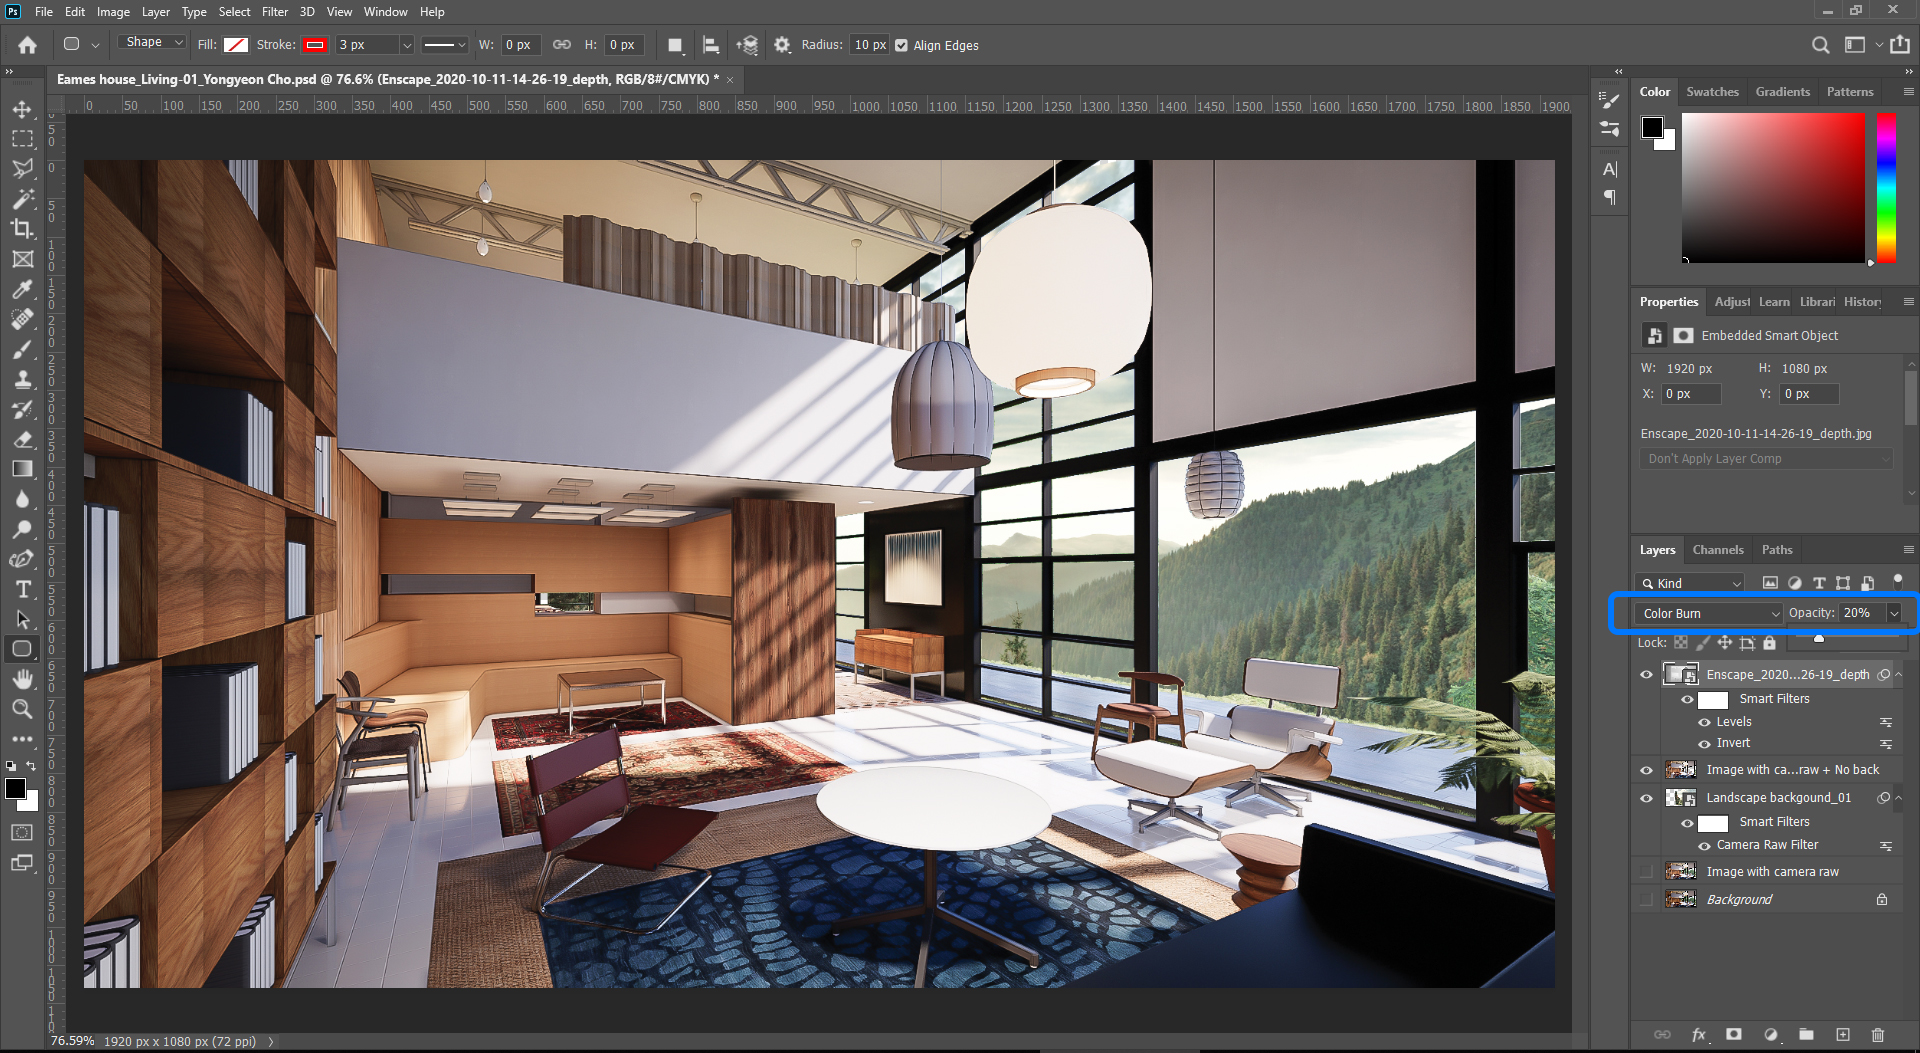
- [STEP 12] Show the [Depth Channal] layer > Apply [Invert] by pressing [Ctrl+I] > Apply [Level] by pressing [Ctrl+L] and adjust the value like the image below.

- [STEP 13] Change the [Depth Channal] layer style to [Color Burn] the opacity change to [20%].
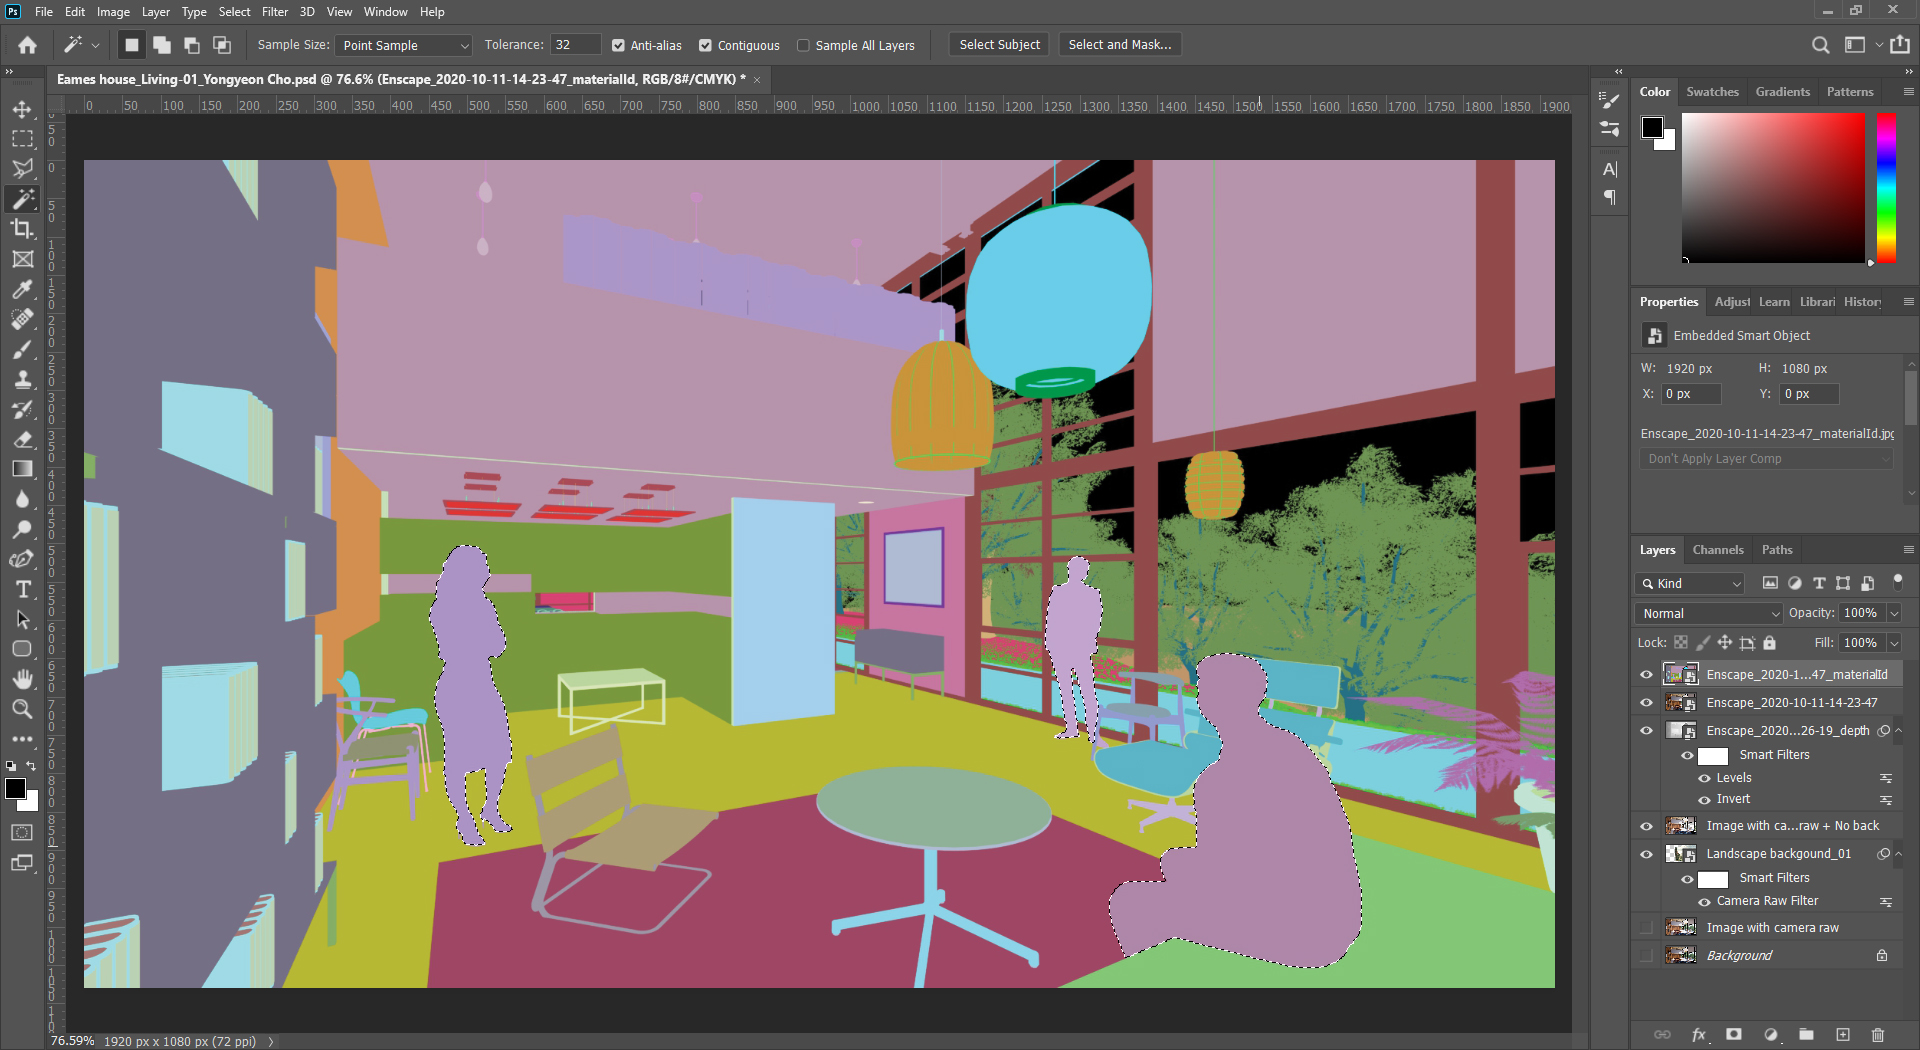
- [STEP 14] Add the rendered image with the entourage and the material ID image in the file > Select the people on the material ID image using the [Magic Wand Tool] > hide the material ID image layer.
- [STEP 15] copy the people from the rendered image layer to a new layer by pressing [Ctrl+J] > Change the layer Opacity to 30%.

- [STEP 16] Copy the people layer by pressing [Ctrl+J] > Chang the layer Opacity to 70%.

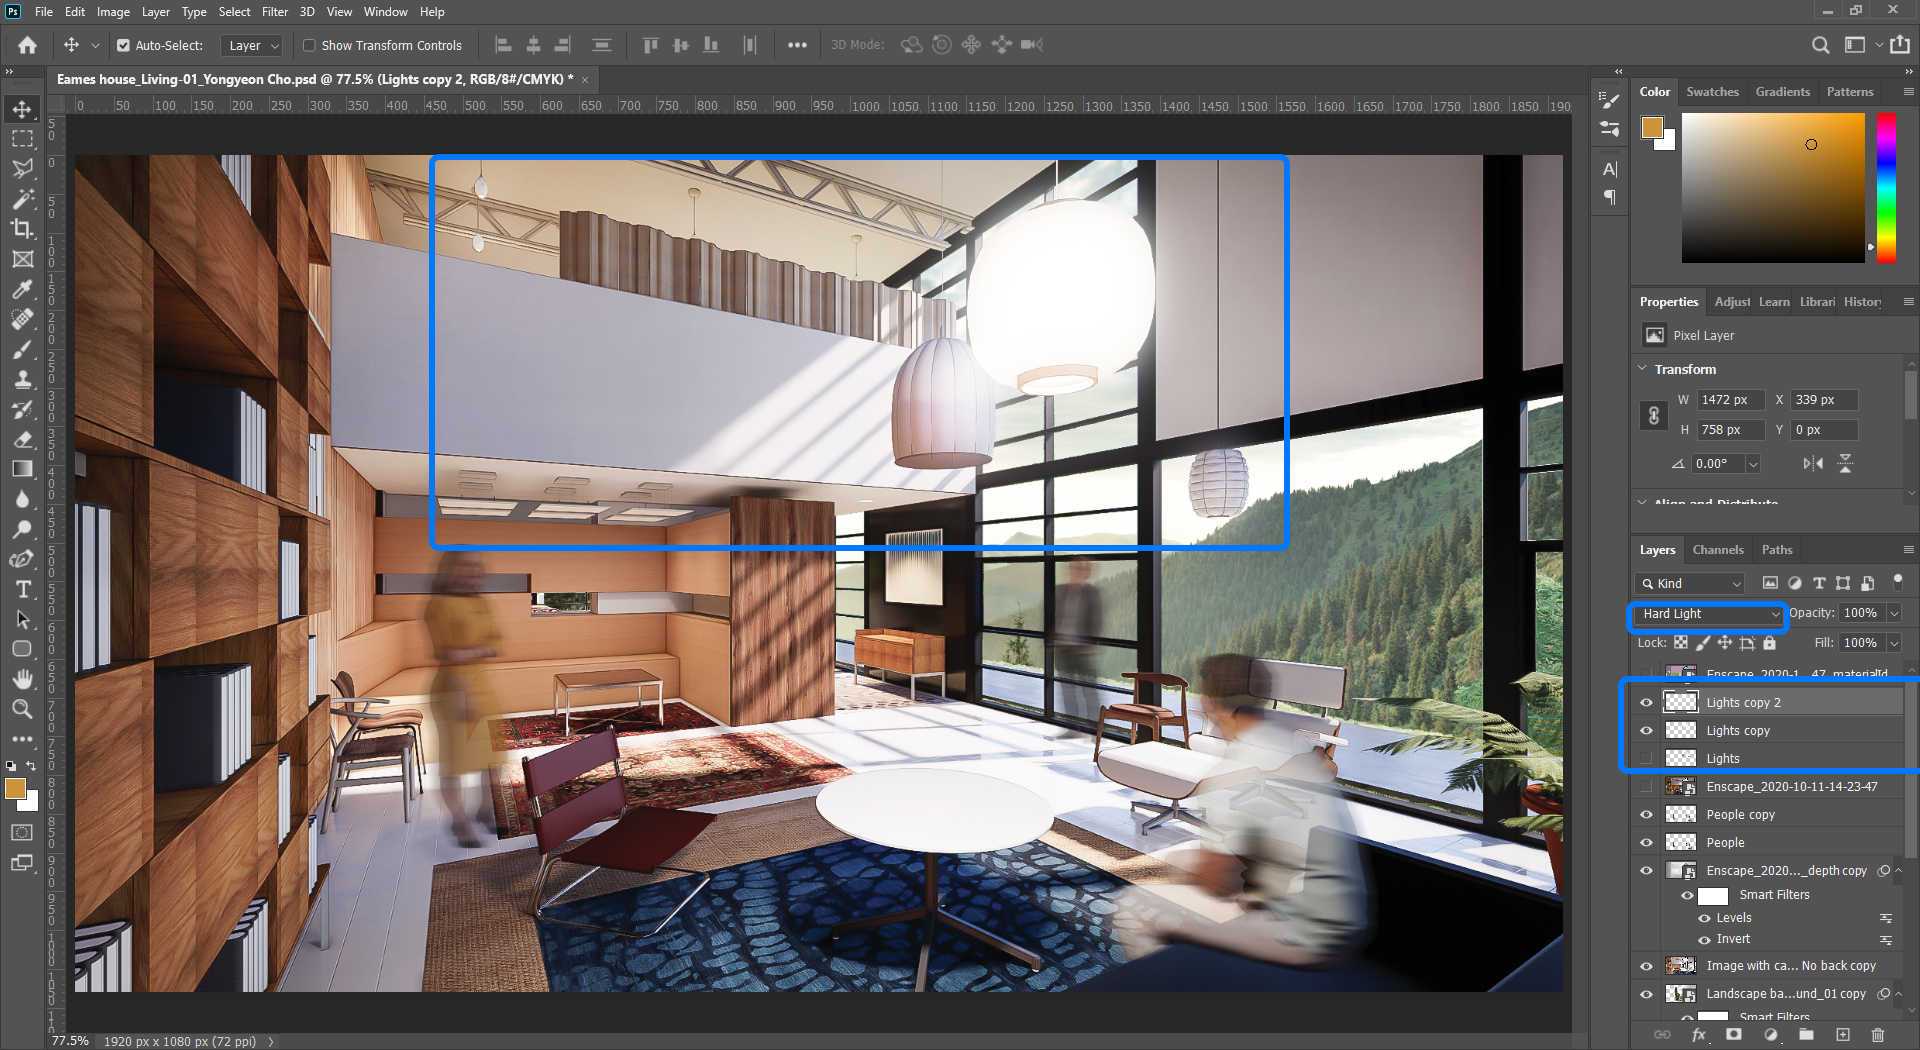
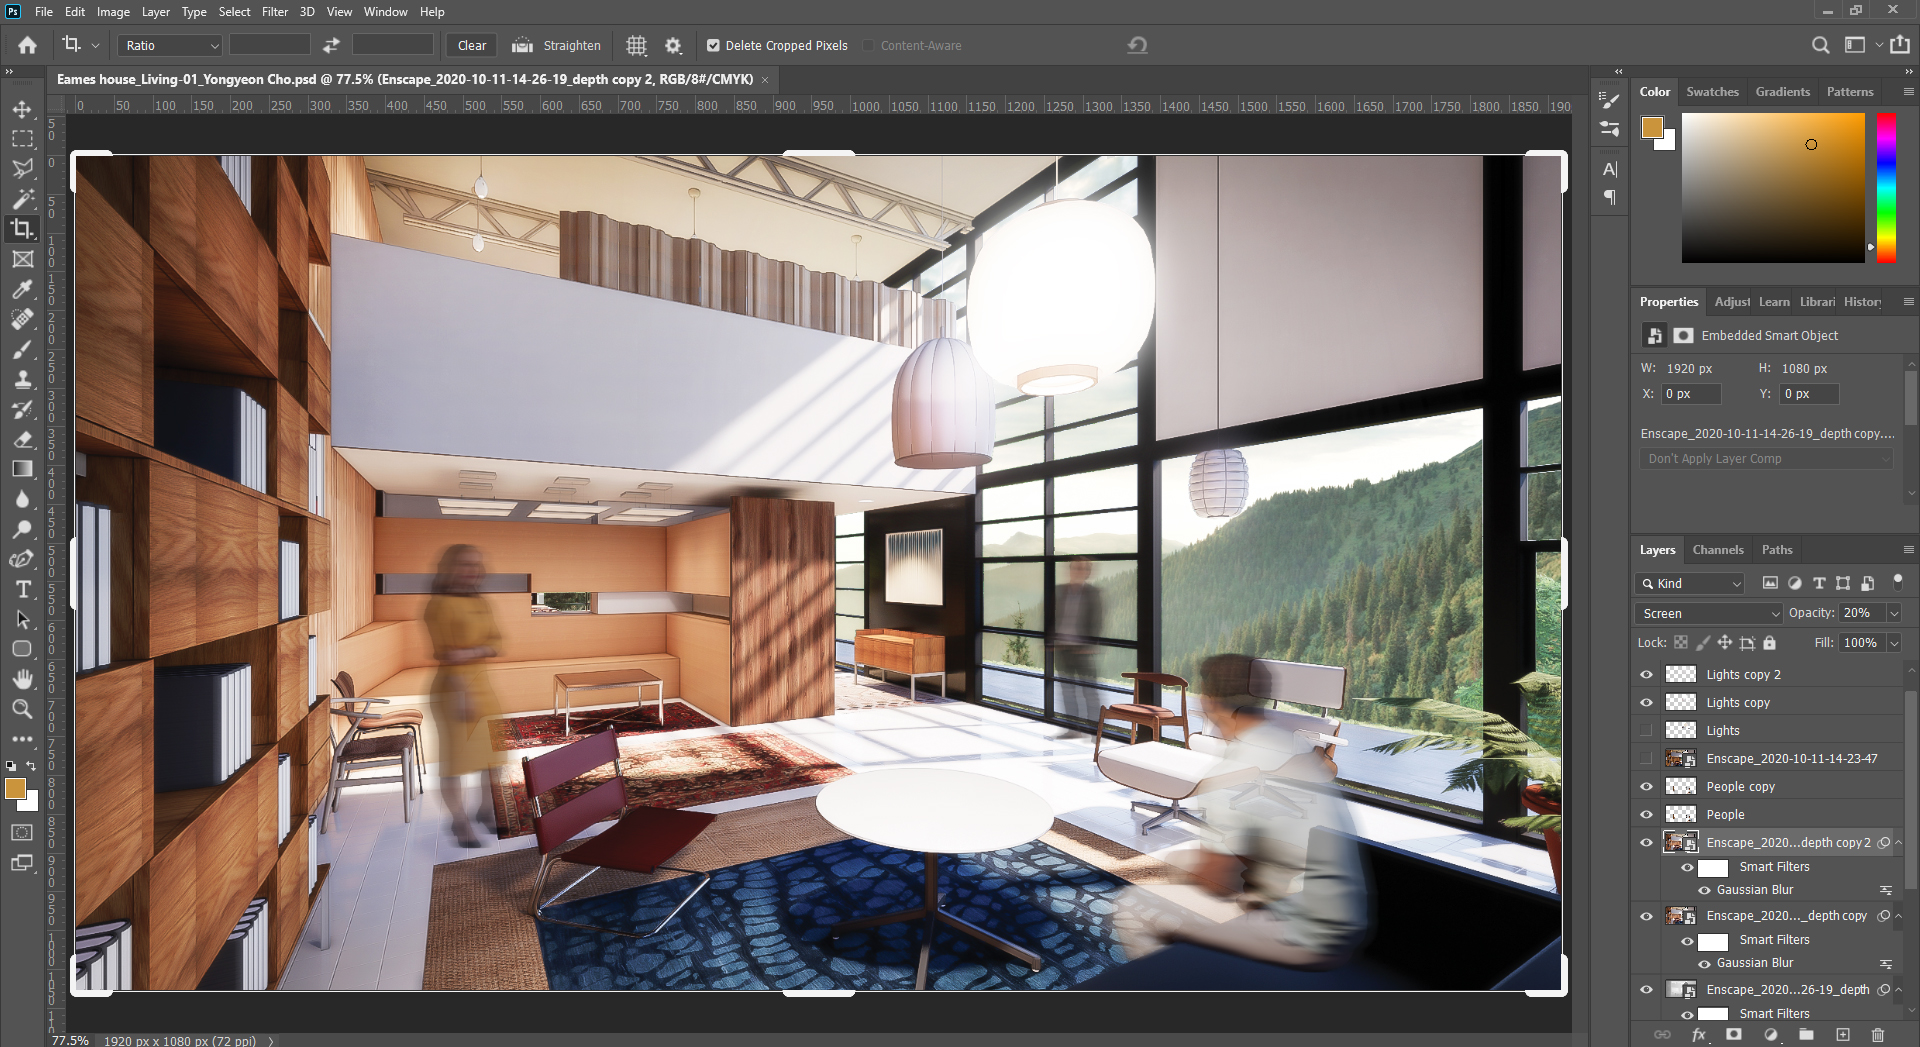
- [STEP 17] Show the material ID layer and the rendered image > Select light material that needs to be glow > copy the selected area from the rendered image > Update the layer name to Lights > copy the Lights layer > hide the original Lights layer > change the layer style of the copied Lights layer to [Hard light] > Add [Gaussian Blur] filter with 40 px > copy the copied Lights layer > Add [Gaussian Blur] filter with 100 px.
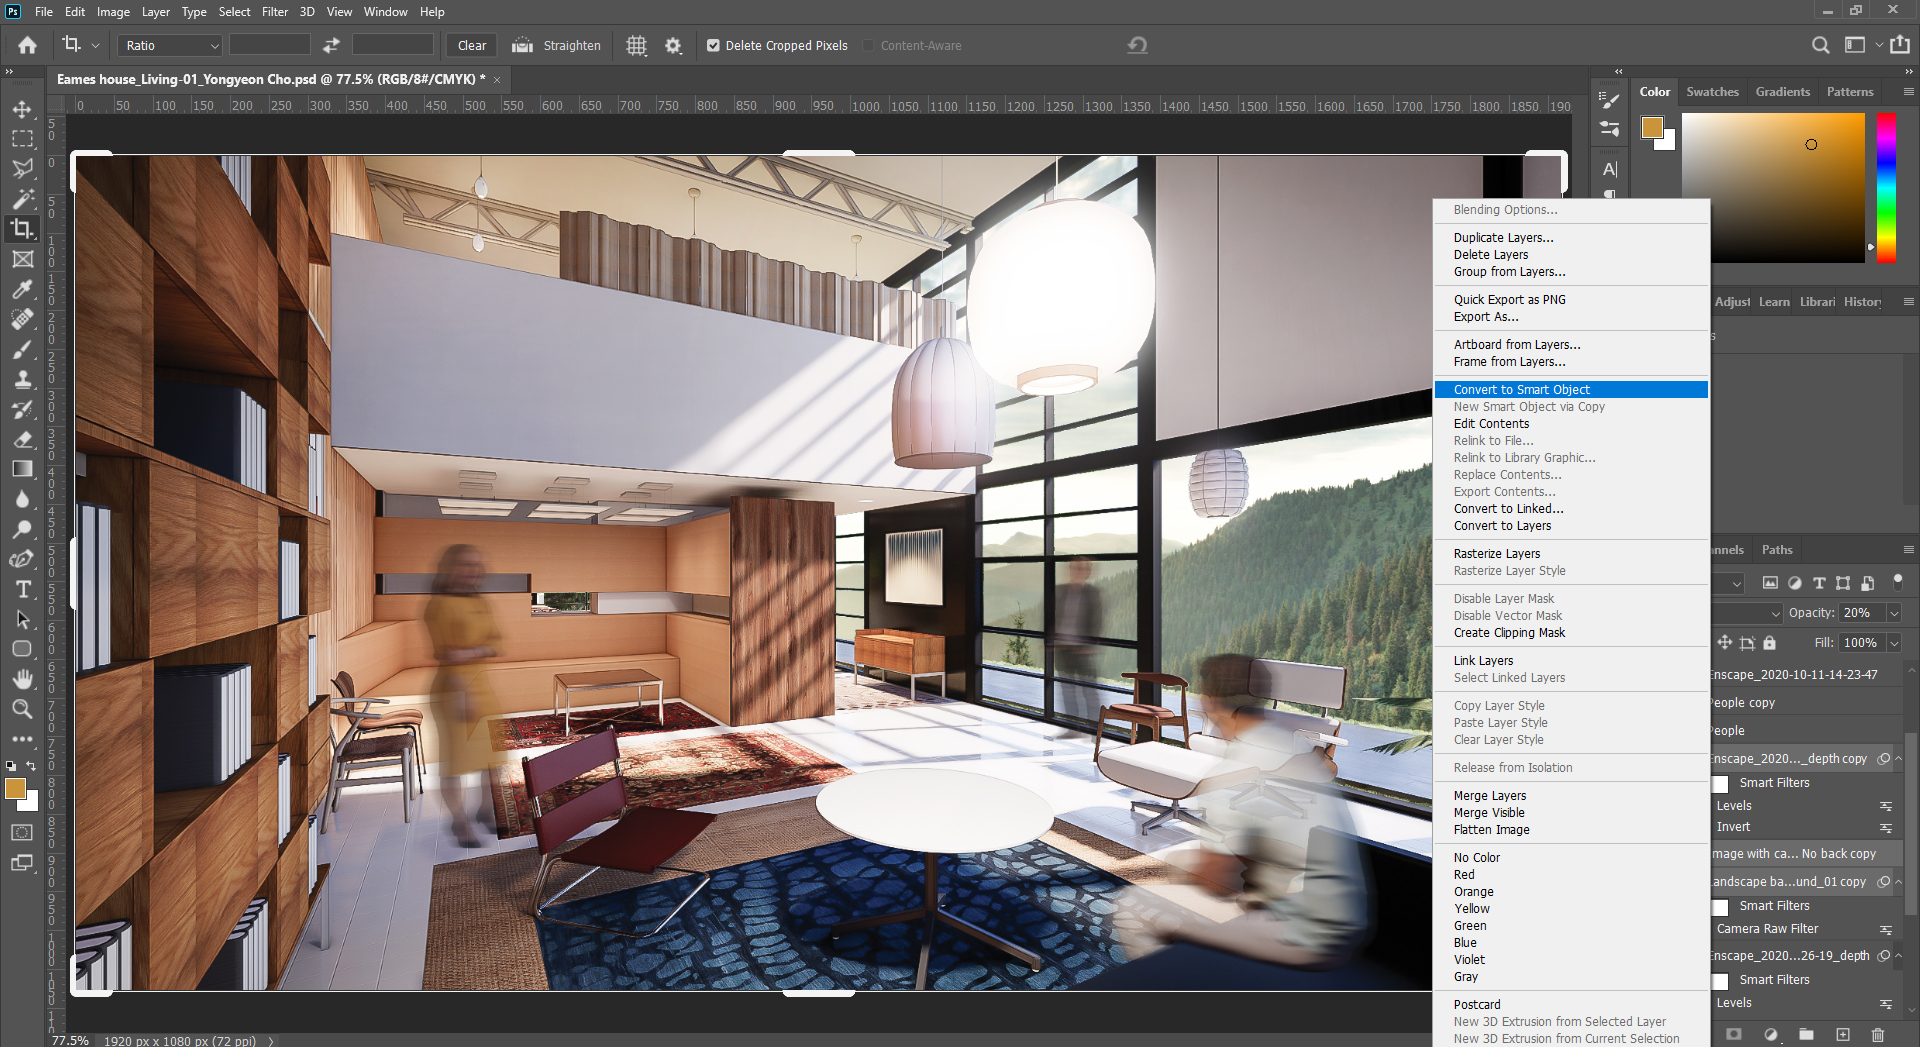
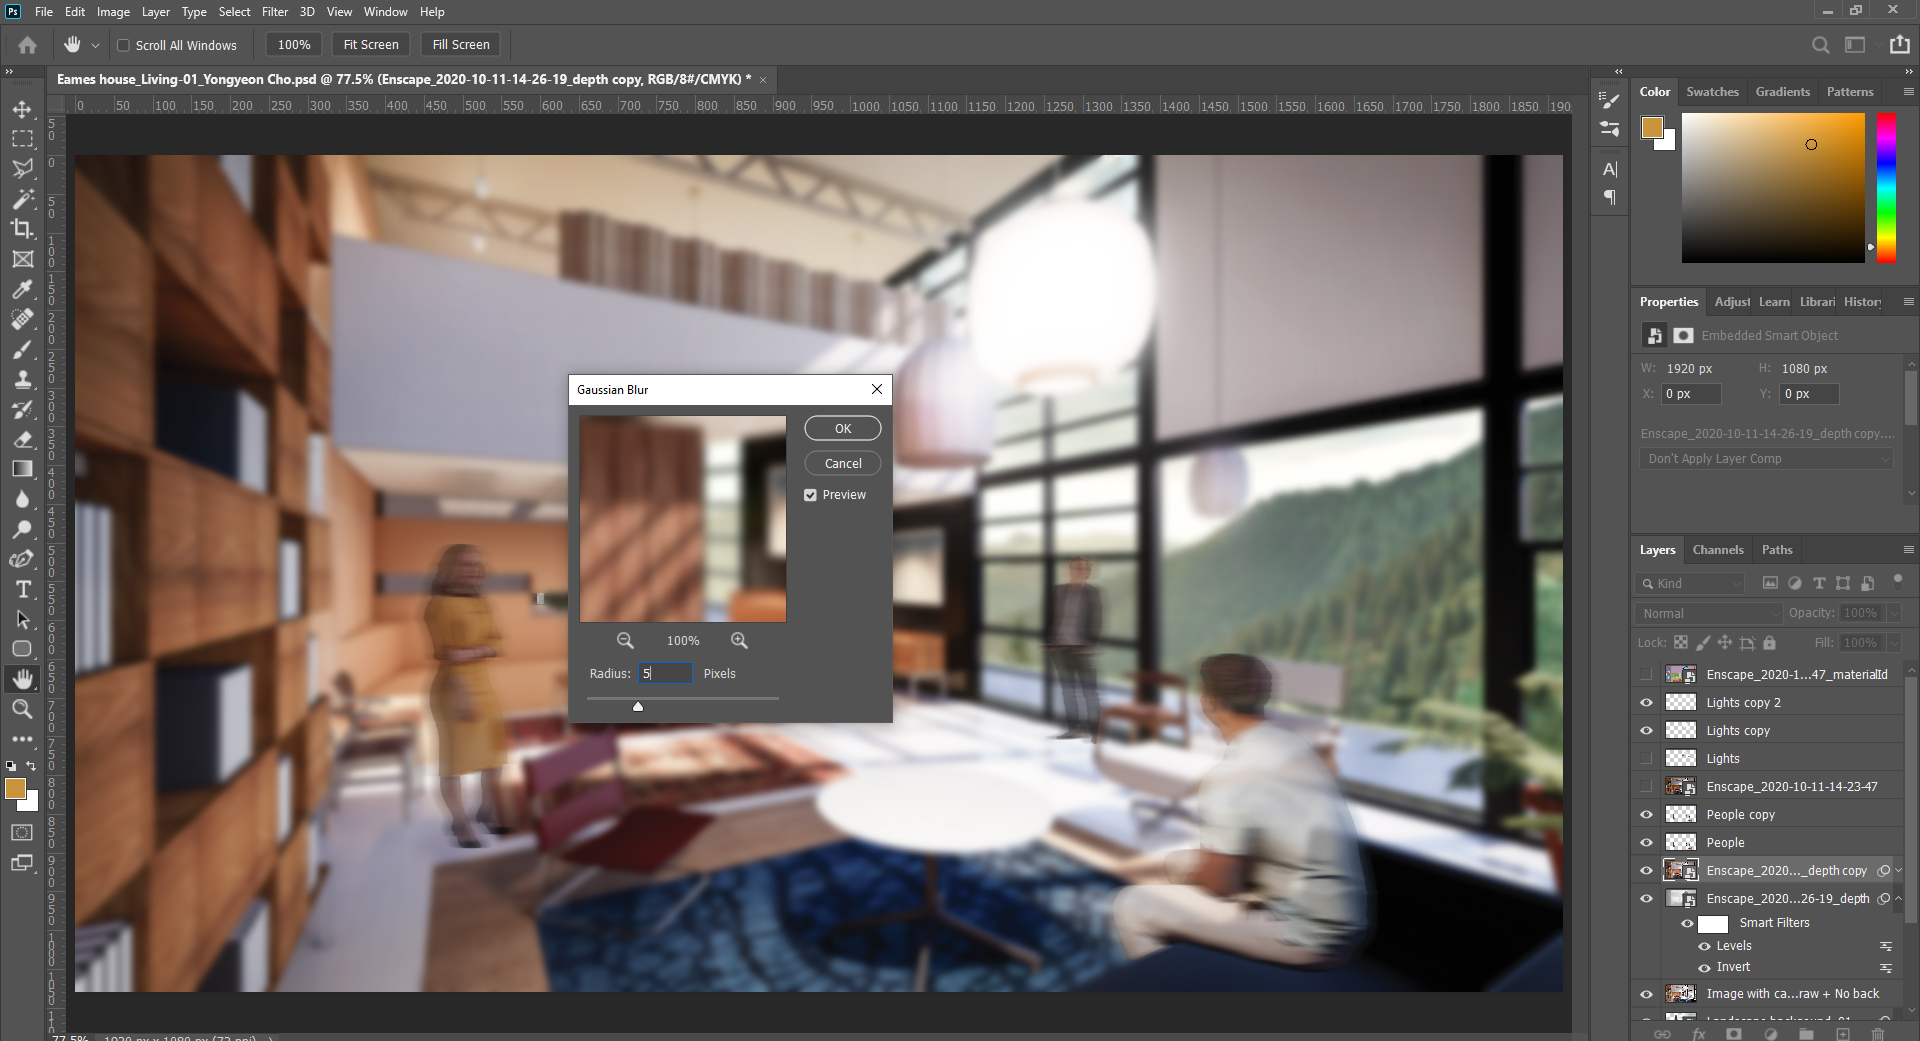
- [STEP 18] Select the imported landscape image as the background, the rendered image without background, and the depth channel > Duplicate the layer > Convert to Smart Object by mouse right-click.
- [STEP 19] Apply [Gaussian Blur] filter 5 px to the smart object layer.
- [STEP 20] Change the layer style to [Overlay] and change the layer Opacity to [20%] > Copy the layer and change the layer style to [Screen].
- [STEP 21] On the top of the layer, add [Color Lookup] and select a 3D LUT file that makes the best for your rendering. This function creates a unified color for all layers.

Save the file and Save as to the JPG file.
 References
Architizer. (n.d.). One rendering challenge 2022: Send us a rendering. tell us a story. win $2,500. A global rendering competition brought to you by Architizer and the A+Awards. Retrieved December 24, 2021, from https://onerenderingchallenge.secure-platform.com/a
ASAI. (n.d.). Award winner gallery. ASAI. Retrieved December 24, 2021, from https://www.asai.org/award-winner-gallery/
ASAI. (n.d.). History. ASAI. Retrieved December 24, 2021, from https://www.asai.org/about/
Bee Breeders. (n.d.). Architecture Competition Results Archive // Bee Breeders. Retrieved December 24, 2021, from https://architecturecompetitions.com/results/
Castro, F. (2020, February 21). The best architecture drawings of 2019. ArchDaily. Retrieved December 24, 2021, from https://www.archdaily.com/930787/the-best-architecture-drawings-of-2019?ad_source=search&ad_medium=search_result_all
Castro, F. (2019, January 06). The best architecture drawings of 2018. ArchDaily. Retrieved December 24, 2021, from https://www.archdaily.com/908188/the-best-drawings-of-2018?ad_source=myarchdaily&ad_medium=bookmark-show&ad_content=current-user
Castro, F. (2018, January 02). The best architecture drawings of 2017. ArchDaily. Retrieved December 24, 2021, from https://www.archdaily.com/886326/the-best-architecture-drawings-of-2017?ad_source=search&ad_medium=search_result_all
CGarchitect. (n.d.). 3dawards CGarchitect. Cgarchitect.com. Retrieved December 24, 2021, from https://3dawards.cgarchitect.com/
CGarchitect. (n.d.). About CGarchitect. Cgarchitect.com. Retrieved December 24, 2021, from https://www.cgarchitect.com/pages/d26ce5bd-about
Keskeys, P. (2020, December 21). 12 tips for creating a perfect architectural rendering – from the experts – architizer journal. Journal. Retrieved December 24, 2021, from https://architizer.com/blog/practice/tools/architectural-rendering-tips-fiverr/
